Ties to Obi Belt Refashion

Living in a house with 3 boys and my husband means we have a lot of ties. They all don’t get worn though, some haven’t been worn in years. So what do you do with all the ties? How about Obi Belts!?

There are a lot of different ways to make Obi Belts. I’m going to show you how I make them to wear with my outfits. They are super fun and easy. It only takes two ties and few minutes to put together.

First you need to find two coordinating ties of the same width. I think it’s fun mixing and matching different tie prints and patterns. The ties need to be on the thicker side. Not all ties are created equal. Some are very thin and flimsy. If you only have ties on the thinner side, you will want to put a backing on the belt once you are finished. That way it will hold it’s shape and not wrinkle or crease while you are wearing it.

Once you have decided on two ties, measure 20 inches from the point of the ties back and mark it with a pin. These markings are going to help you overlap and adjust your ties.

Place one tie over the other and and match those pin marking to the triangular edge, and the side with the tie point. I didn’t want the ties to be put together straight across, I wanted to contour them a bit to fit my waist better. So once I got the edges pinned in place evenly on either side, I pulled the center a bit to make the belt slightly curved. It needs to be wider in the center of the belt and taper off to smaller on the sides.

When I was satisfied with the way it looked, I stitched them together. You can see in the above photo that the stitching through the center was close to the tie edge.

Here is a close-up of another belt I made. You can see how I stitched the edge on the side where the angle of the tie sits under the other tie.

Here’s the whole belt stitched together. You can see how I stitched the ends closed. If the ties you used were on the thinner side and your belt needs a backing; just lay it down and trace the part of the belt where the ties overlap(no need to worry about making the waist ties thicker).Then cut out some thicker fabric and sew it on the underside of the belt. I’ve seen where other people have done some quilting stitches all the way around the part they put the backing on. It adds a really nice finish and design detail.

I loved how quick this was. I also loved being able to use some of my husbands old ties in a fun and different way. I hope you find some fun ways to use those old ties that may be in your closets as well. As always feel free to tell me in the comments below some fun ways you have reused ties.

Happy Sewing and Refashioning!!

Koe

A Wardrobe That WORKS For You

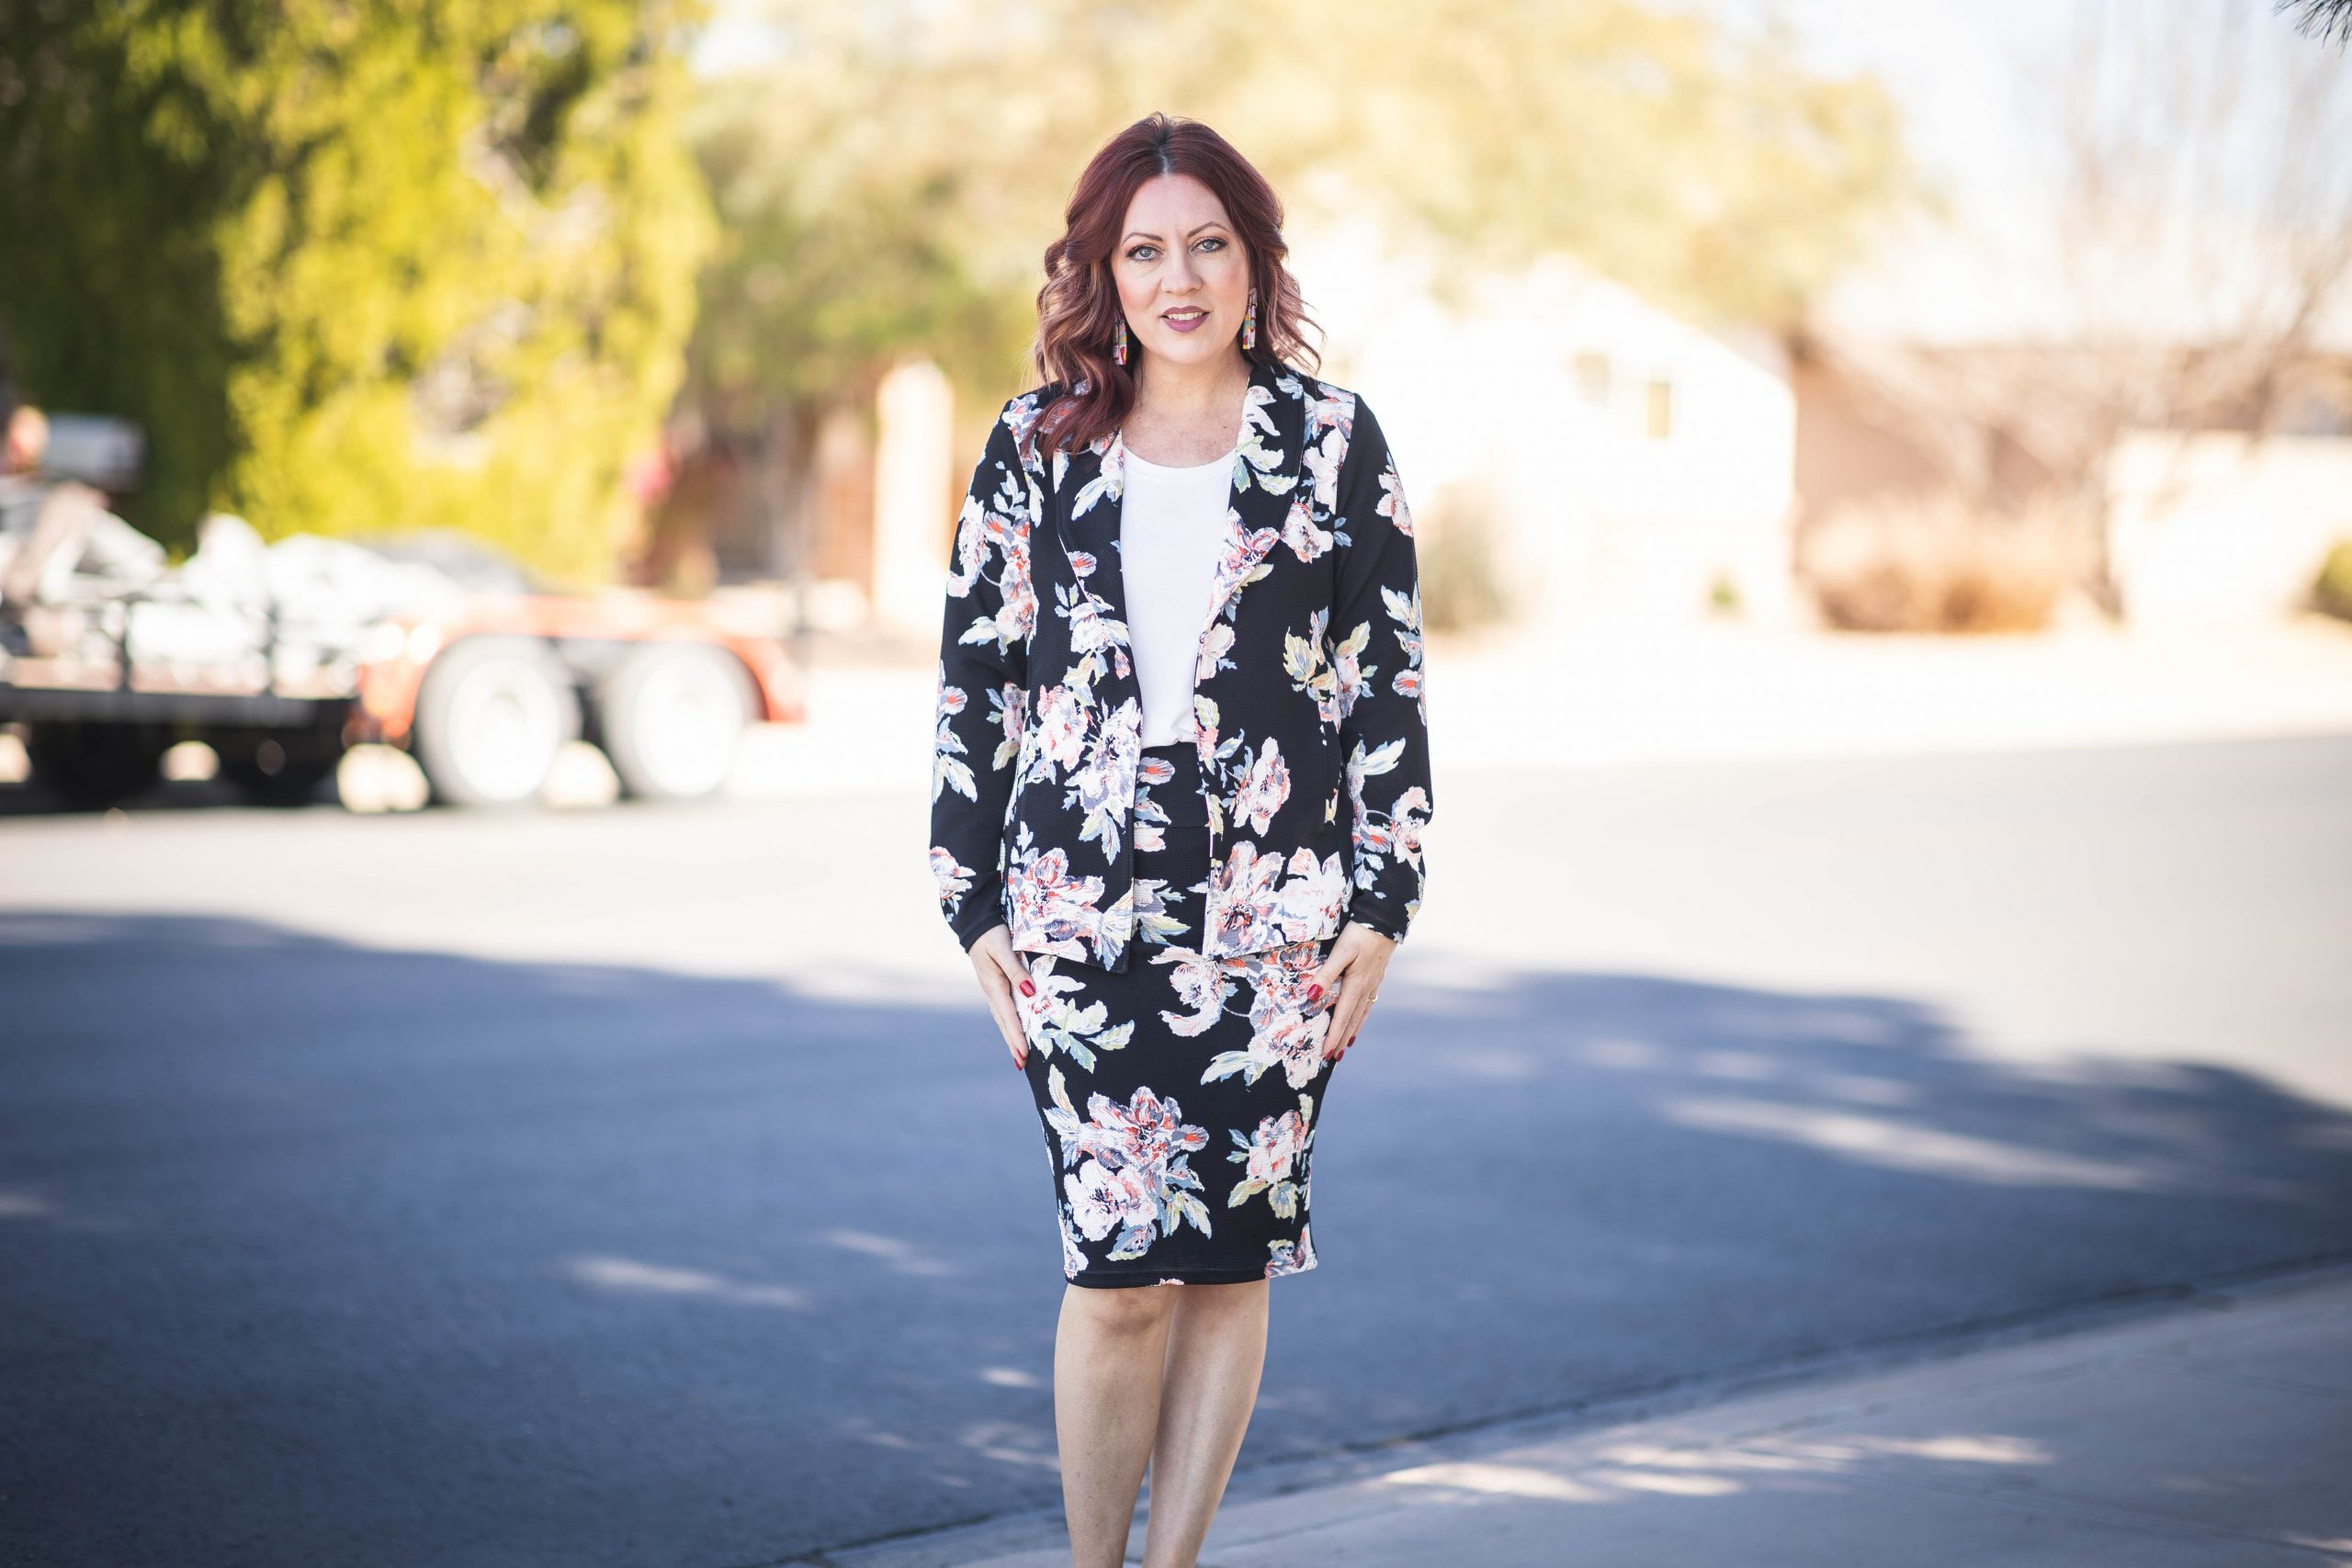
When it comes to my wardrobe comfort is my #1 priority. There’s a few different thing’s I have to take into consideration as well though; Is the fabric comfortable, breathable and durable? Does it go with other things in my wardrobe? Can I take a nap in it? That’s why I love Liverpool knit so much. It pretty much checks all my boxes and looks nice enough to go to work in but comfy enough to fall asleep in as well. What can I say? I’m a bit lazy.

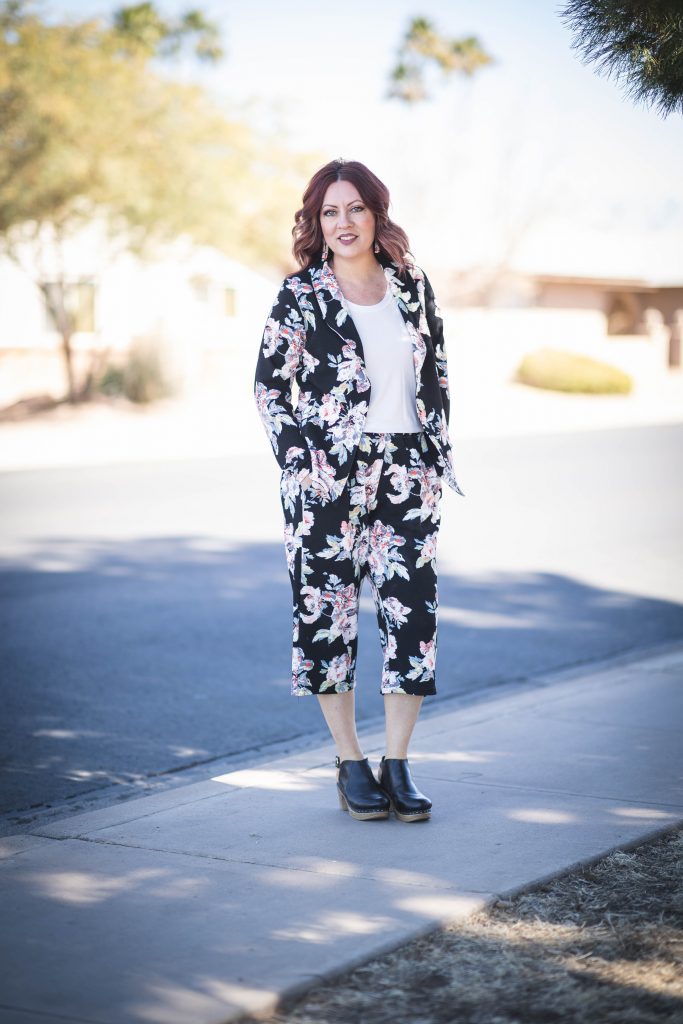
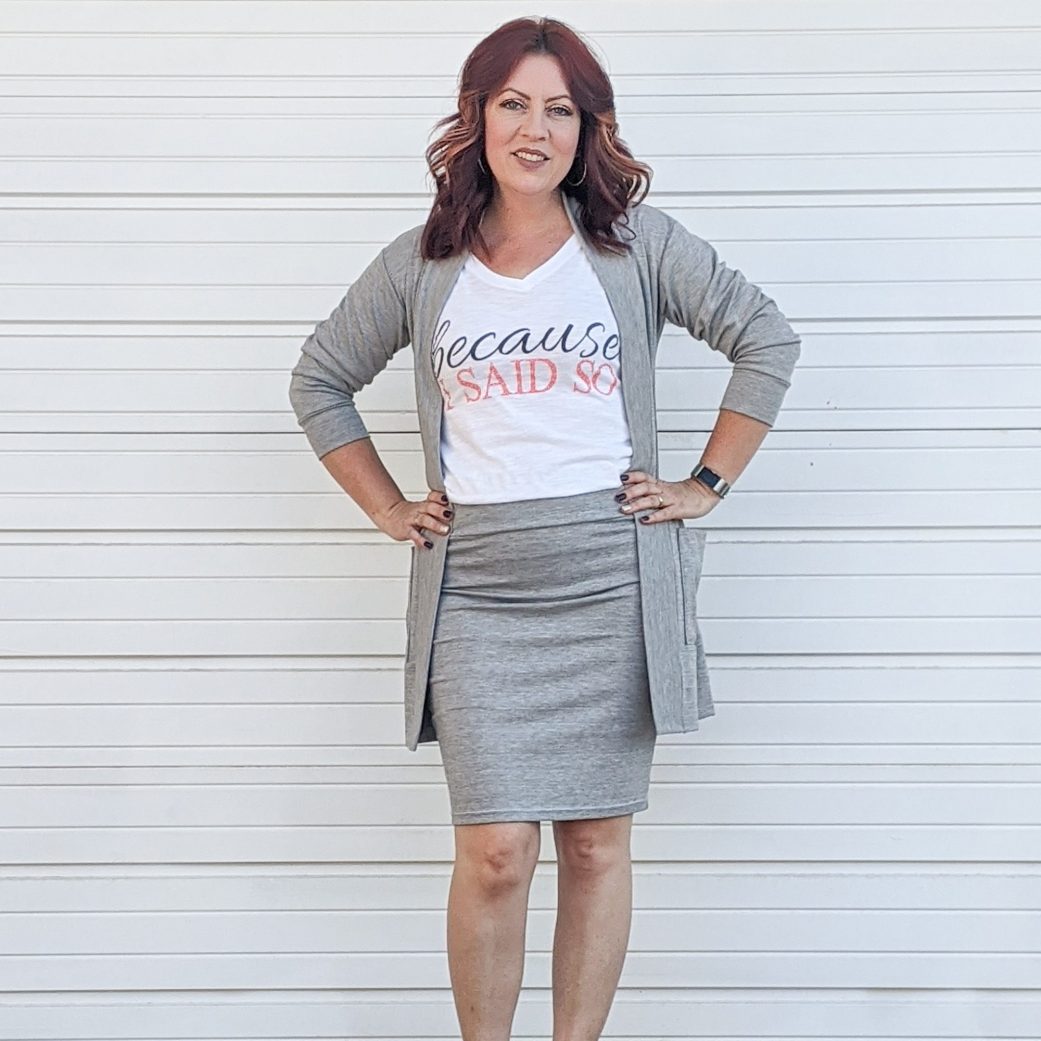
Until now I pretty much only made pencil skirts and lounge pants in Liverpool knit. I had the idea a while back to make a cardigan to go with my lounge pants and skirt. I thought it would give them a professional suit set look but then I never did it. I saw the newly released Metra Blazer by Love Notions and thought I’d give that a try instead. I must say I was beyond pleased with the results.

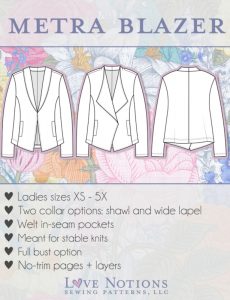
Here’s some details on the Metra Blazer

The Metra Blazer is a simple blazer meant for stable knit fabrics.
Included in the pattern are two collar options; choose either the
simple shawl collar or go with the modern wide lapel collar. You’ll love
the construction that gives it such a nice, clean finish.

No garment is complete without pockets and this blazer is no
exception. The in-seam welt style pockets are simple to construct
but look high-end. Also included with the pattern is a full bust option.
Ladies sizes XS -5X with optional Full Bust pieces for both views.

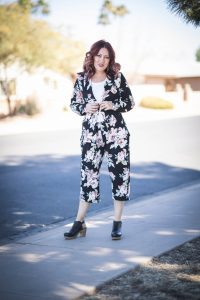
Below are just two of the ways I will be wearing my New Metra Blazer.

These cropped pants are the Luna Lounge Bottoms by Love Notions. The elastic waist and side seam pockets make them not just comfortable but functional too. The Luna Lounge Pattern actually includes 5 pieces:cami, knee-length nighty, bralette, capris and shorts. The bralette can be worn on its own or paired with the cami and nighty as a shelf bra. The capris and shorts feature an elasticated waistband with optional drawstring, faux fly and side-seam pockets. The capris and shorts can be made from woven or knit fabrics while the cami and nighty are meant for knits. This is a confident beginner pattern.

Making the capris in a more structured knit takes them from PJ’s to something I can dress up or down. I can wear them with a t-shirt and Converse for a casual look or throw on the Metra Blazer and heels for a more professional look.

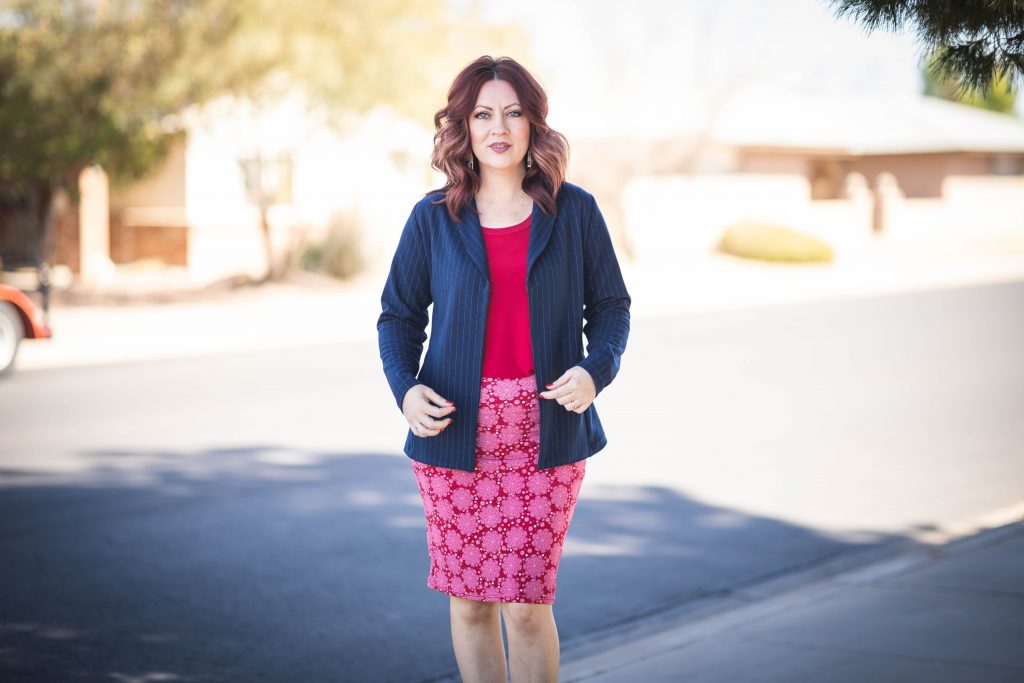
You can also do the same thing with a skirt. The Sybil Illusion Skirt by Love notions is a great option. It’s a beginner friendly pattern that comes with 7 different skirt options as well as sizes xs-3xl.  Meant for knit fabrics, the Sybil comes with seven variations: pencil, a-line, swing, drop yoke with swing, gored, asymmetrical wrap and pleated. All versions, with the exception of the drop yoke, also have knee and midi length options as well as inseam pockets. All skirt waistbands can include the optional hidden control panel or a yoga-style waistband, no closures needed. It’s pretty much the only skirt pattern you will ever need. Here’s some details on that pattern:

Just by adding this cute blazer and heels to one of these skirts, you can completely change the outfit vibe. I can look professional, but don’t have to sacrifice comfort. I love it!

Both looks are super comfortable and both looks I could easily nap in. This is a wardrobe win in my opinion and it works for me!

I even made a Metra Blazer in a navy pinstripe ponte knit. It’s super versatile and I can wear it with probably anything in my closet. I’ll have a blog post up on my  minerva.com profile soon featuring this pinstripe look. Make sure to check it out for more tips on styling the Metra Blazer.


Happy Sewing!

Koe
Valentine’s Shirt Refashion

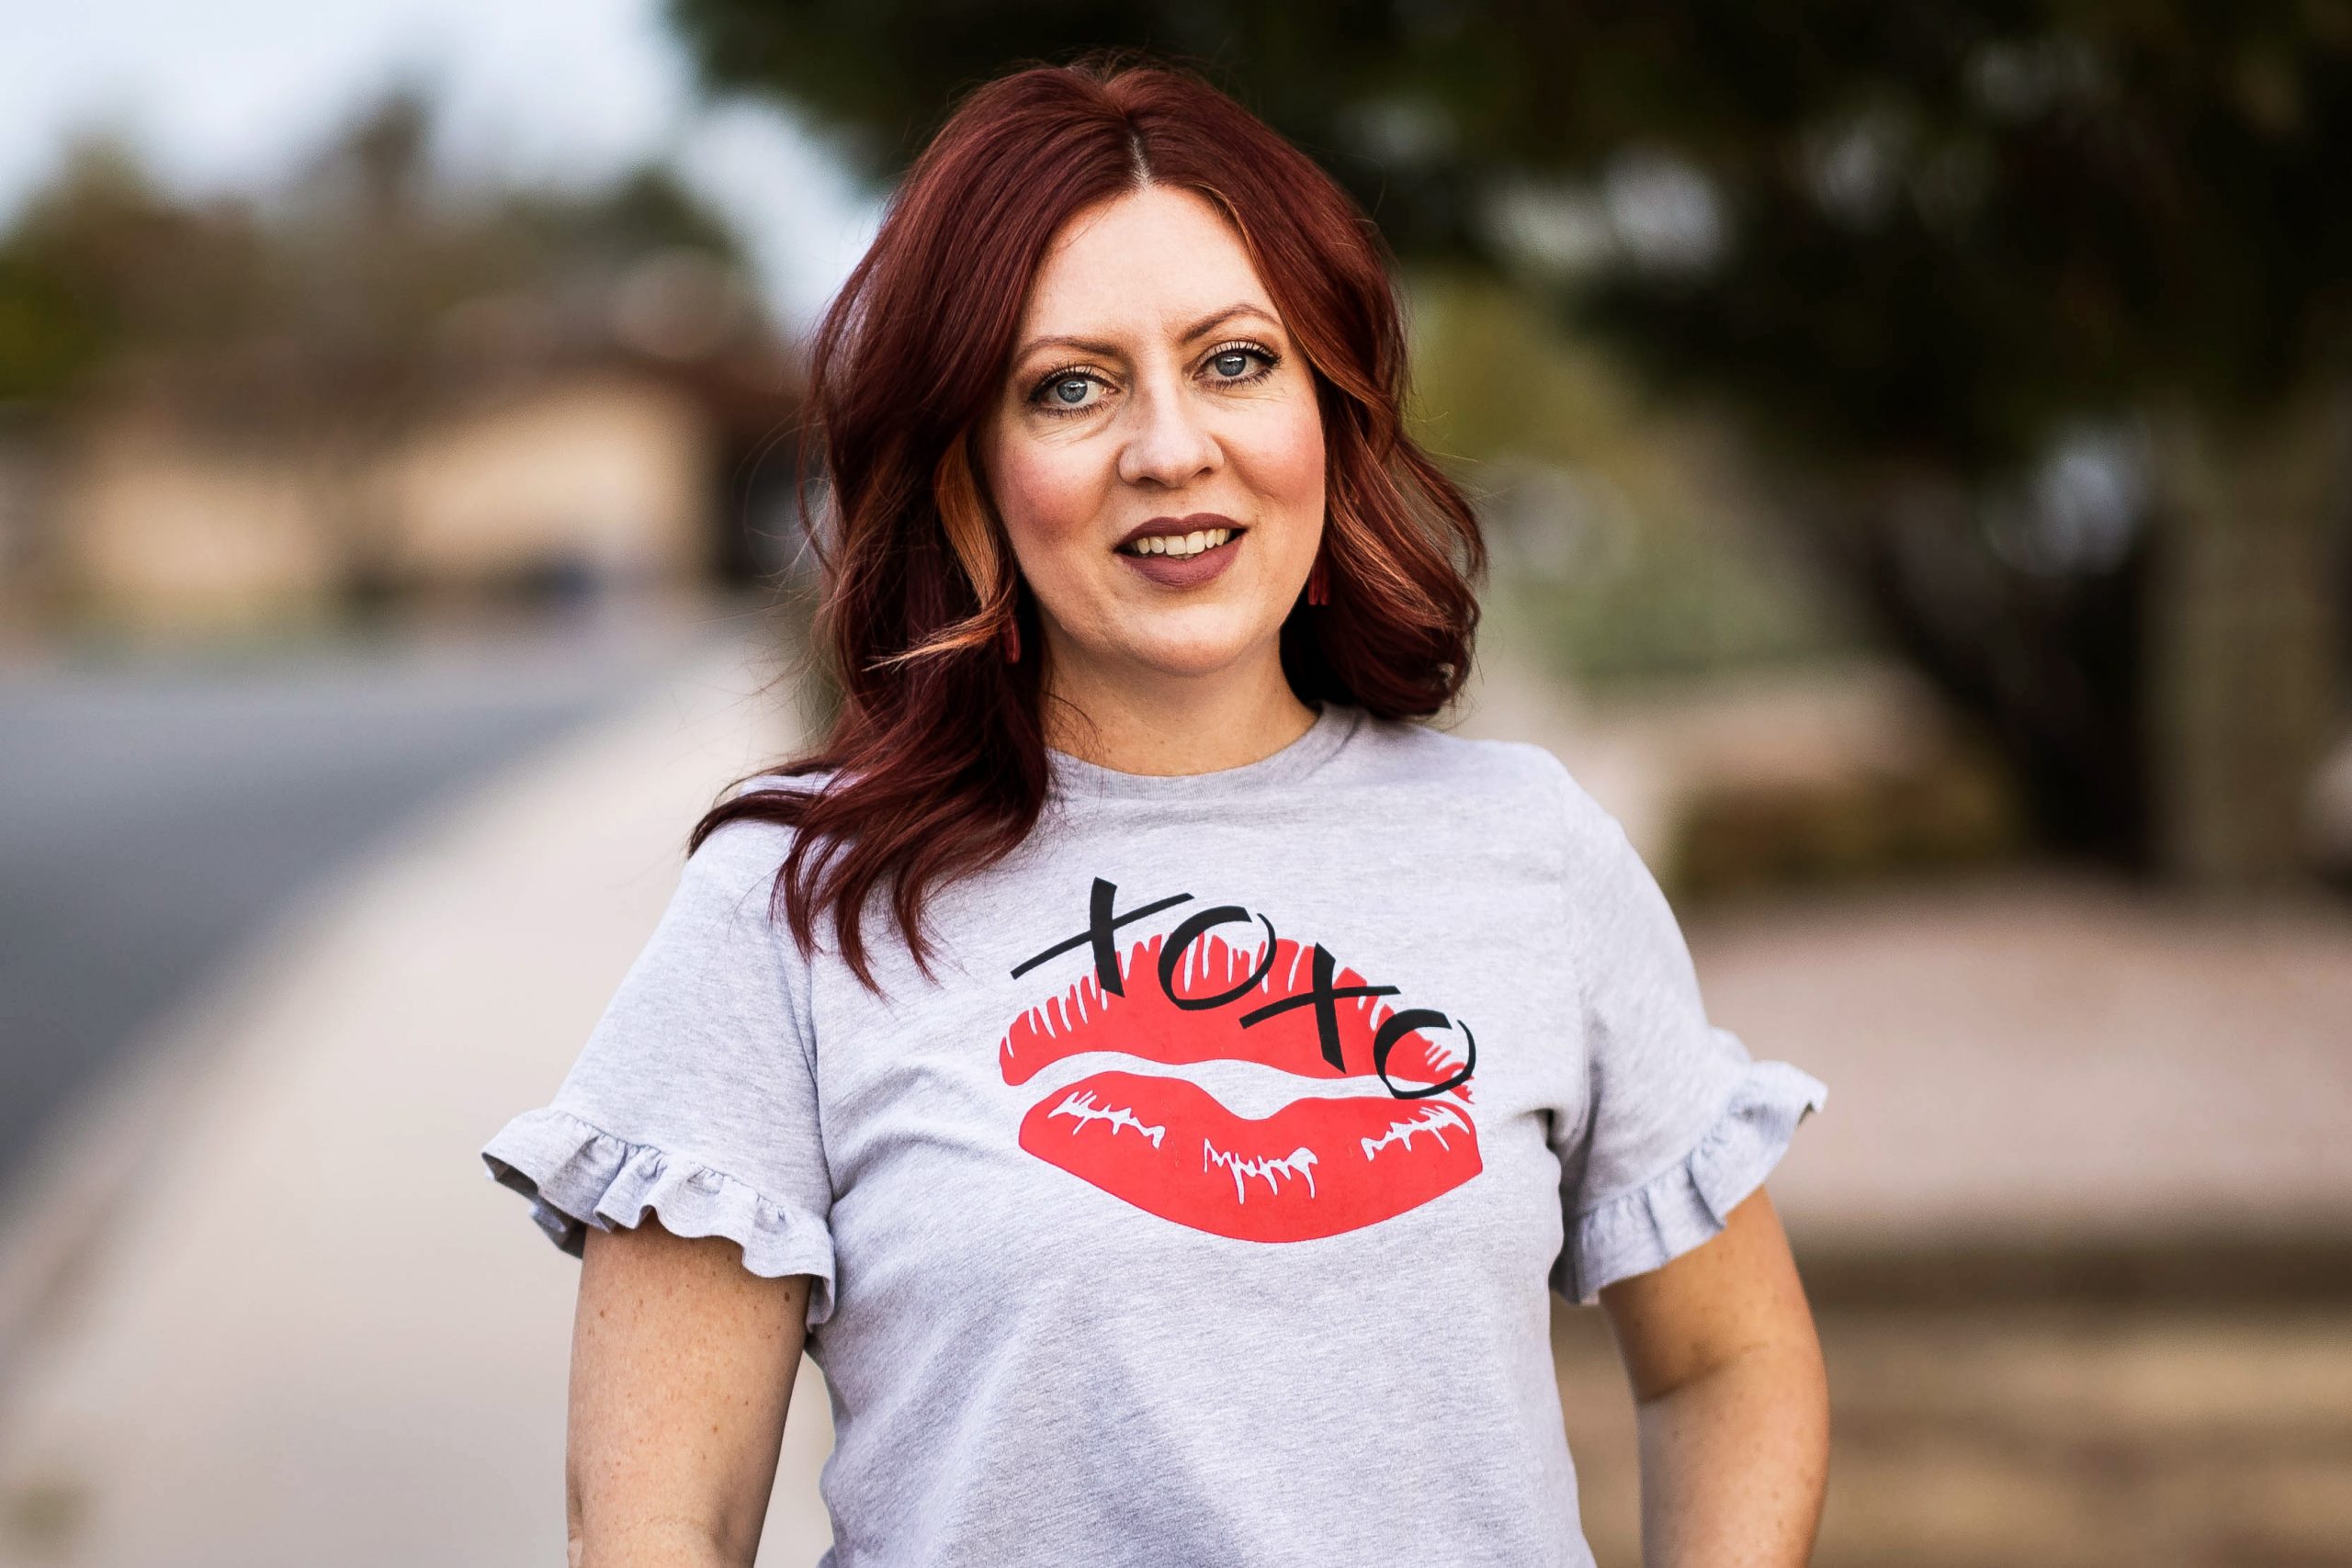
I love graphic tees but the problem is they aren’t always very feminine. So I wanted to customize a Valentine’s Day tee just for me. It’s probably one of my favorite things to do when I’m in the mood for a quick project. Plus, there is very little waste since I’m usually able to use almost every inch of fabric!

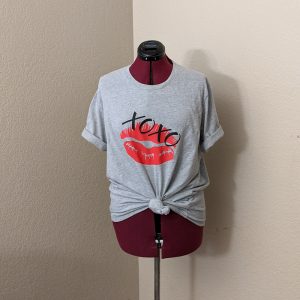
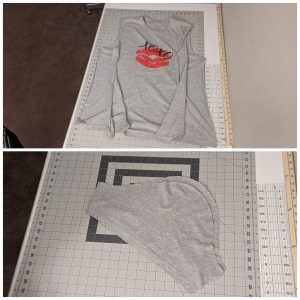
I had this older size Large t-shirt. It was soft and drapey and still had lots of life left in it. Sometimes I would wear it to bed or knot it, roll the sleeves and throw on a pencil skirt or leggings for a daytime look. It wasn’t my favorite tee but I knew it could be with a little bit of imagination.

First thing I did was open the shirt at the side seams and remove the sleeves. I used scissors but you may need to use a seam ripper. It depends on the shirt size and what you are Refashioning it in to. I also left the shoulder seams and neckband in tack. I wasn’t sure if could somehow utilize the shoulder seams but I knew I could definitely reuse the neckband though.

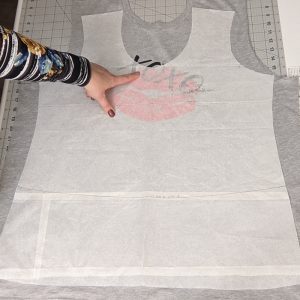
Next, I  got my favorite t-shirt pattern and traced it to be a full pattern. I didn’t want to cut the shirt on the fold because I wanted the graphic to sit in the right spot. Tracing the pattern out on tissue paper really helped me do that. Then I laid my pattern on the t-shirt to see what adjustments I needed to make. I knew right away I was going to have to raise the neckline from scoop neck to a crew neck.

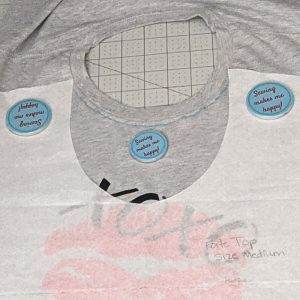
I drew a little line right under the neckband for the new crew neckline and cut everything else out according to the patterns. I was careful not to cut the neckband though because I still wanted to use it.

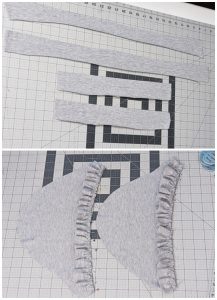
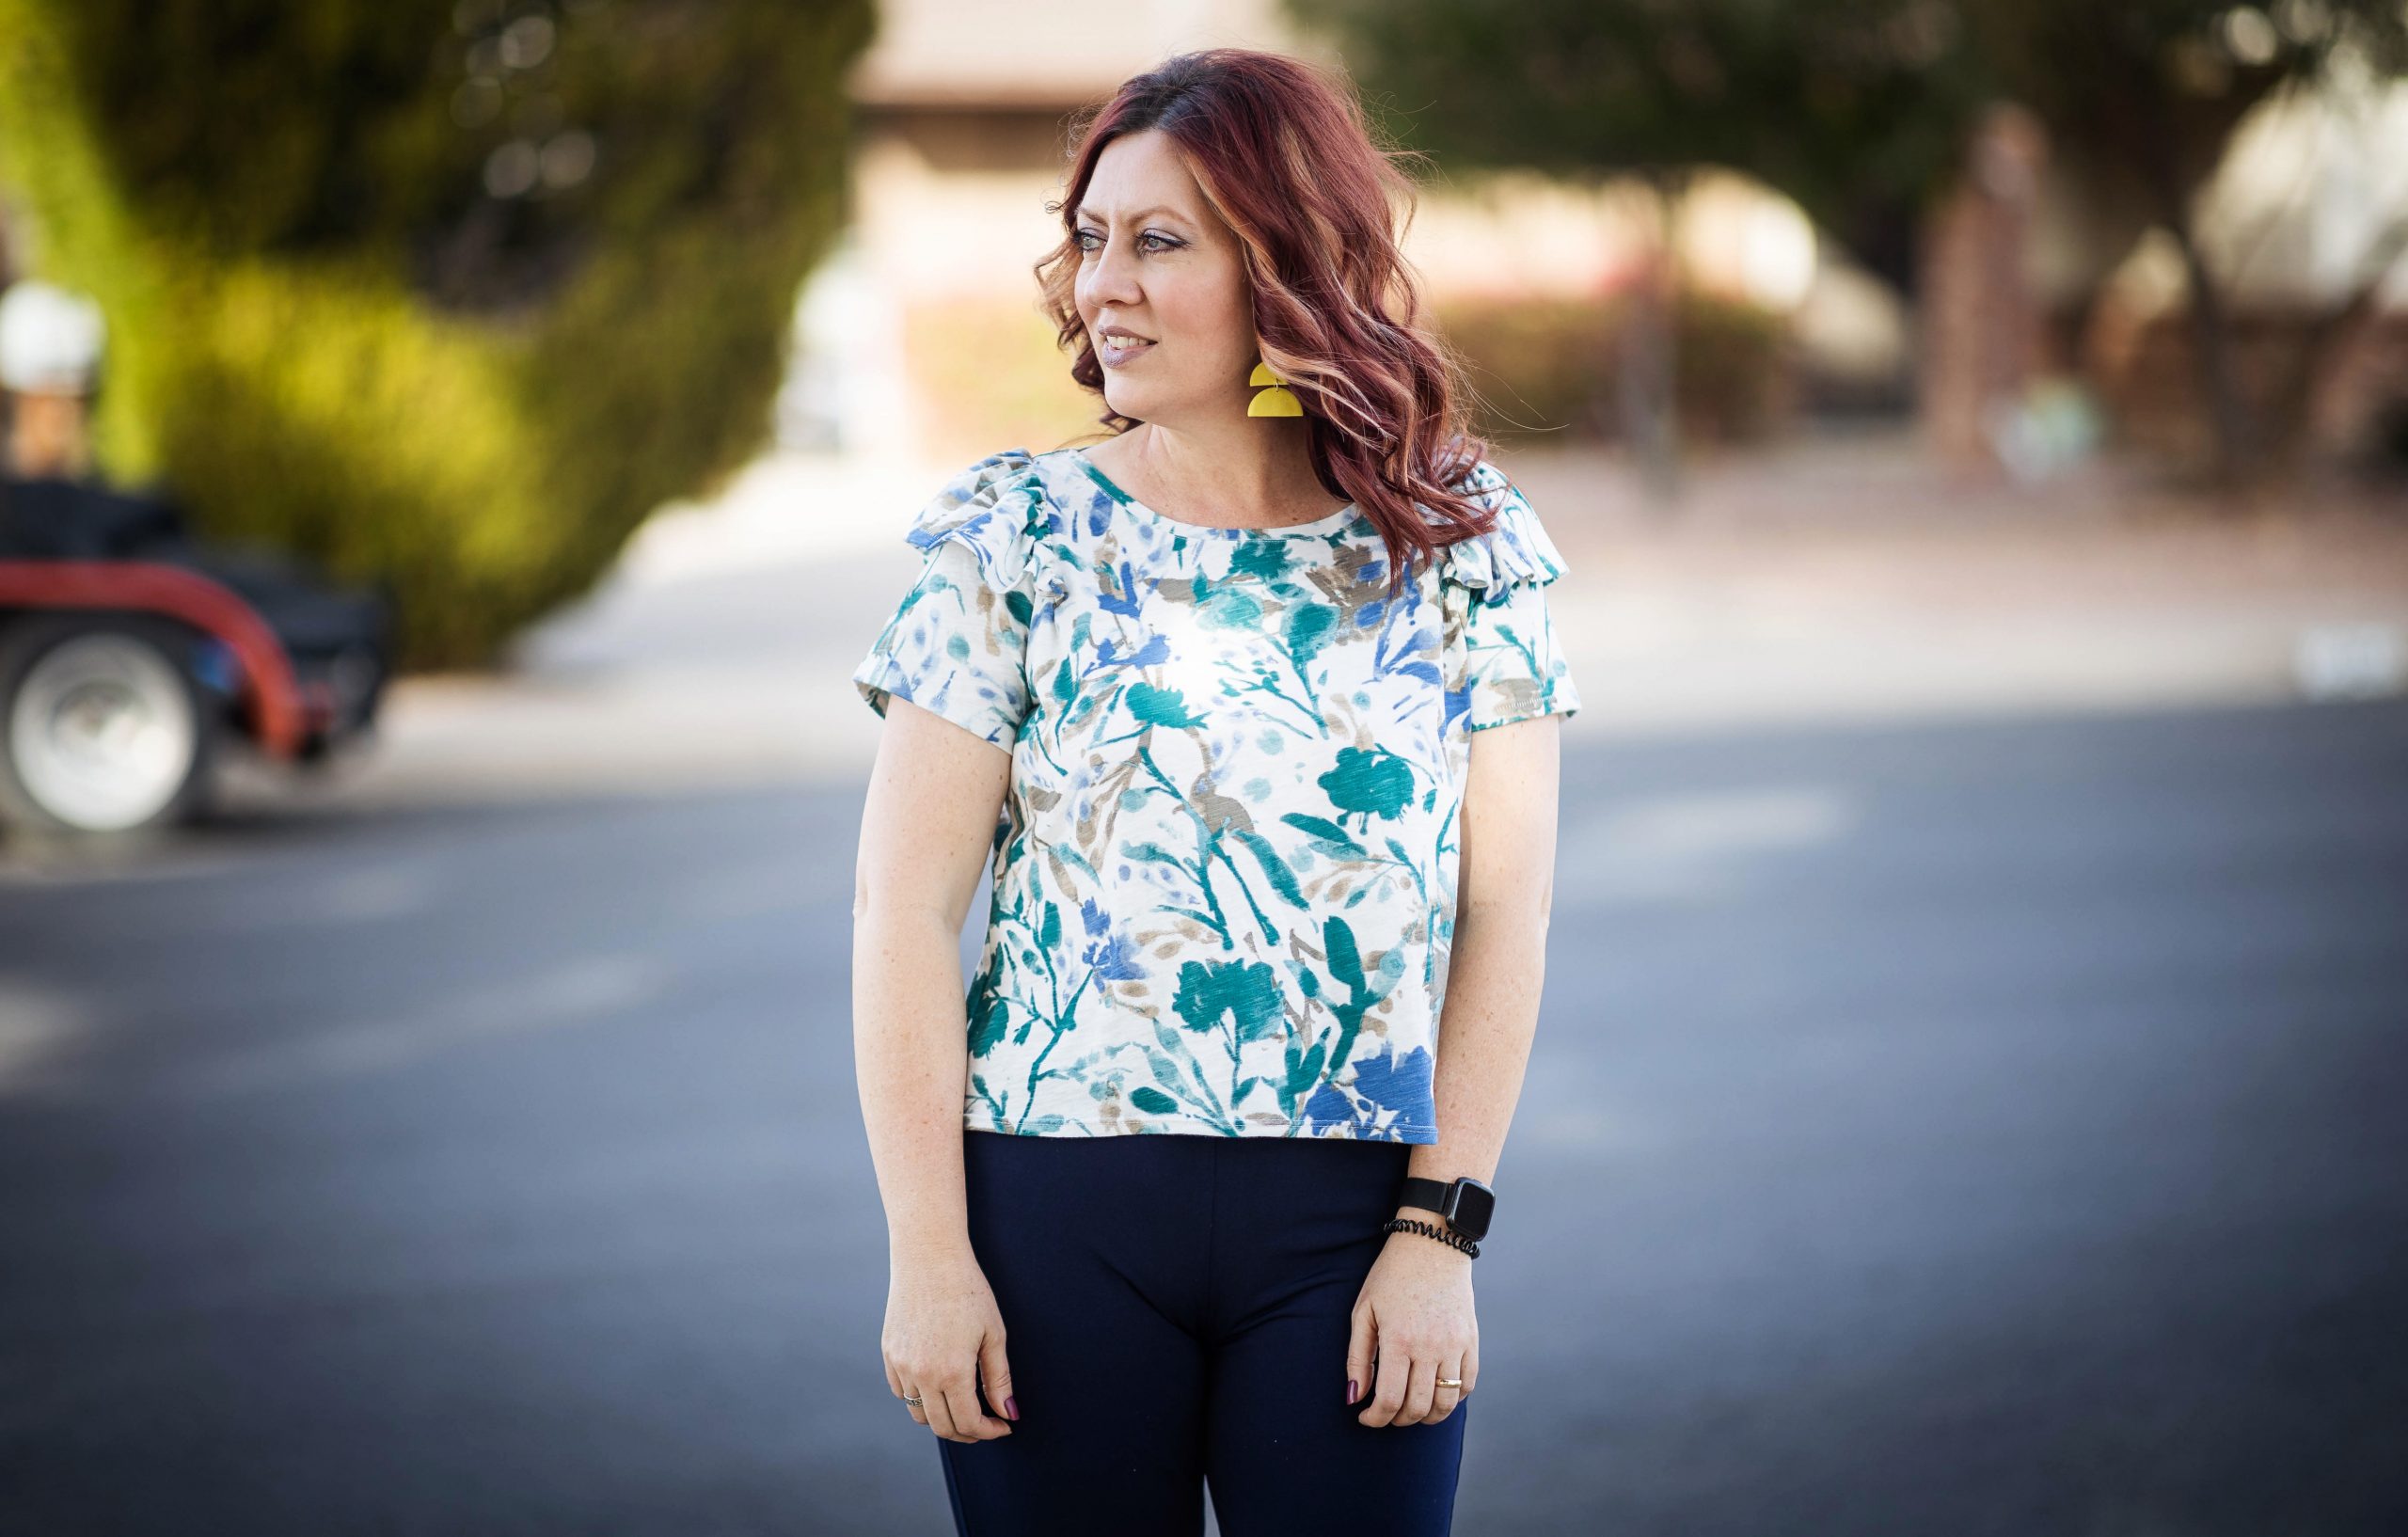
When I cut out my t-shirt pieces, I had removed 2 inches from the bottom portions of the shirt and the sleeves. These just happened to be the hemmed parts. So I sewed one short piece to each long piece. I then had two long, two inch strips I could gather to turn in to sleeve ruffles. As soon as I attached the ruffles to the sleeves, I knew I was going to love this Refashion!

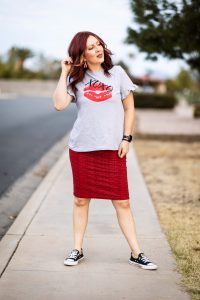
I sewed it all together and adjusted the neckband to fit. Then I  threw it on with a red pencil skirt and had a fun little Valentine’s Day outfit. It was such a fast make that I had time to make a shirt for MY Valentine. I said he could pick any fabric in my stash so of course he chose this red floral jersey knit. I wasn’t even mad about it.

So I guess you could say I gave him flowers for Valentine’s Day. He loves flowers and he loves wearing the things I make him. We are all set now for our Valentine’s Day at home.

Happy Valentine’s Day and Happy Sewing!

Koe
Shirt to Bomber Jacket Restyle

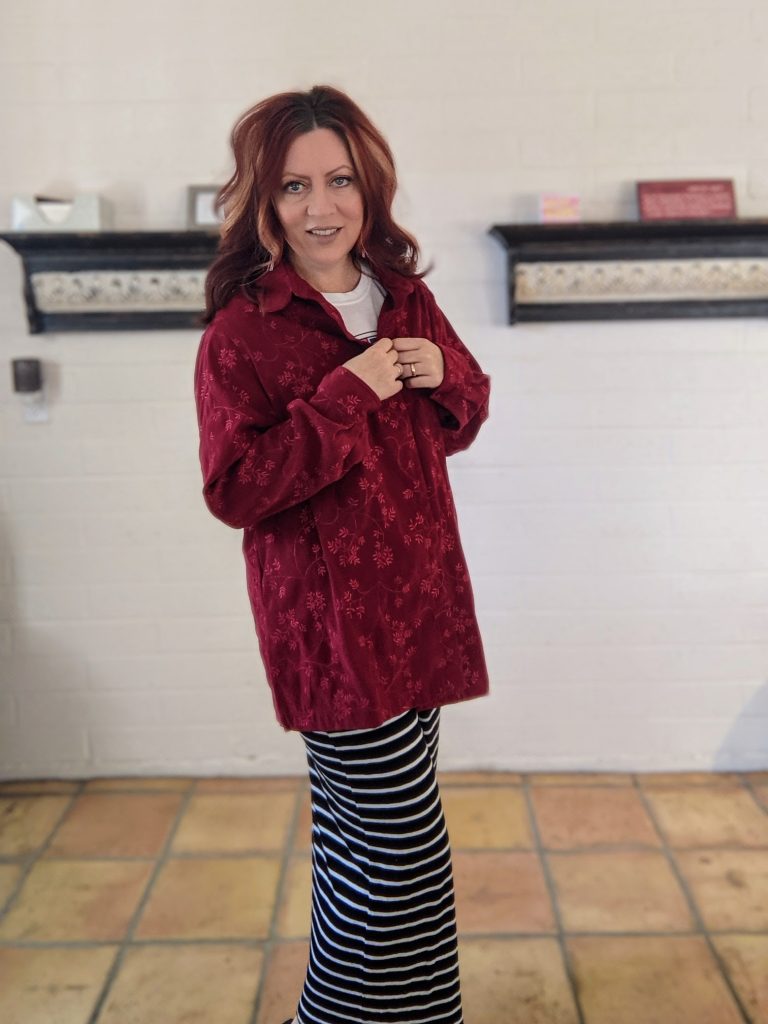
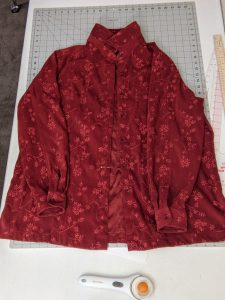
I really love Bomber Jackets, but I never thought to make one for myself…… until now. I had this embroidered floral print and faux suede looking shirt. It wasn’t getting worn at all due to the fact that it was just super out of date. It was the perfect thing to refashion into a Bomber Jacket.

I would rate this as an easy project. It took roughly 2 hours and the cost is $0-$5 depending on if you already have or shirt or need to purchase one from the thrift store. Flannel is another great option. I helped my 17 year old son make two flannel ones this  past weekend and they turned out great.

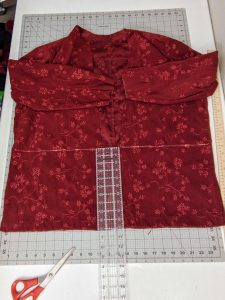
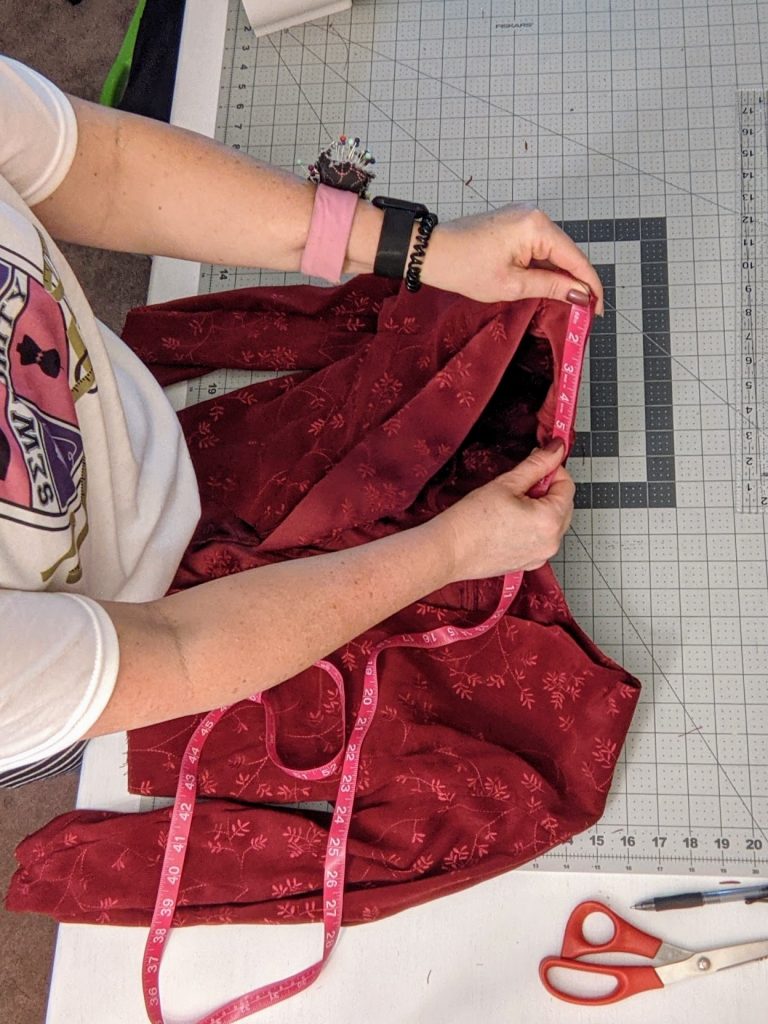
First, I tried it on and marked where I wanted to crop it with a straight pin. I measured and drew a line straight across.

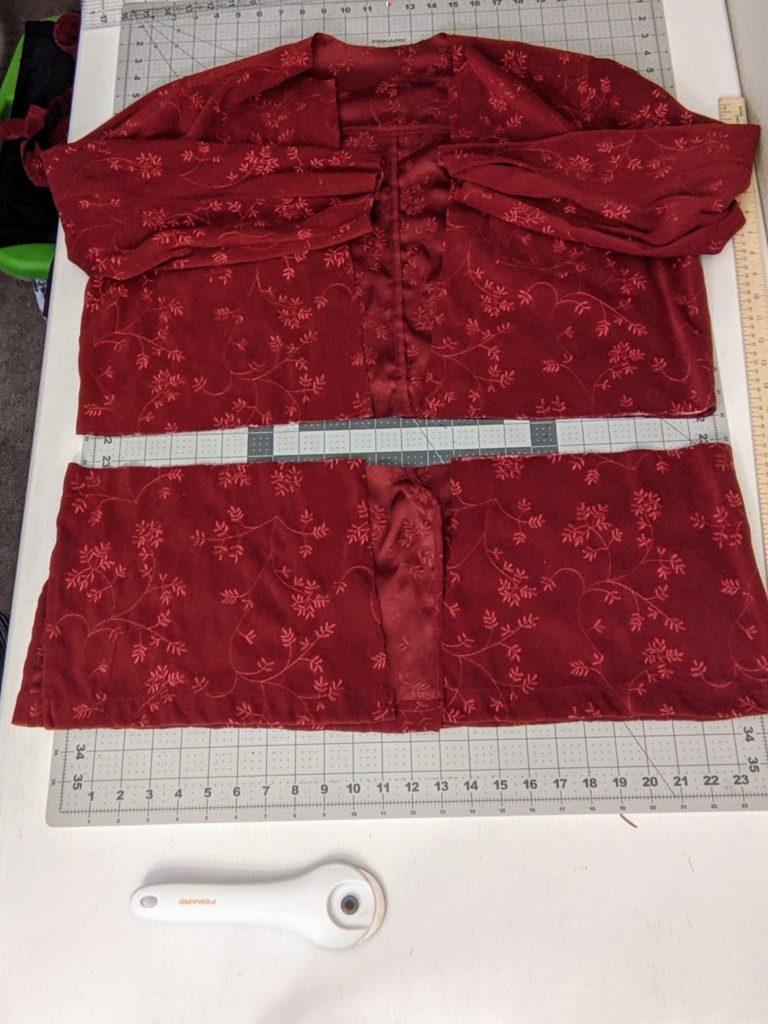
Then I cut along the line to remove the bottom portion. I saved that bottom part I cut off so I could make some patch/faux welt pockets. I also removed the arm cuffs, button plackets and collar.

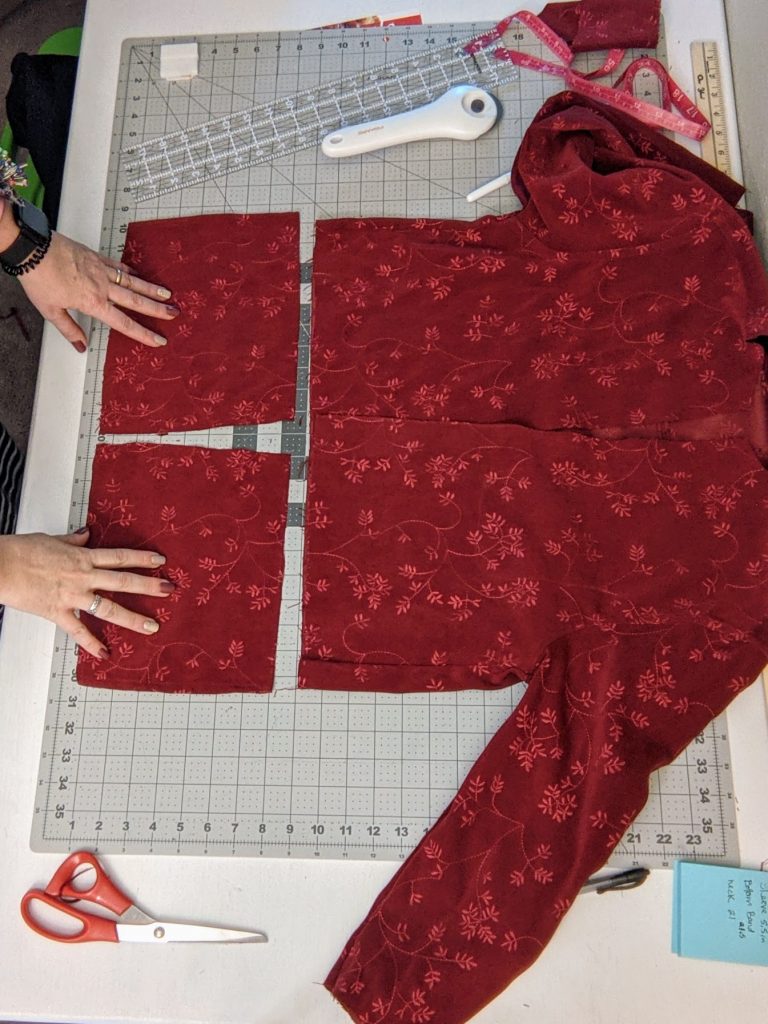
The pieces are going to be the pocket bags. They will be sewn to the outside of the jacket like a patch pocket. The opening to the pocket was going to be on the side, and look kind of like a welt pocket.

To make the pocket bags, I finished the outside edge and top of each piece by folding it under 1/2 inch, pressing and stitching in place. The edges were left raw on the bottom and inside edges of the pockets because that’s where the zipper and waistband are going to attach.

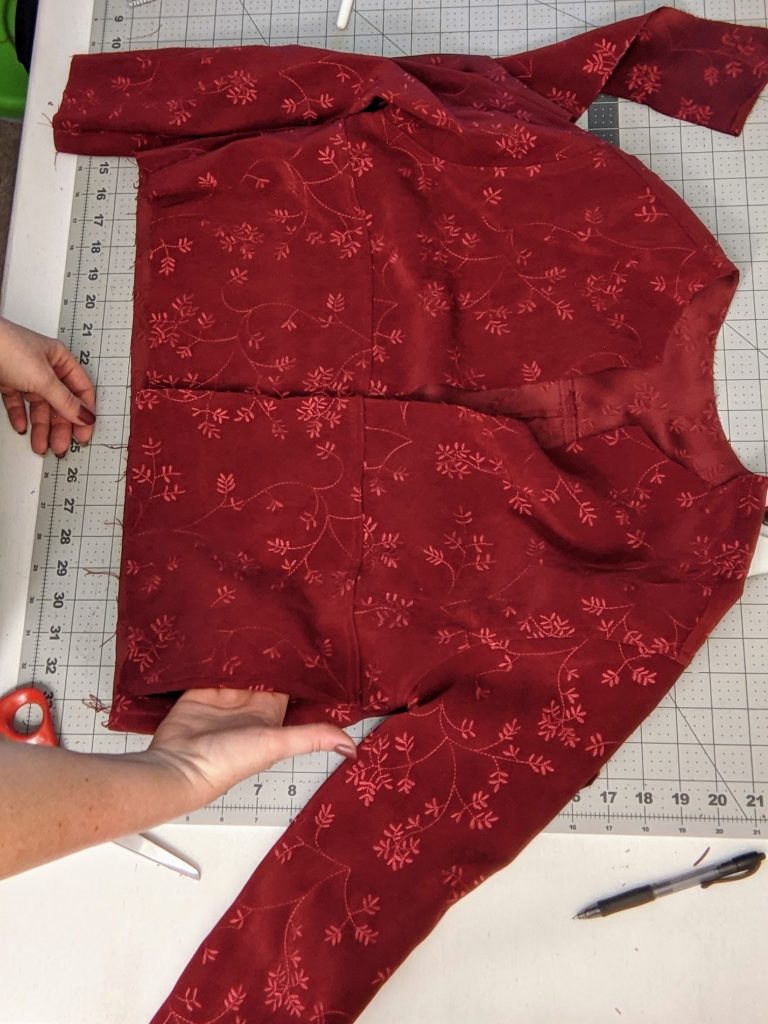
Then I placed the pocket bags on top of the jacket, matching up the edges to the middle front and bottom of the jacket; trimming where needed. I also matched the finished side edge of the pocket with jacket side seam. I made sure the pockets sat evenly across from each other. Once I was satisfied, I stitched across the top of the pocket bag, down the front and across the bottom, leaving the sides open. This gave the pockets a faux welt look as well as little more design to the front of the jacket.

Next, I measured the neck, the wrists and the waist for the trim/bands. I was going to be using scuba knit as the trim because it’s stable and has good stretch. You could use and old t-shirt or whatever stretchy fabric you have access too. After I took each of those measurements I subtracted two inches because I wanted the trim/bands to stretch to fit those areas.

**For a tighter fitting waistband you will want to subtract more than two inches from the waist measurement. However, this will depend on the amount of stretch in the fabric you use for the trim.

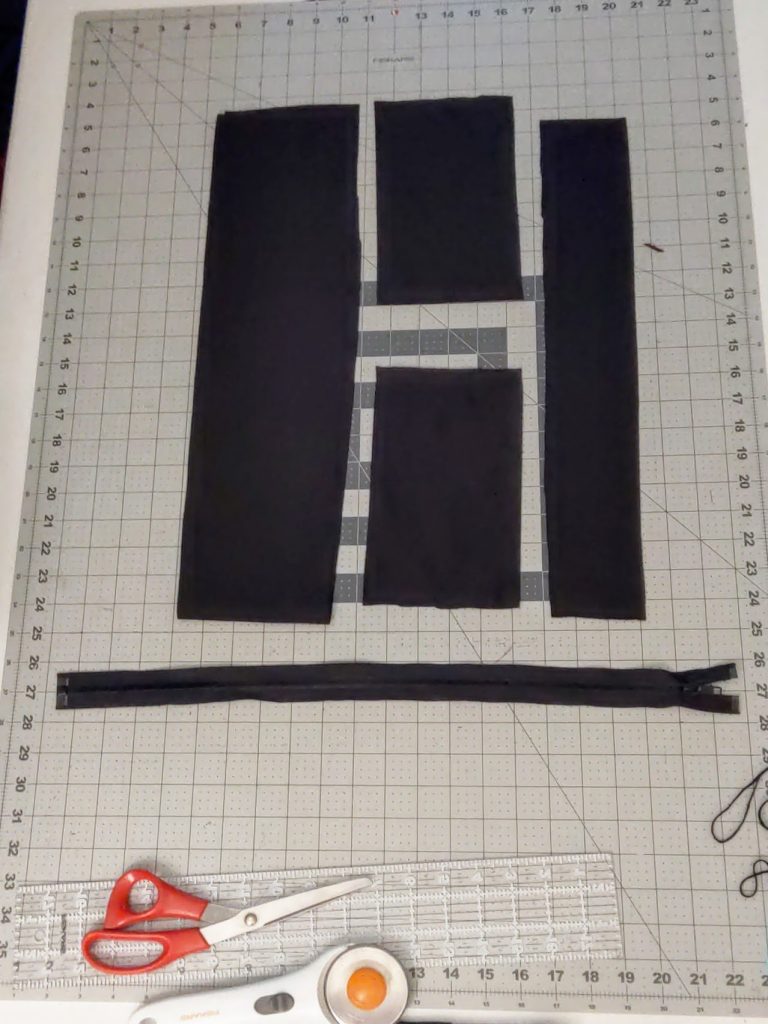
I cut out the trim pieces twice as tall as I wanted the finished band to be. It’s going to be folded in half “hotdog” ways to attach it. Make sure the stretch of the fabric is going along the long part of the fabric. That way it can stretch to fit the places it is going to be.

You should have the neck piece, two wrists pieces and one waistband. The zipper should be the length of the jacket with the waist band attached. I believe mine was 18 inches.

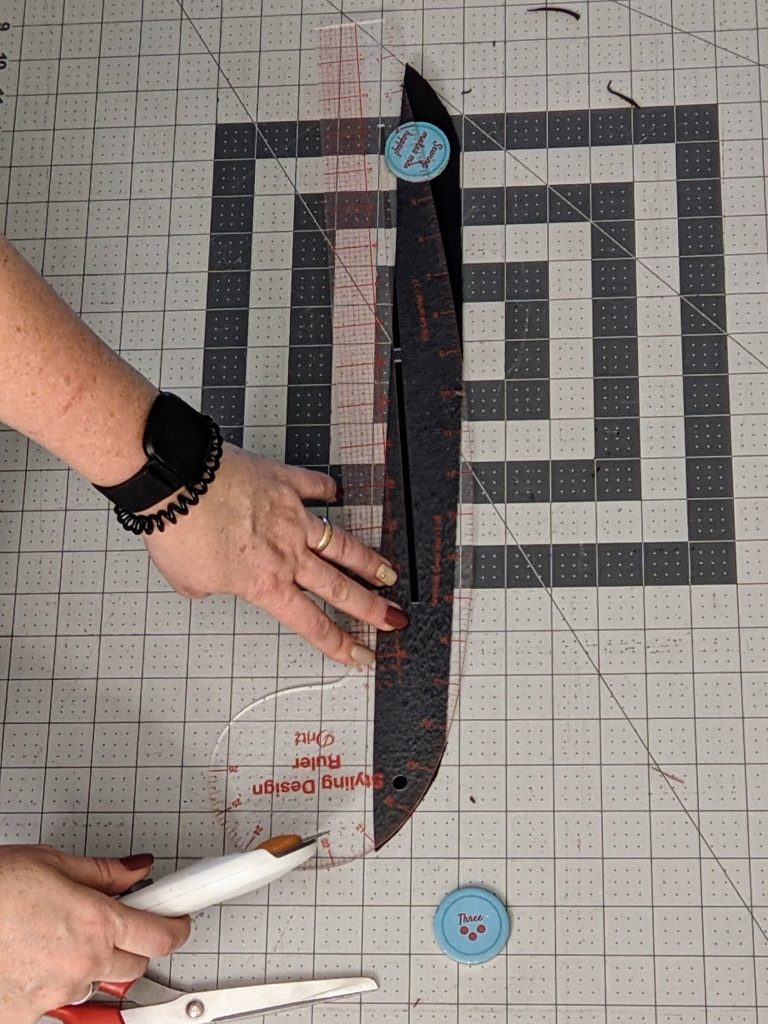
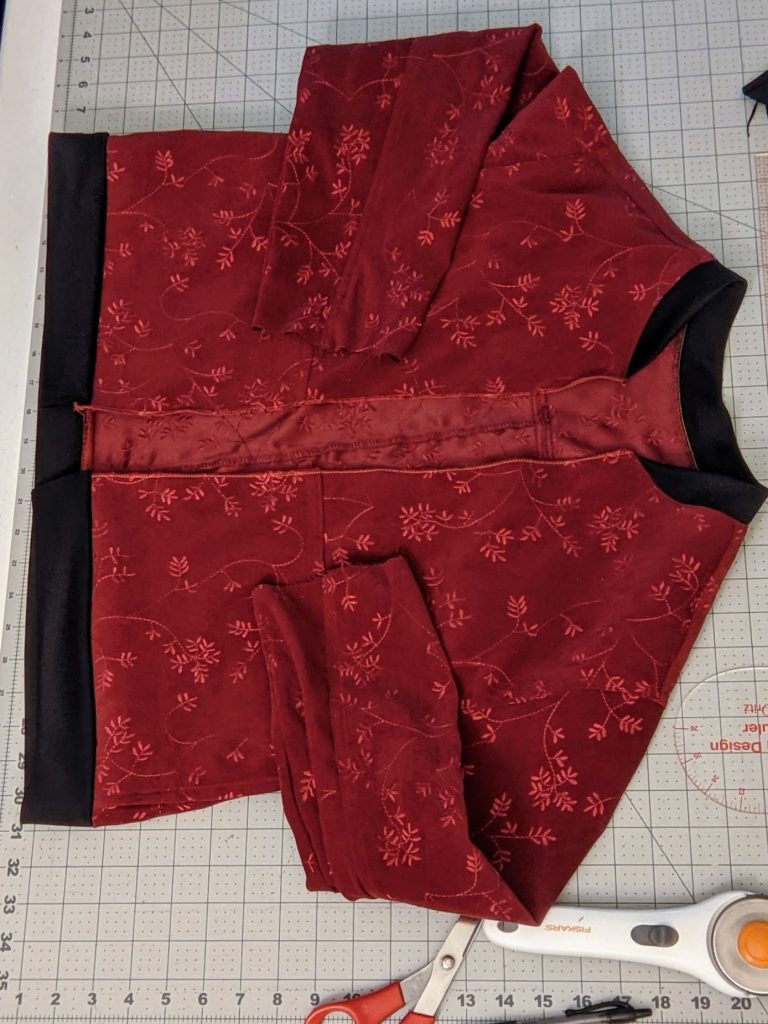
I needed to make the neck band tapered on the edges to have the look of a Bomber Jacket neck band. To do that, I folded my neck piece in half and used my French curve ruler to round the raw edges at each end of the neck piece before attaching it.

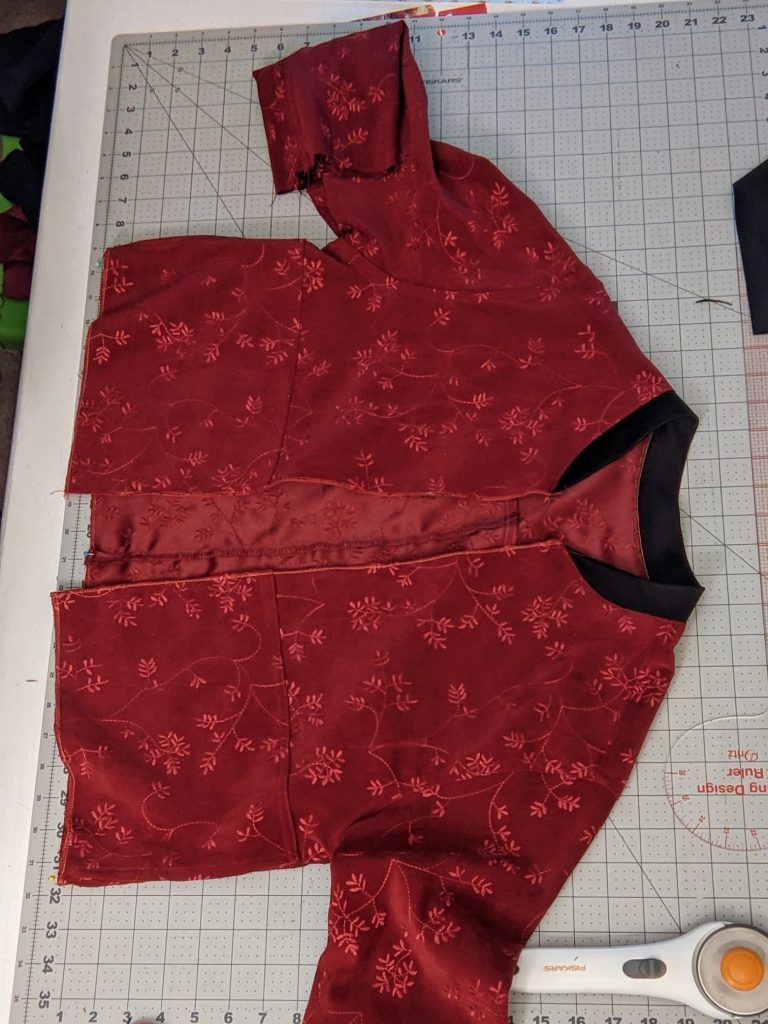
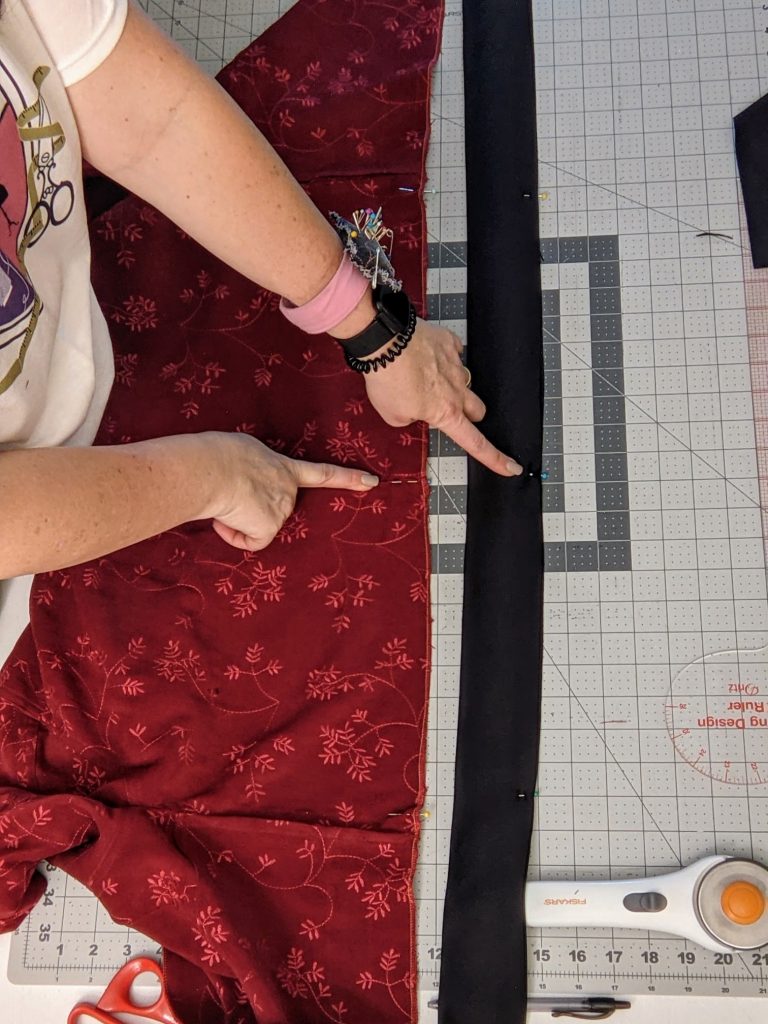
Then I marked the middle of the jacket and neck piece, stretched and pinned it on. Once it was attached it looked like this.

I found the quarter points on the waistband and jacket by first folding it in half and marking the middle, then folding the open sides in to the middle and marking those folds too. I matched them up on both the jacket and waist band, pinned and sewed it on. It now looked like this and was so close to being finished. All that is needed is the wristbands and zipper.

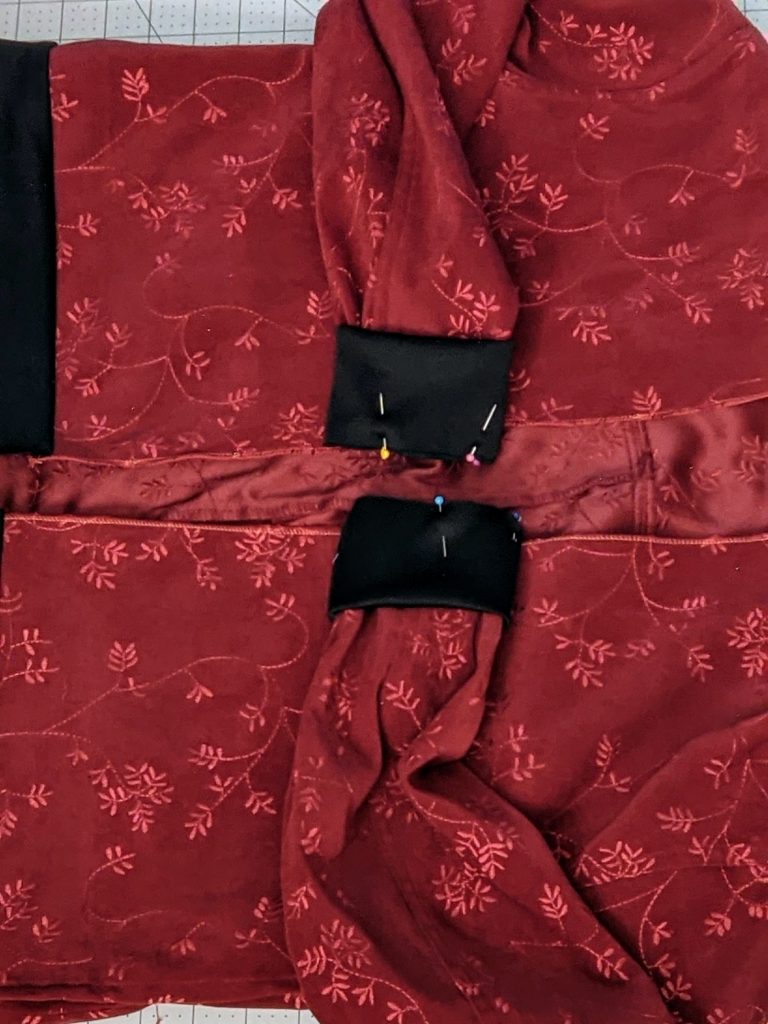
Once I had sewn the short ends of the wrist bands together, I folded then in half. Then I matched up the seams on the wristbands to the seams on the sleeves right sides together. Then I pinned the wristbands on, stretching as I went. I used a narrow zig-zag stitch to sew the wristbands on because they needed to stretch more than the neck and waist.

It was finally time to install the zipper and complete the Bomber Jacket! Zippers are not my favorite, but I’m trying to approach my sewing differently this year and that means I’m going to have to sometimes do things I don’t like. So I’m probably gonna do a lot of zippers this years.

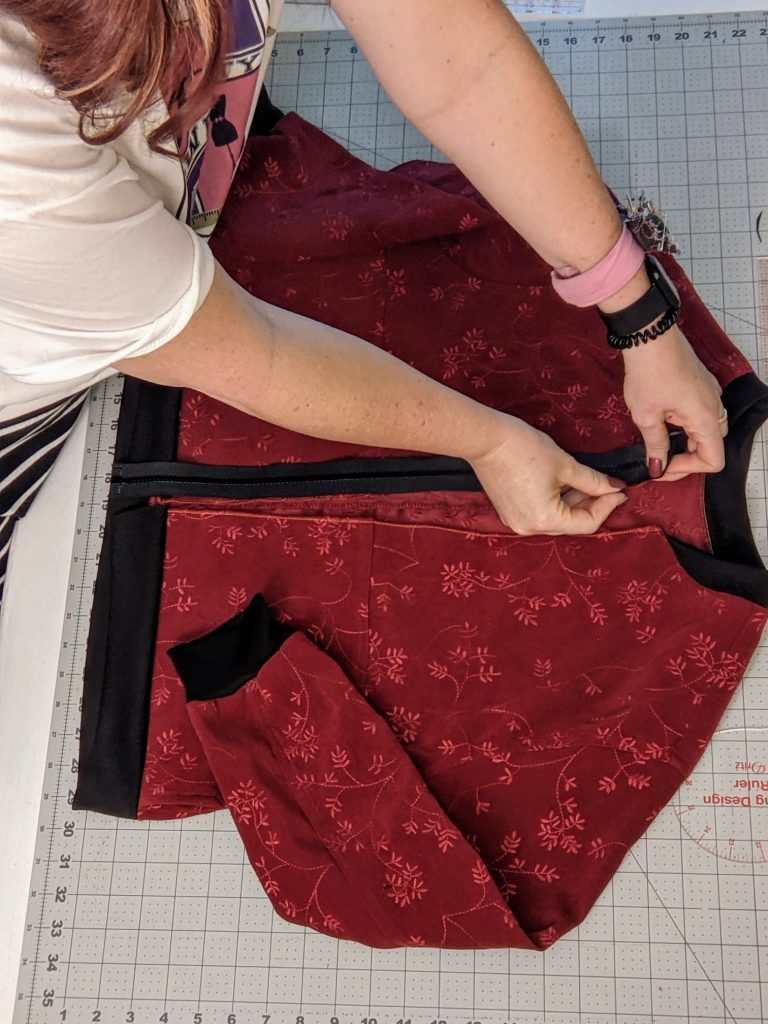
I pinned one side of the zipper on face down, unzipped the zipper, flipped it over and pinned it to the other side face down. Then I sewed it on using a zipper foot.

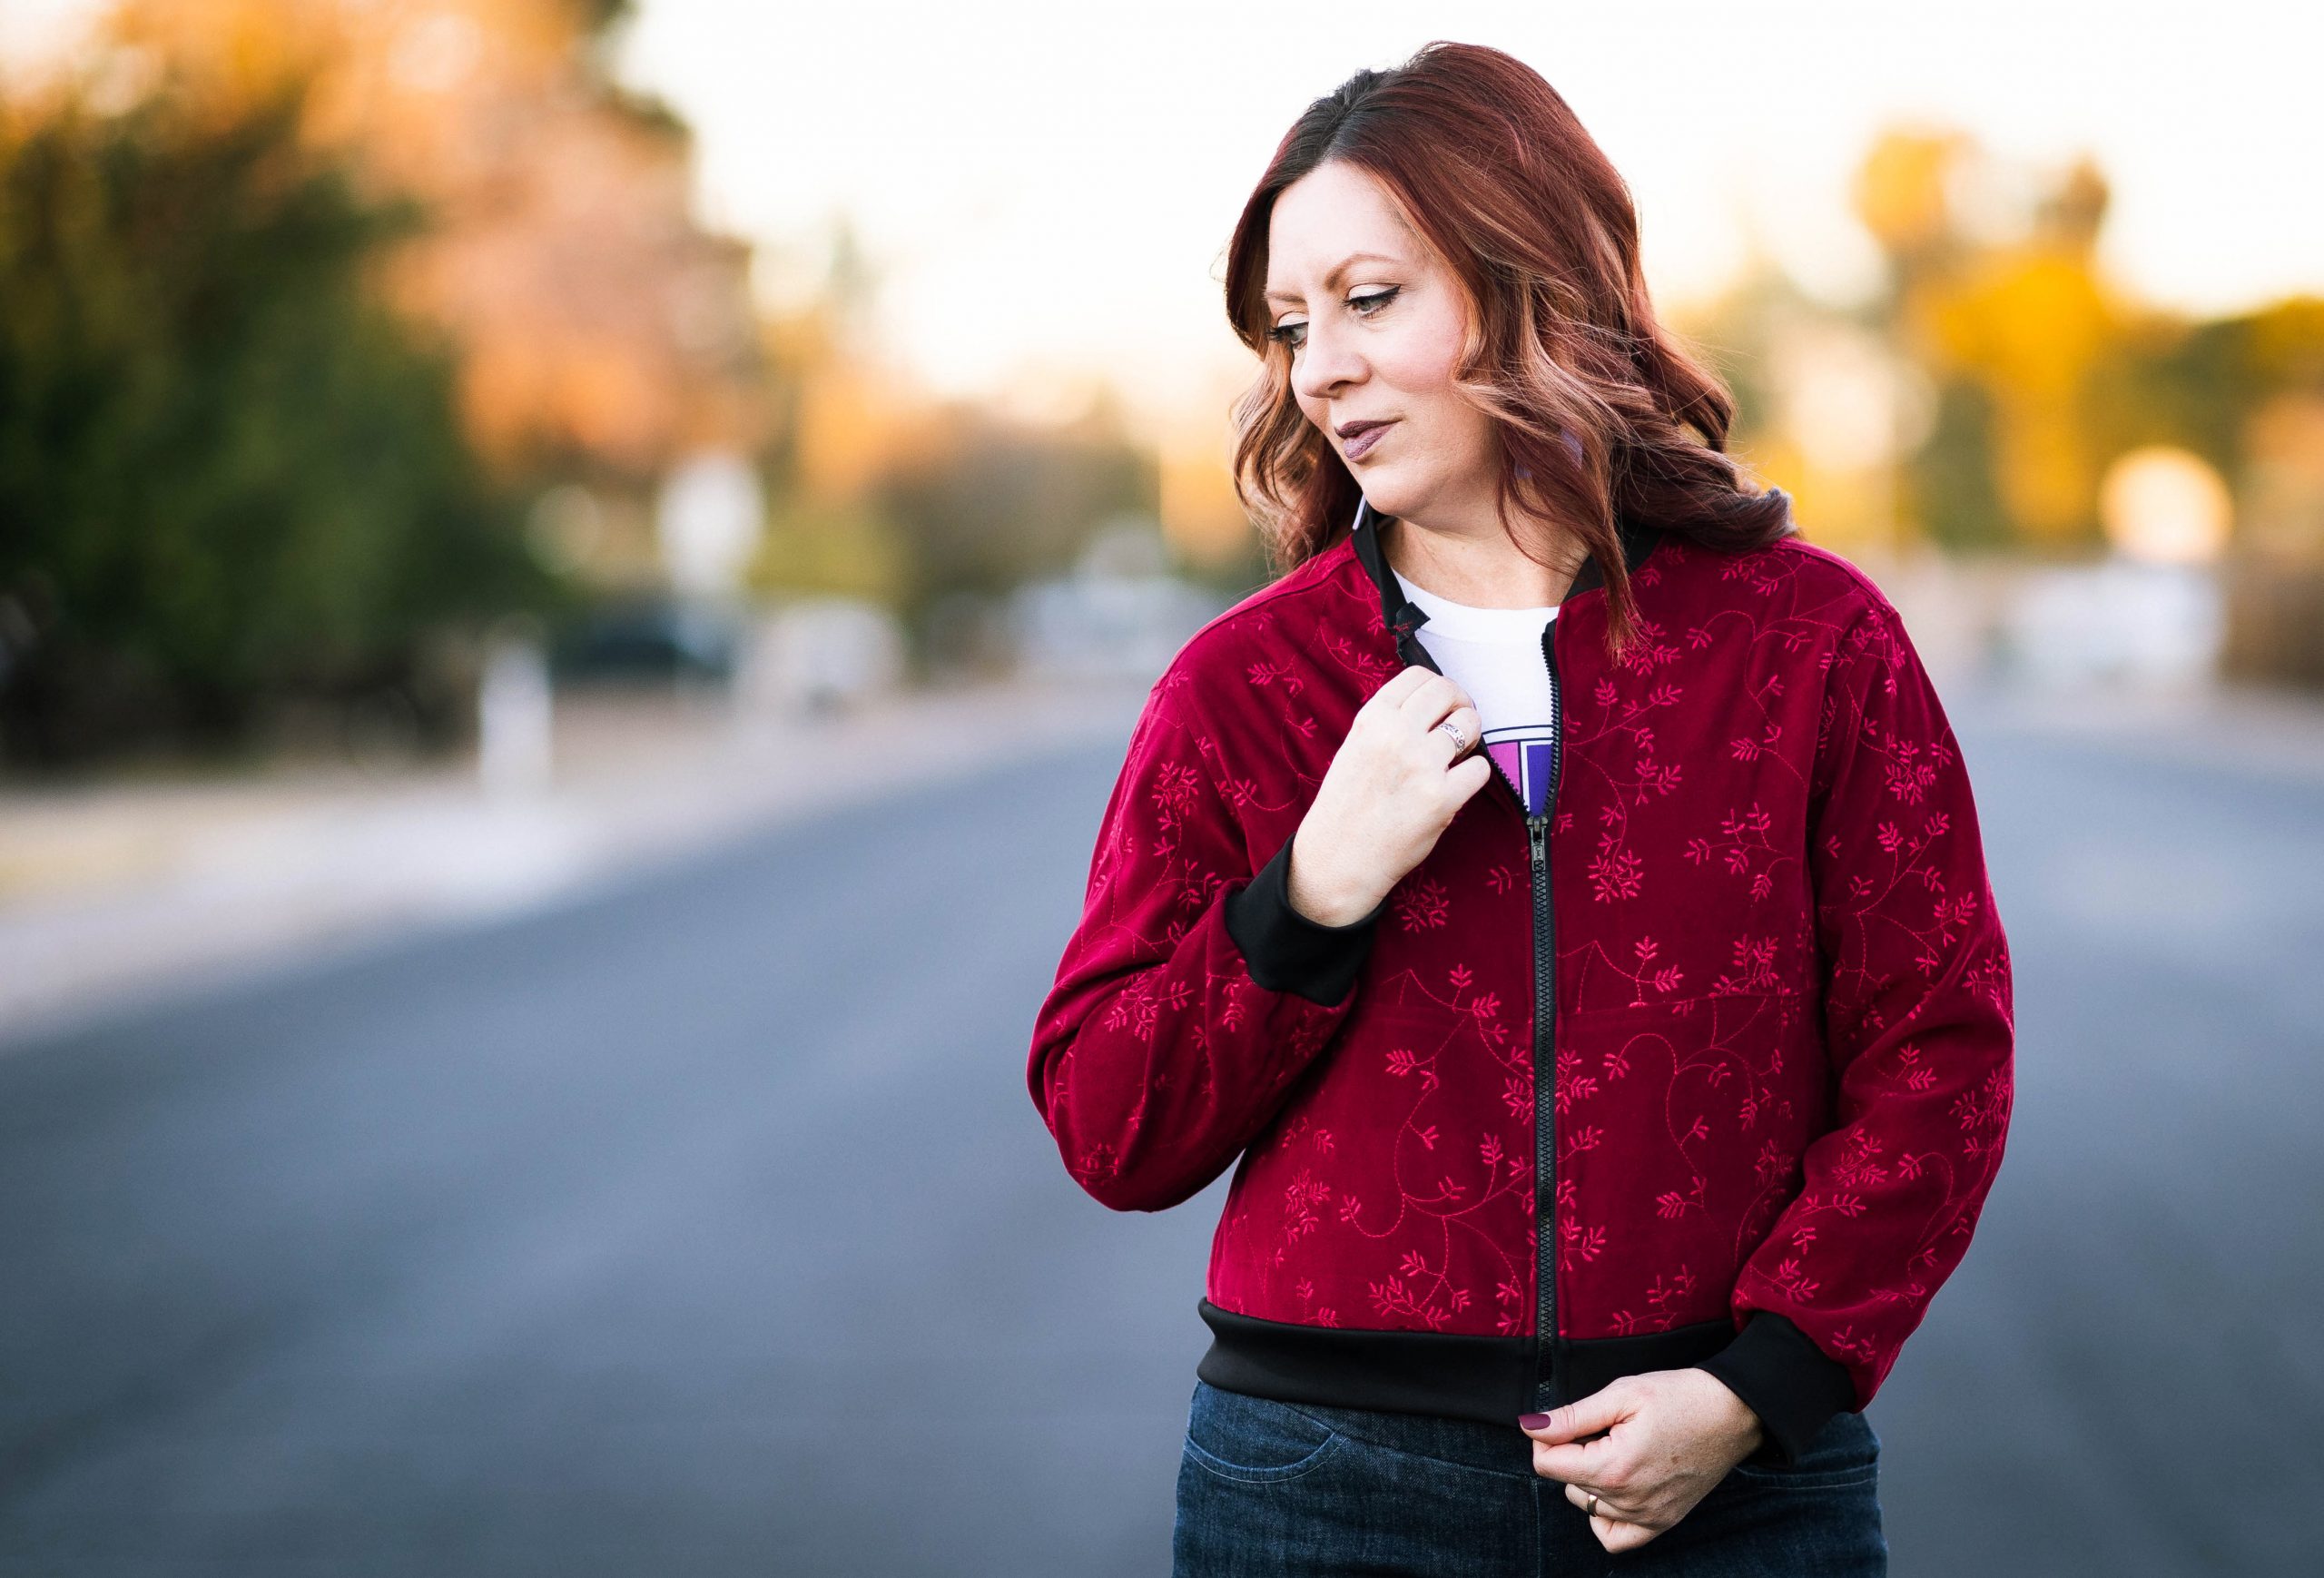
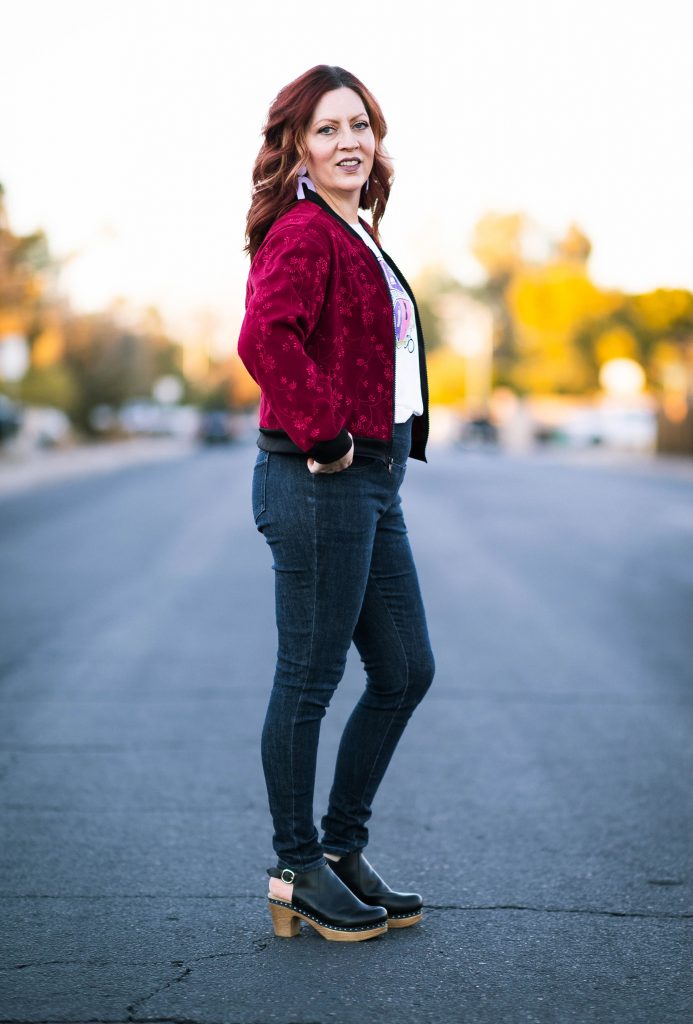
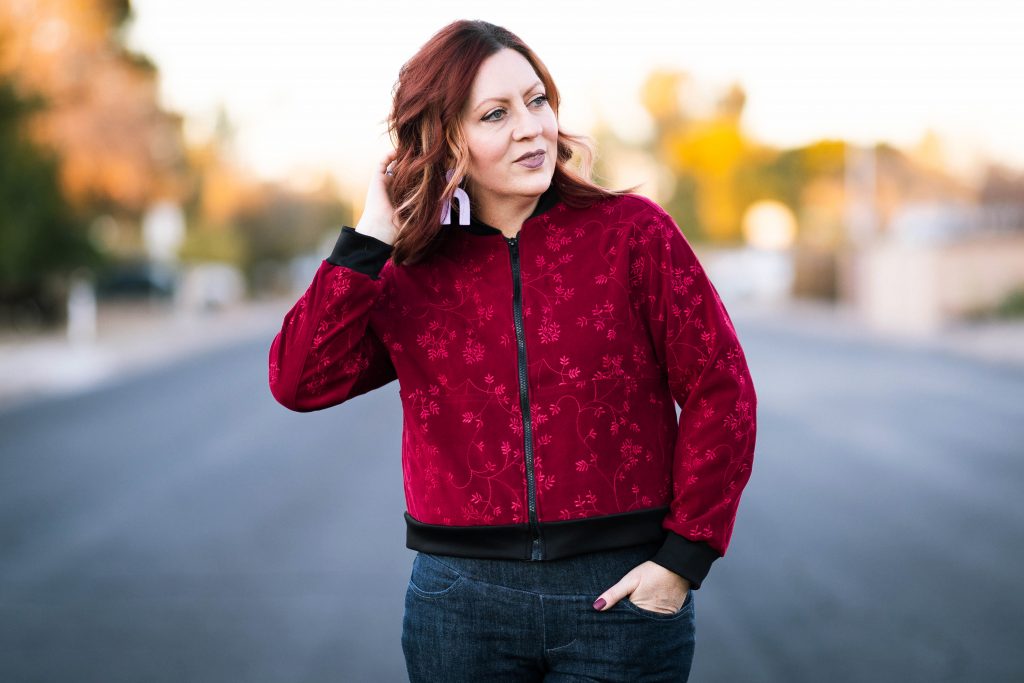
And there you have it! I think it took me less time to sew this jacket than it did to write this blog post. For reals. Using a shirt to make this light weight jacket was a great idea for our mild winters here in the desert. It’s perfect to wear on cool mornings or evenings. The bight color makes it a fun little accessory to add to any outfit. I am super pleased with how it came out and I want to make anther one.

If you want to see a more in depth version of how to do this, I made a YouTube video for you to watch. Hope that helps and maybe inspires you to refashion something in your own closet. It’s so fun!

Good Luck my friends!

Happy Sewing,

Koe
Refashion Nine

For the last little bit since I started my sewing Instagram page, I’ve picked 9 patterns to try and sew throughout the new year. The only problem was……. I could never commit to the patterns. My likes and dislikes would change before I could get through my list of 9 patterns. Sometimes I would sew a pattern just to mark it off the list, then it would sit and gather dust. Never to be worn again. It’s sad really.

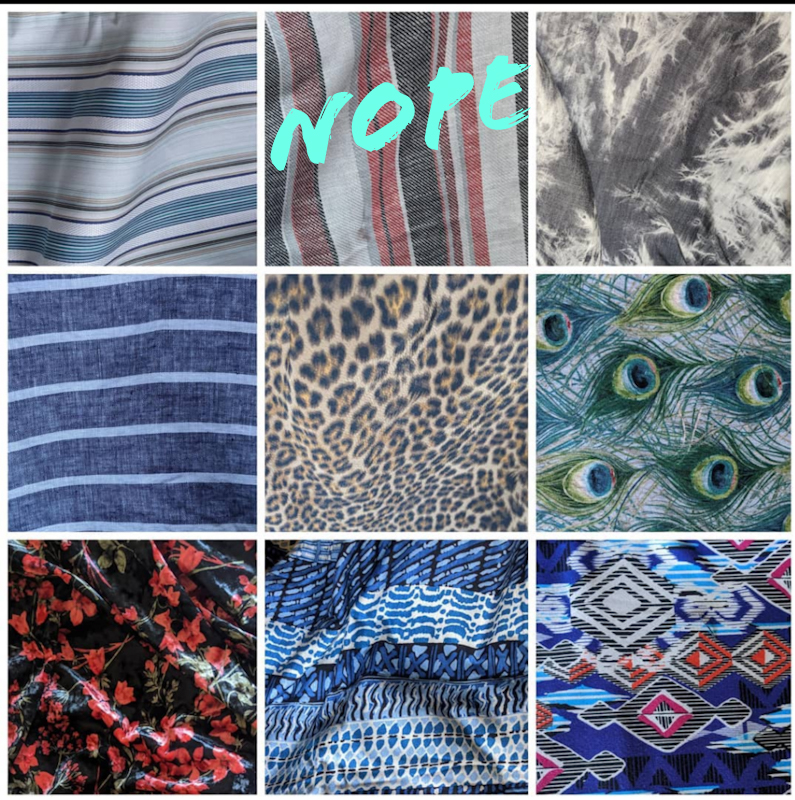
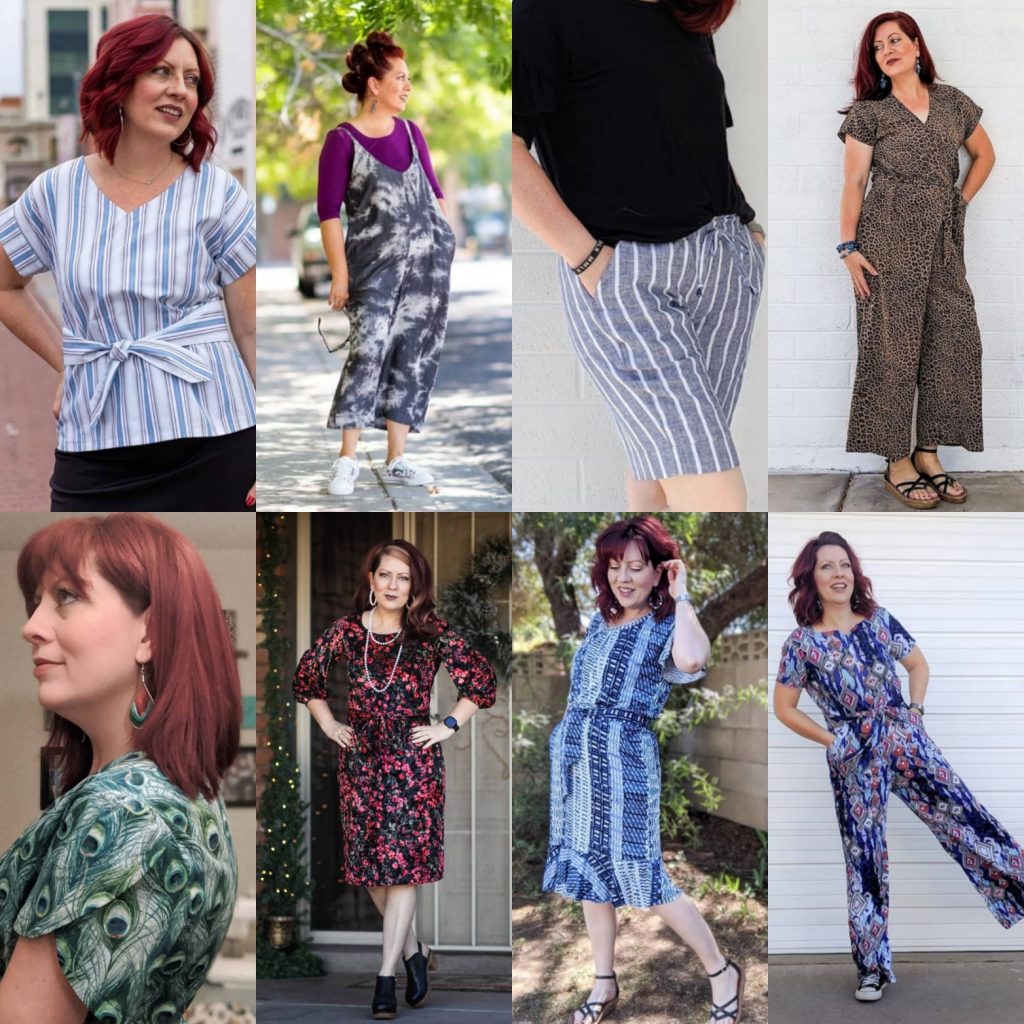
Well last year I chose 9 fabrics to sew with and guess what. I got through 8 of them and now have some of my favorite garments yet. I wear all 8 of my makes all the time. I mean it still wasn’t 100% successful, but I did way better than any year previous. For some reason I find fabric easier to commit too. Here they are, in all their hand made glory! The 9 I completed and the one I didn’t.

Fabric is so near and dear to me. Some sewists scrimp and save to buy the perfect fabric in the right amount of yardage. Some don’t have to.  A lot of us hold on to our fabrics for just the right project. Sometimes we save it for years!  We have certain fabrics just for making mock-ups in so we don’t ruin our precious fabrics. Take this Rhapsody blouse for example. I’ve has this fabric since 1996. I finally used it in April of 2020 to sew this beloved blouse. I wasn’t going to use it on just anything. It had to be something I loved. I also had to trust myself enough to use it and breathe life into my beloved fabric. It took me 24 years to trust myself enough!

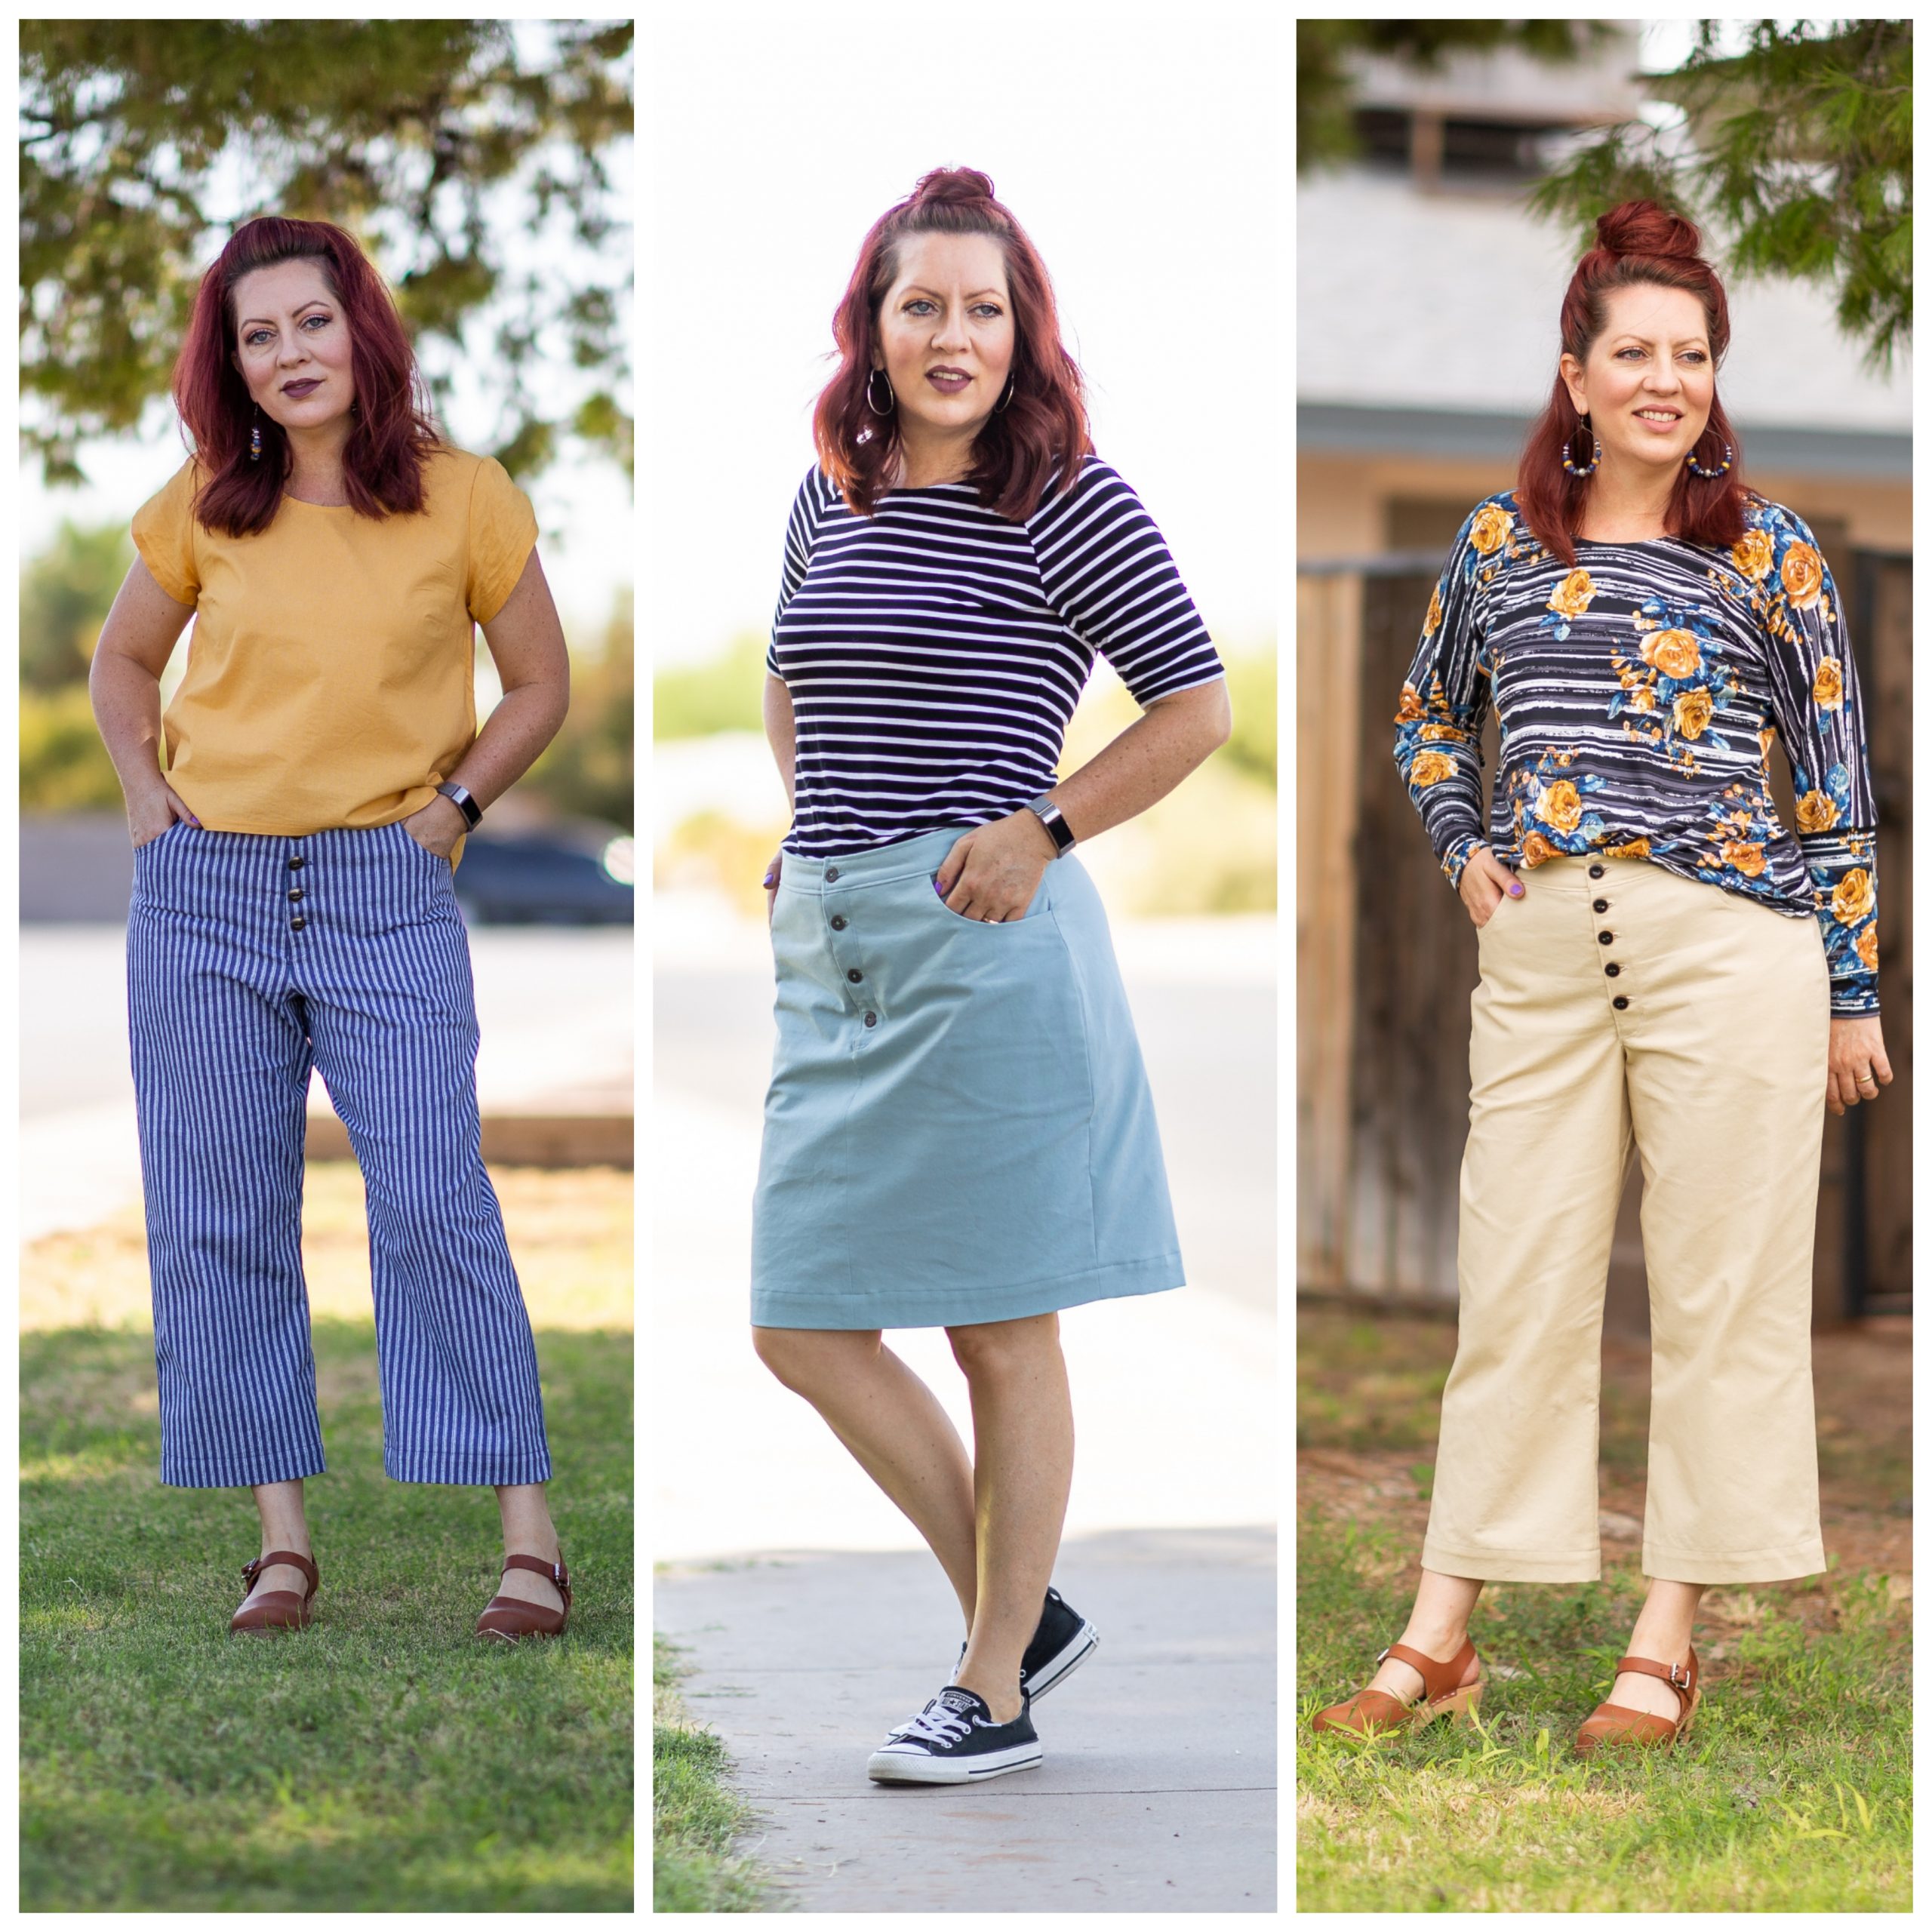
I started thinking about my goals this year and what I wanted to accomplish. Then I thought about how much I LOVE  to refashion. That’s the ultimate trust right there. I mean, you only have one shot when you refashion something. Even refashioning my dinning table set was crazy. What if I messed it up? I knew the results would be well worth my effort. You just have to be more intentional and trusting.  What if I did just that with my #sewnine ? What if I #refashionnine ? What if I breathed life back into once loved garments? Nine of them. Would I trust myself enough to do that? There’s so much waste out there and we all know thrift stores are full of wonderfully worn clothes waiting to start life all over again. What if I did just that?  Here’s a look at just a few items I refashioned in 2020.

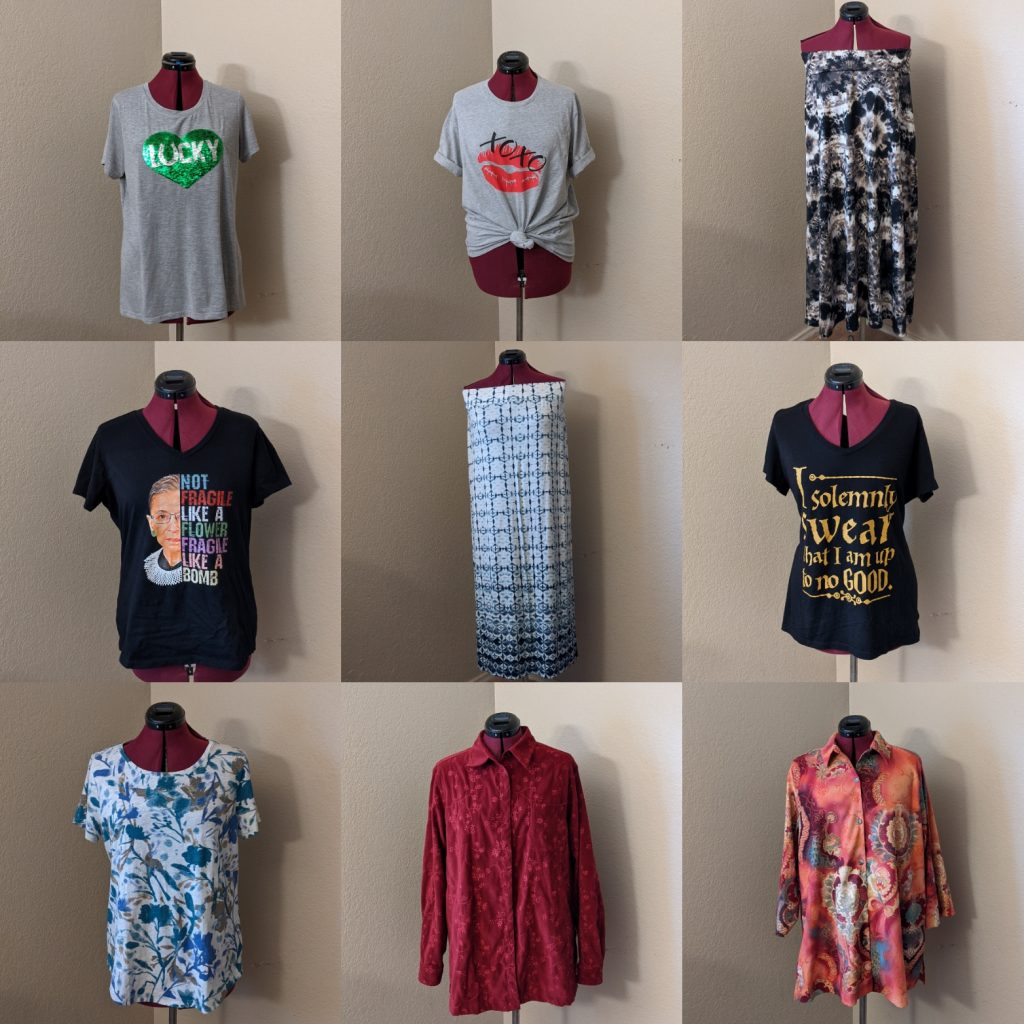
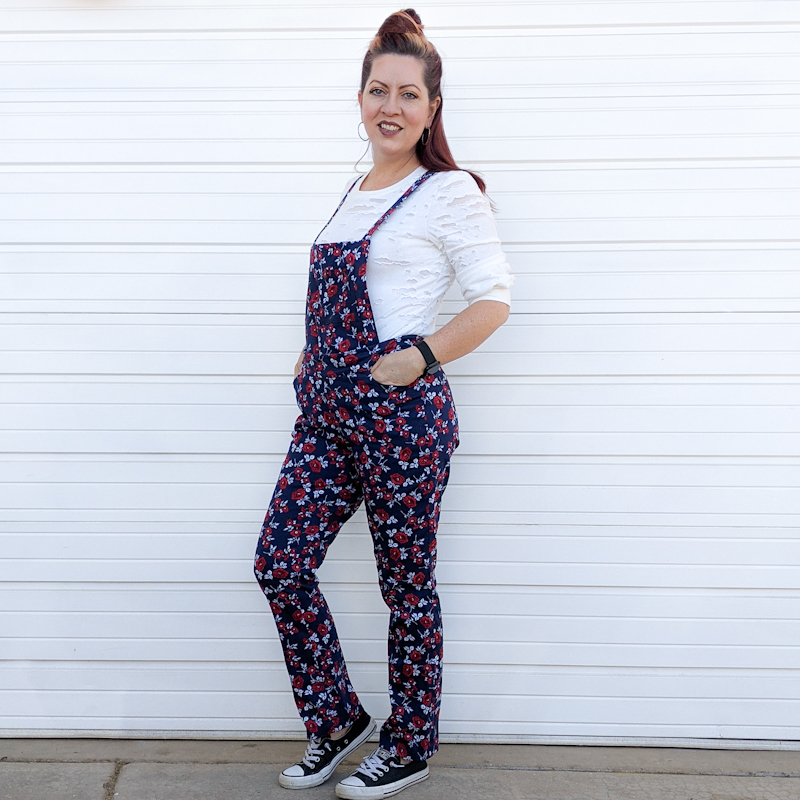
And here’s a look at a few items I plan on refashioning in 2021. I just refashioned the bottom left one today in 45 min.

If you want to join me in my refashion nine challenge, here’s what I propose.  Either look through your closet, your kid’s, your spouses, your roommate’s, your Grandparents, anyone who will let you. Or go to thrift stores, mom and pop thrift stores, yard sales, estate sales, places where all those hidden treasures are. Go to all those places and find your nine.  It doesn’t have to be just clothes either.  Anything can be refashioned to suit another purpose. It can be  all the things: house wares, toys, blankets, shoes, bikes, rugs, literally ALL the things. Find your inspiration. Find those things that still have lots of life left to live. Read books, magazines, blogs, get to know people and start a whole new refashion revolution.  You’ll be not only amazed at yourself, but you’ll be amazed at what you’ll find. Those creative juices will start flowing.

Trust yourself. Don’t wait 24 years like I did. Let’s Refashion Nine in 2021. I hope you’ll join me.

Have fun Creating!

Koe
#refashionnine2021 #refashion9 #pickyournine
Raglan Sleeve Hack

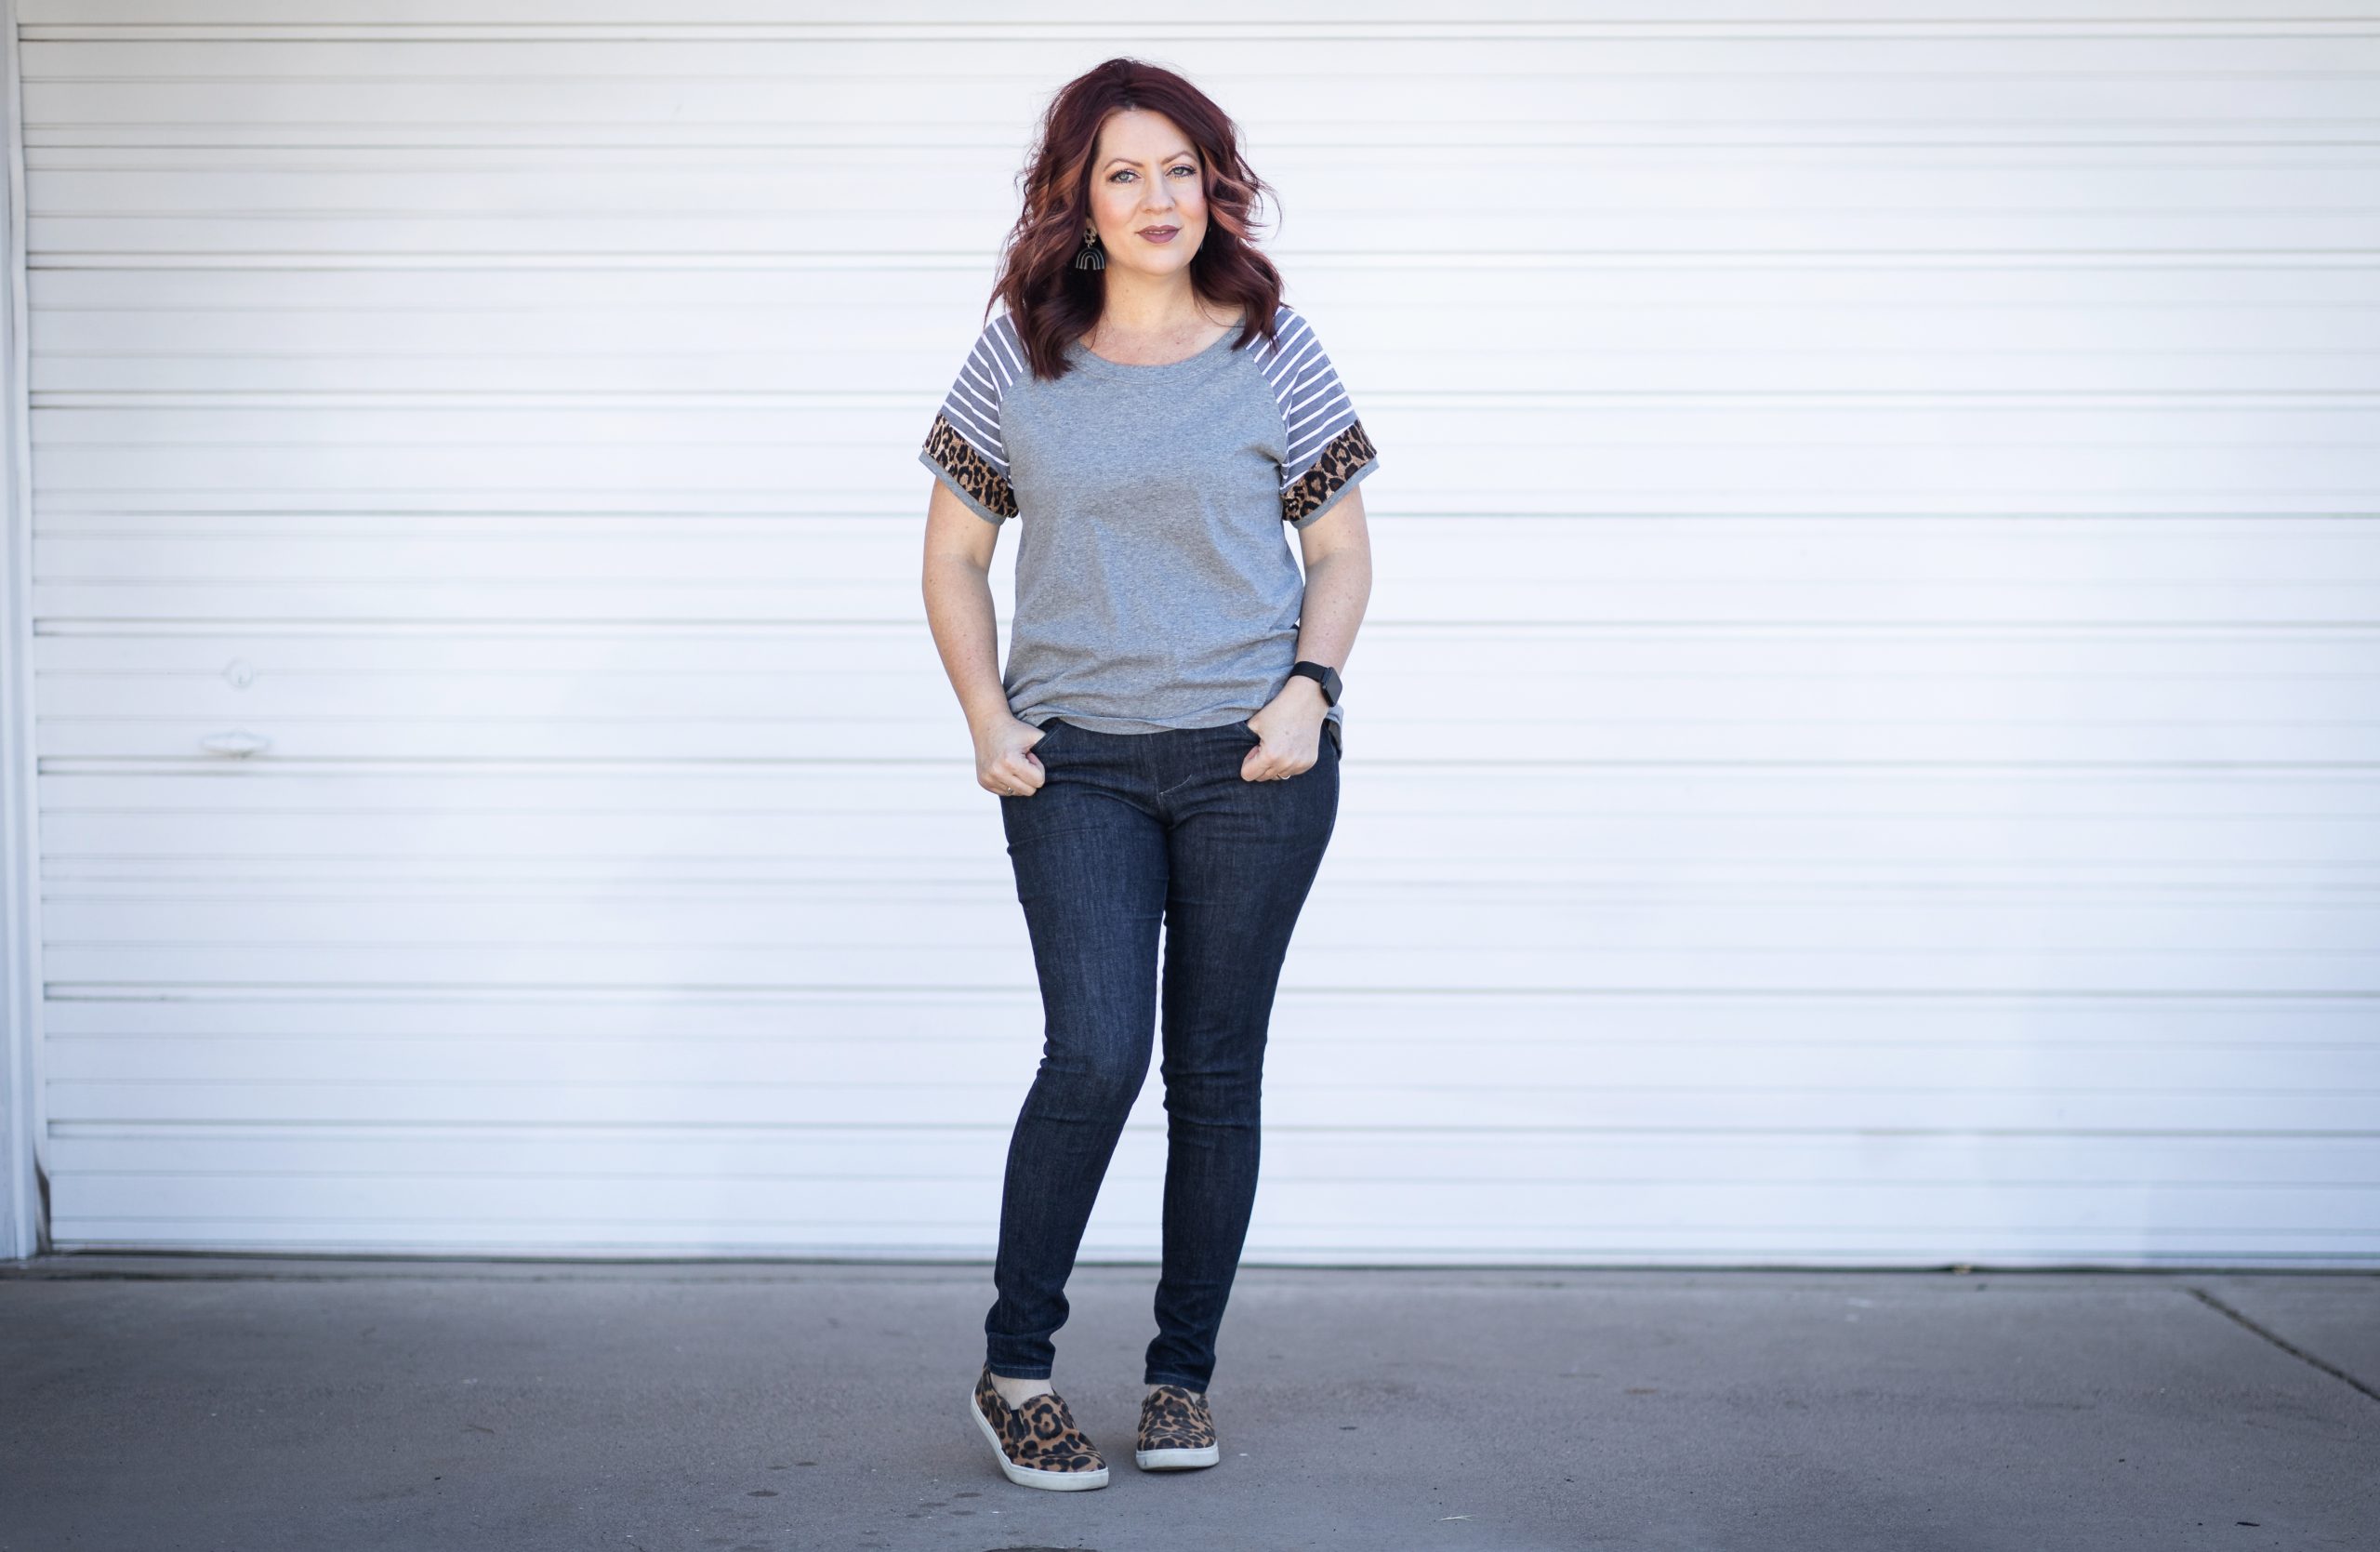
At some point last year I saw this adorable raglan shirt on social media. I loved the leopard and stripe sleeve detail and the comfy loose fit! I snapped a picture and put it on my “to do” list. Then Covid happened and like many of you, I was suddenly thrown into being not just a bread winner but a school teacher, lunch lady, PE coach, guidance counselor, playmate and many more things for my 3 boys. It was mentally and physically exhausting. Needless to say this project got pushed aside and forgotten. Then one day I was cleaning off some files on my phone and came across the picture of the raglan tee and told myself, “This is gonna happen right now.” Read more “Raglan Sleeve Hack”

The Perfect Palette Cleansing Project for the New Year

I always fall into a bit of a rut at the end of the year. We have 3 birthdays within 7 days of each other from the end of November to December. Mix that with Thanksgiving, Christmas sewing,  Holiday Shopping and family parties or zoom meetings….. I’m pretty much spent mentally come the New Year. Sewing is such a good activity for mental health for me. Because of that, I always want a quick, selfish sew to start the year. Read more “The Perfect Palette Cleansing Project for the New Year”

It’s Cardigan Season!

It’s Fall and in Arizona that means you wear the same things you wore all summer, just with a cardigan…… It’s still pretty hot here, but I really love that feeling when you wake up in the morning and you can just sense a bit of crispness in the air. Although people from other parts of country would still consider the weather here swim season, this thin blooded girl is putting on her cardigans and sipping Zip Fizz by the pool in the mornings. Read more “It’s Cardigan Season!”

Stepping Out of My Comfort Zone

This year has been less than ideal for everyone to say the least, but I didn’t want that to be what I remembered about 2020. I wanted to push myself to learn some new things. I really wanted to step out of my comfort zone. I wanted 2020 to be a year of learning and trying new things. So when I saw that Love Notions was going to be testing a new pant/skirt pattern for woven fabric with a button fly closure, I knew I had to sign up. Read more “Stepping Out of My Comfort Zone”