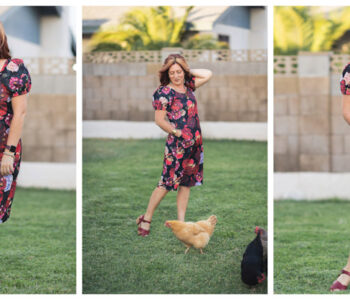
Shirt to Bomber Jacket Restyle
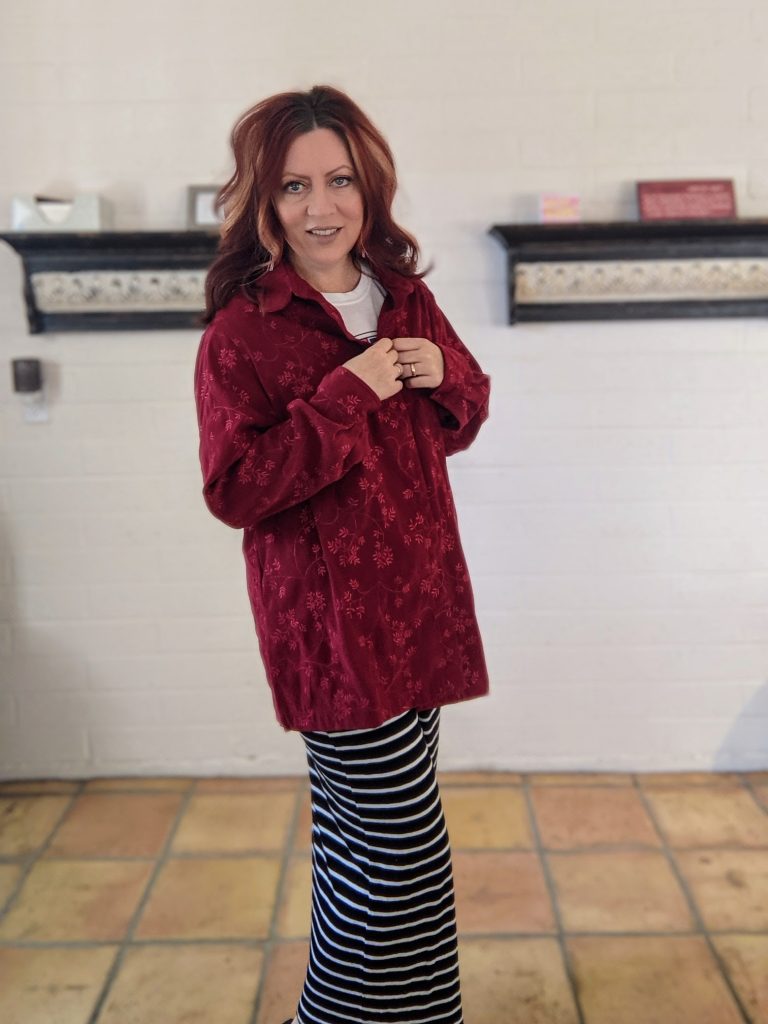
I really love Bomber Jackets, but I never thought to make one for myself…… until now. I had this embroidered floral print and faux suede looking shirt. It wasn’t getting worn at all due to the fact that it was just super out of date. It was the perfect thing to refashion into a Bomber Jacket.
I would rate this as an easy project. It took roughly 2 hours and the cost is $0-$5 depending on if you already have or shirt or need to purchase one from the thrift store. Flannel is another great option. I helped my 17 year old son make two flannel ones this past weekend and they turned out great.
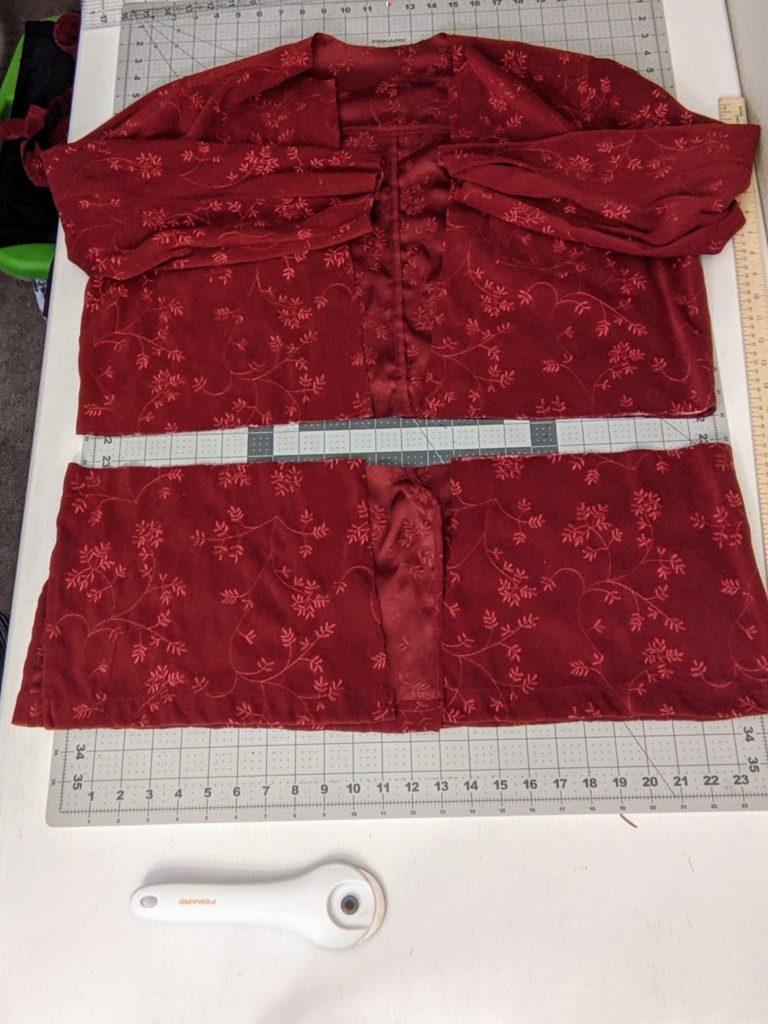
First, I tried it on and marked where I wanted to crop it with a straight pin. I measured and drew a line straight across.
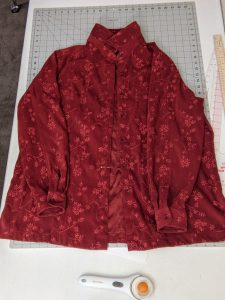
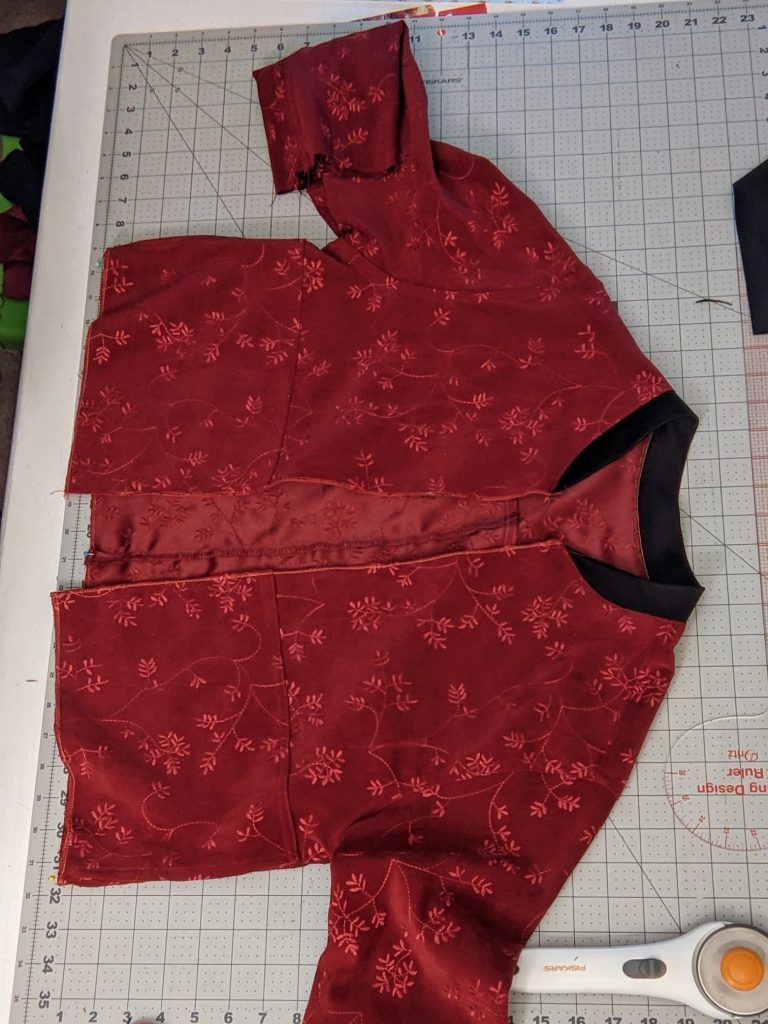
Then I cut along the line to remove the bottom portion. I saved that bottom part I cut off so I could make some patch/faux welt pockets. I also removed the arm cuffs, button plackets and collar.
The pieces are going to be the pocket bags. They will be sewn to the outside of the jacket like a patch pocket. The opening to the pocket was going to be on the side, and look kind of like a welt pocket.
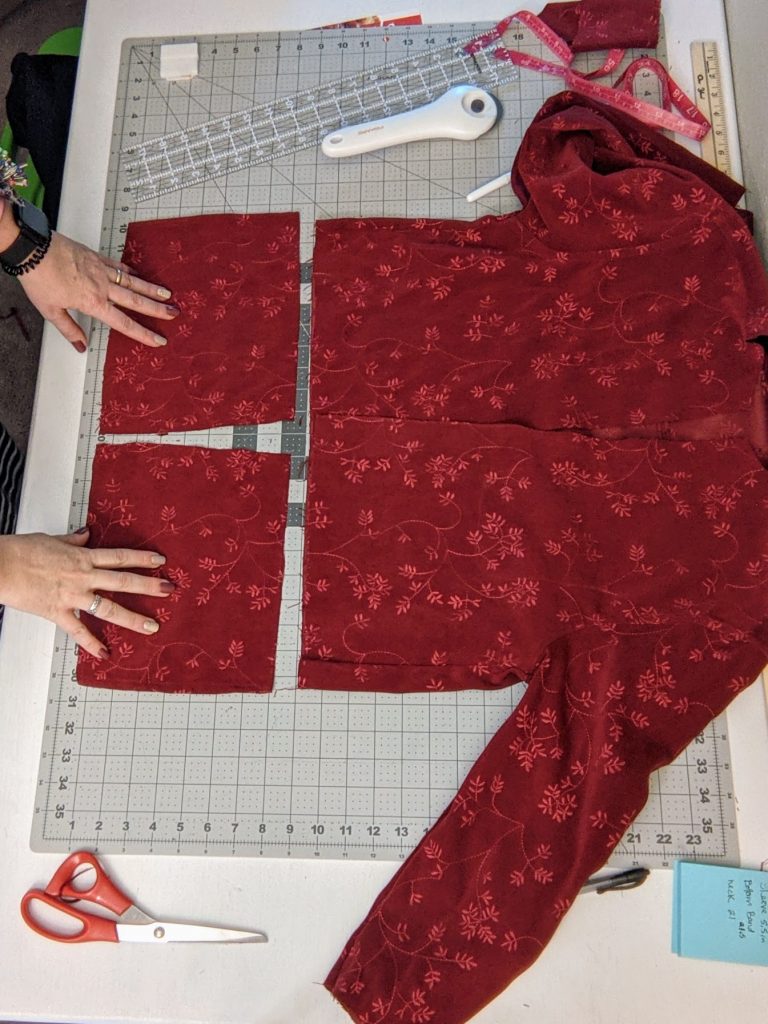
To make the pocket bags, I finished the outside edge and top of each piece by folding it under 1/2 inch, pressing and stitching in place. The edges were left raw on the bottom and inside edges of the pockets because that’s where the zipper and waistband are going to attach.
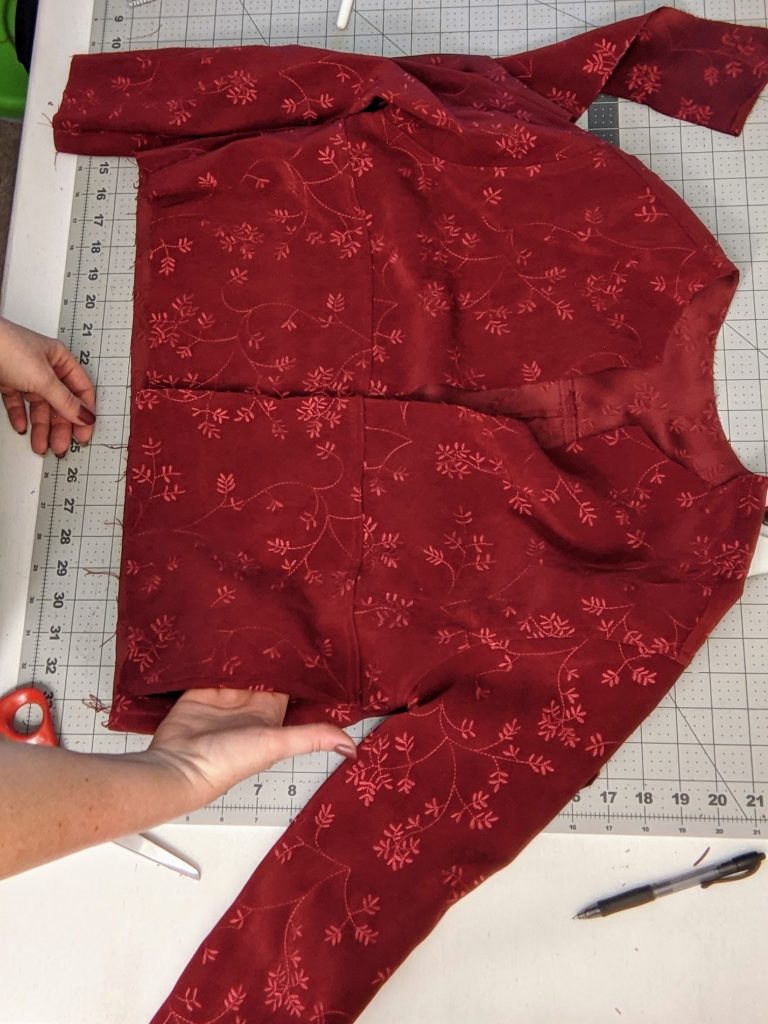
Then I placed the pocket bags on top of the jacket, matching up the edges to the middle front and bottom of the jacket; trimming where needed. I also matched the finished side edge of the pocket with jacket side seam. I made sure the pockets sat evenly across from each other. Once I was satisfied, I stitched across the top of the pocket bag, down the front and across the bottom, leaving the sides open. This gave the pockets a faux welt look as well as little more design to the front of the jacket.

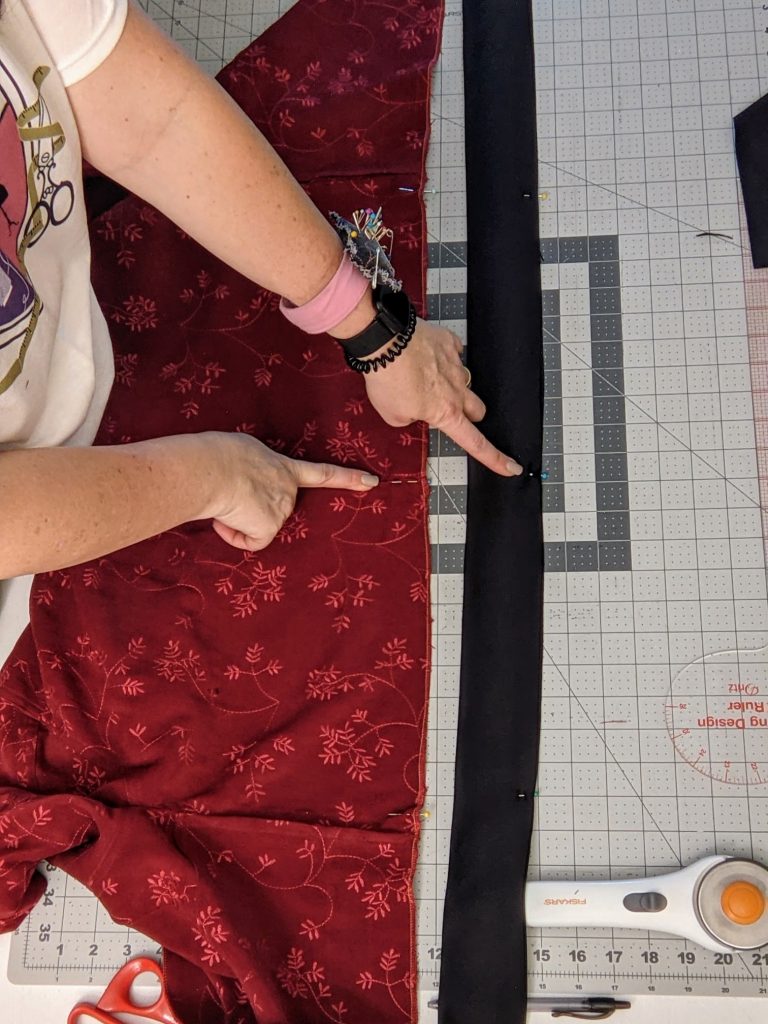
Next, I measured the neck, the wrists and the waist for the trim/bands. I was going to be using scuba knit as the trim because it’s stable and has good stretch. You could use and old t-shirt or whatever stretchy fabric you have access too. After I took each of those measurements I subtracted two inches because I wanted the trim/bands to stretch to fit those areas.
**For a tighter fitting waistband you will want to subtract more than two inches from the waist measurement. However, this will depend on the amount of stretch in the fabric you use for the trim.
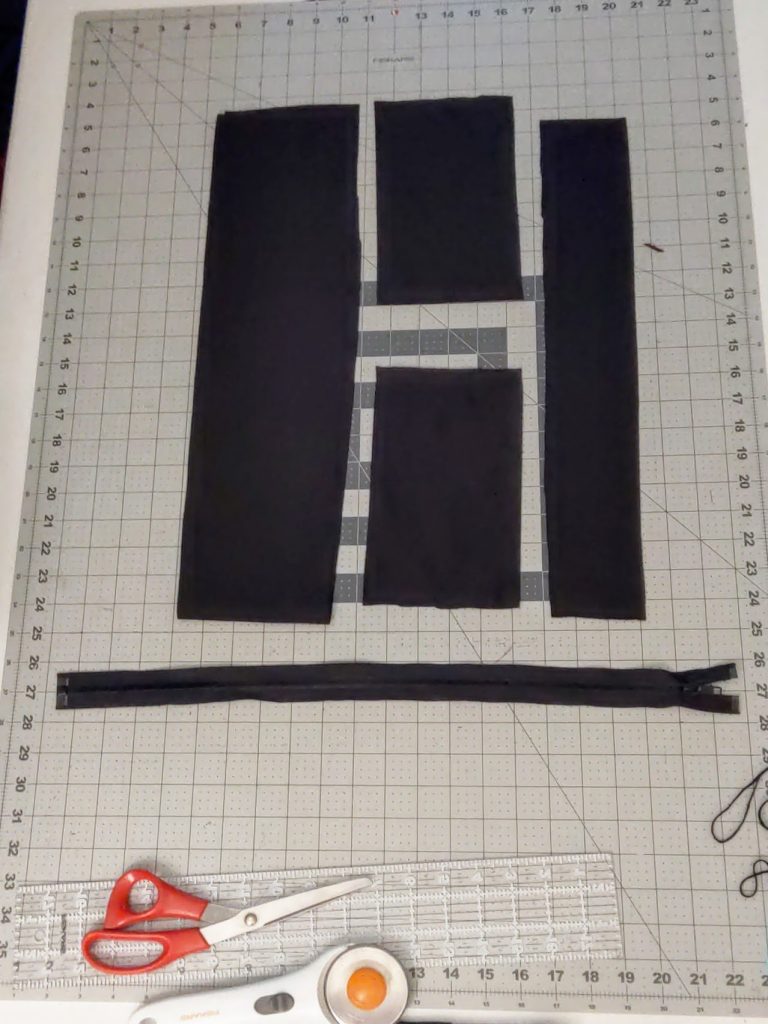
I cut out the trim pieces twice as tall as I wanted the finished band to be. It’s going to be folded in half “hotdog” ways to attach it. Make sure the stretch of the fabric is going along the long part of the fabric. That way it can stretch to fit the places it is going to be.
You should have the neck piece, two wrists pieces and one waistband. The zipper should be the length of the jacket with the waist band attached. I believe mine was 18 inches.

I needed to make the neck band tapered on the edges to have the look of a Bomber Jacket neck band. To do that, I folded my neck piece in half and used my French curve ruler to round the raw edges at each end of the neck piece before attaching it.
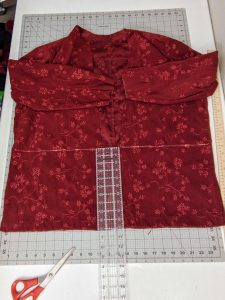
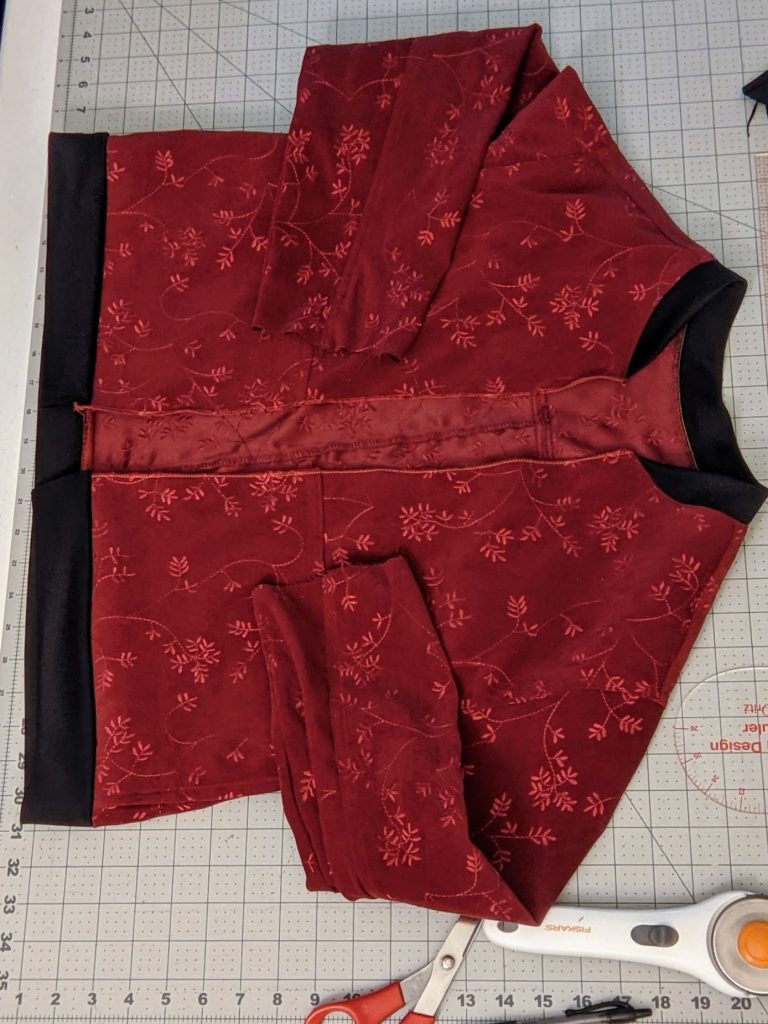
Then I marked the middle of the jacket and neck piece, stretched and pinned it on. Once it was attached it looked like this.
I found the quarter points on the waistband and jacket by first folding it in half and marking the middle, then folding the open sides in to the middle and marking those folds too. I matched them up on both the jacket and waist band, pinned and sewed it on. It now looked like this and was so close to being finished. All that is needed is the wristbands and zipper.
Once I had sewn the short ends of the wrist bands together, I folded then in half. Then I matched up the seams on the wristbands to the seams on the sleeves right sides together. Then I pinned the wristbands on, stretching as I went. I used a narrow zig-zag stitch to sew the wristbands on because they needed to stretch more than the neck and waist.

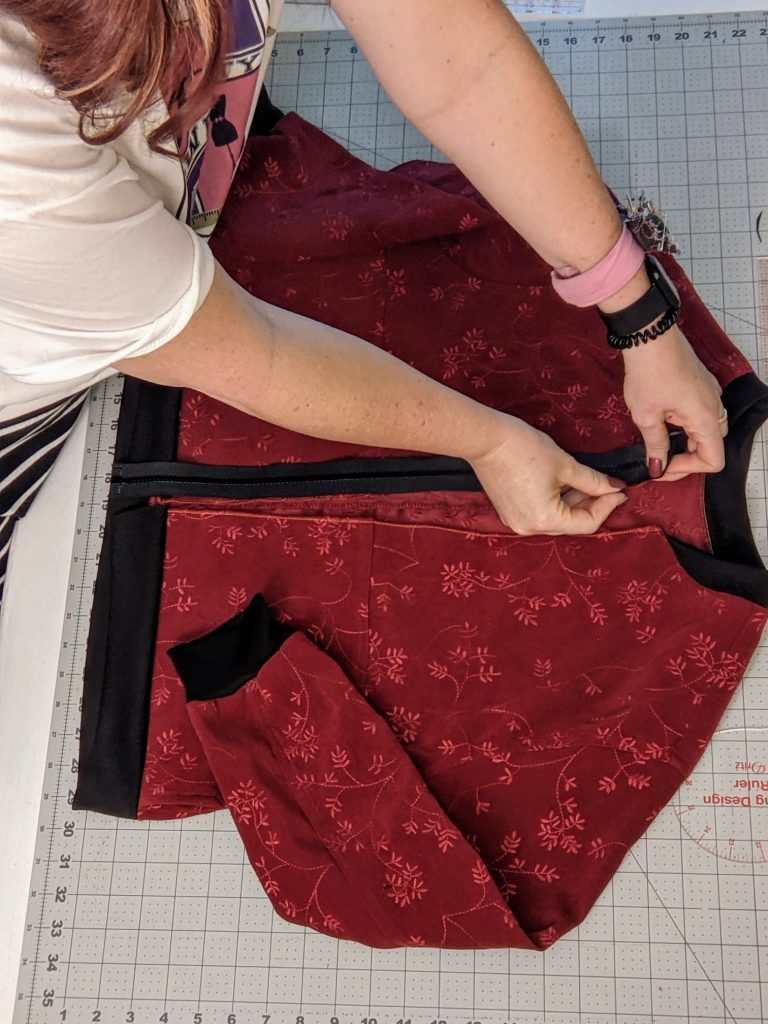
It was finally time to install the zipper and complete the Bomber Jacket! Zippers are not my favorite, but I’m trying to approach my sewing differently this year and that means I’m going to have to sometimes do things I don’t like. So I’m probably gonna do a lot of zippers this years.
I pinned one side of the zipper on face down, unzipped the zipper, flipped it over and pinned it to the other side face down. Then I sewed it on using a zipper foot.
And there you have it! I think it took me less time to sew this jacket than it did to write this blog post. For reals. Using a shirt to make this light weight jacket was a great idea for our mild winters here in the desert. It’s perfect to wear on cool mornings or evenings. The bight color makes it a fun little accessory to add to any outfit. I am super pleased with how it came out and I want to make anther one.

If you want to see a more in depth version of how to do this, I made a YouTube video for you to watch. Hope that helps and maybe inspires you to refashion something in your own closet. It’s so fun!
Good Luck my friends!
Happy Sewing,
Koe