Raglan Sleeve Hack
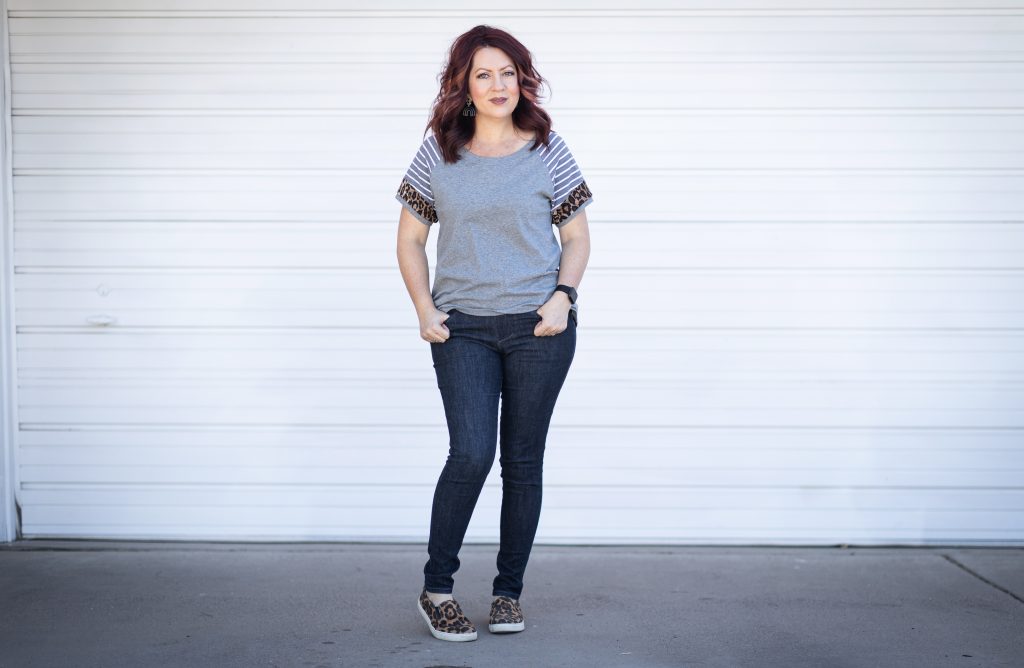
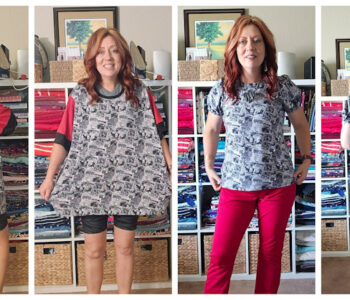
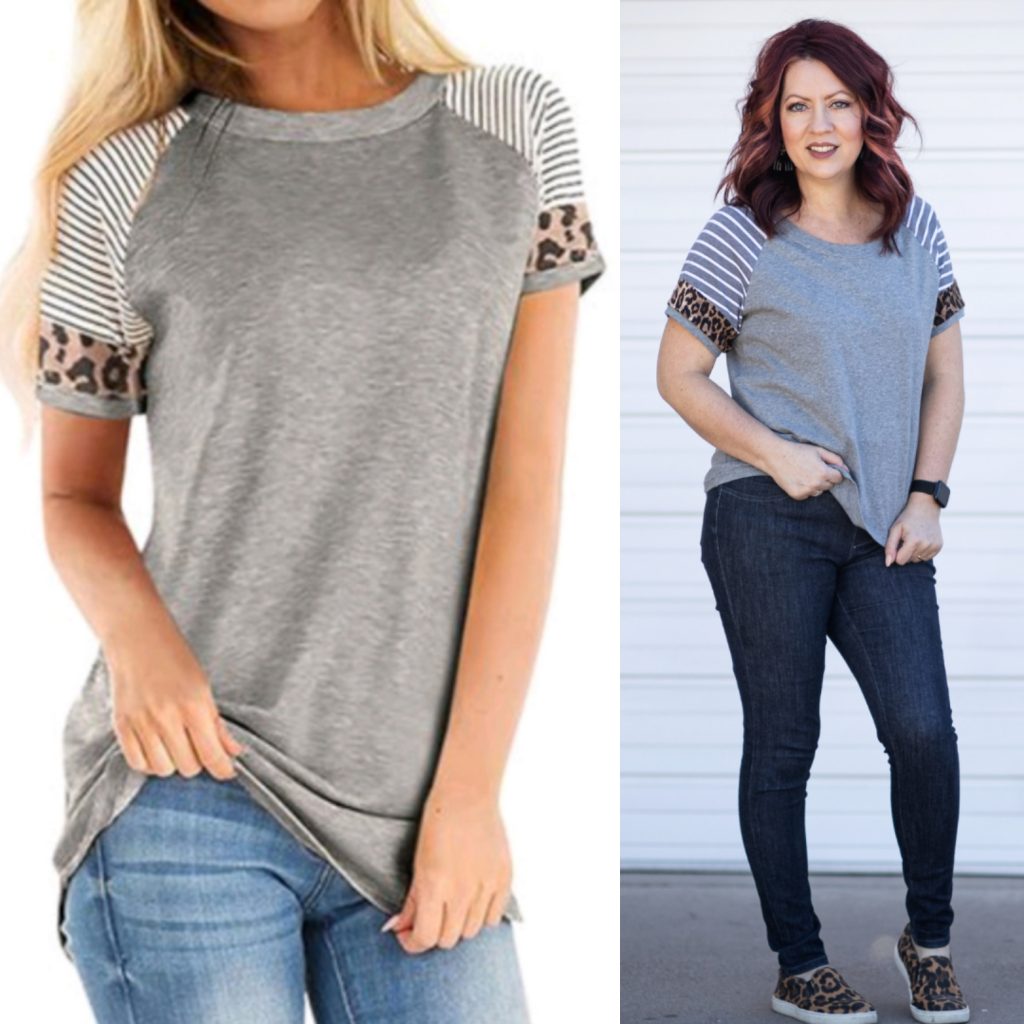
At some point last year I saw this adorable raglan shirt on social media. I loved the leopard and stripe sleeve detail and the comfy loose fit! I snapped a picture and put it on my “to do” list. Then Covid happened and like many of you, I was suddenly thrown into being not just a bread winner but a school teacher, lunch lady, PE coach, guidance counselor, playmate and many more things for my 3 boys. It was mentally and physically exhausting. Needless to say this project got pushed aside and forgotten. Then one day I was cleaning off some files on my phone and came across the picture of the raglan tee and told myself, “This is gonna happen right now.”
I already knew what pattern I was going to use for it. It was a no-brainer for me. The Blank Slate Patterns Rivage Raglan. I think this was the first digital pattern I purchased. I loved the fit and have have used it several times to make myself and my sisters some of the cutest t-shirts. I normally sew a medium in this pattern but for this look I sized up to a large for a more loose fit. The large pattern lines are marked in orange in the photos below.

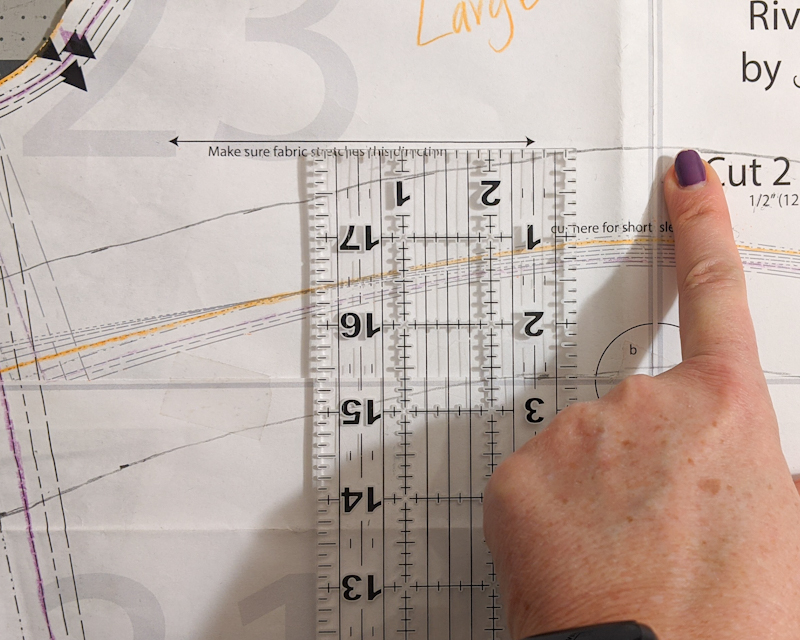
This look was super simple to make and I want to do it again and again. To do this first I needed to create a new sleeve pattern to do the color blocking. This pattern has 3 sleeve lengths so I used the long sleeve width but the short sleeve length.
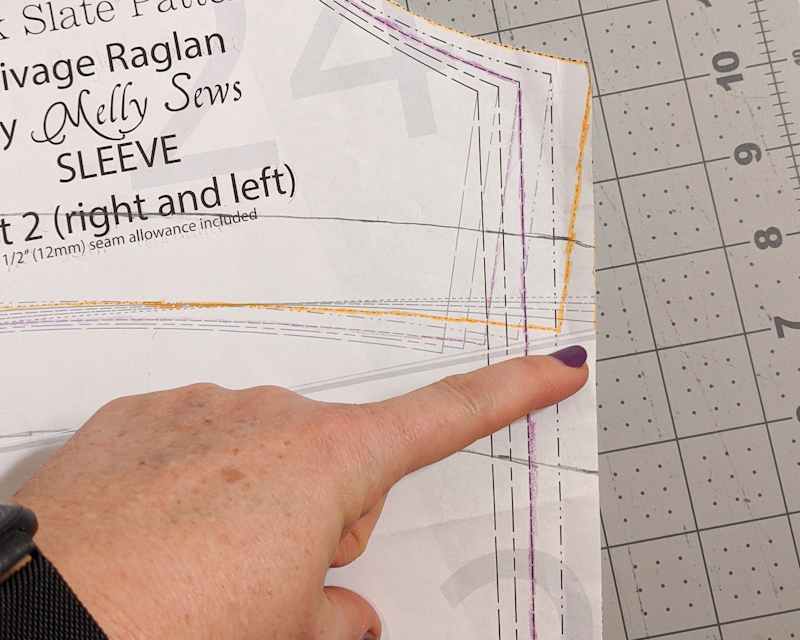
I measured 1 inch up from the short sleeve curved edge and created a new curved line. This made a shorter sleeve piece which I retraced onto some tissue paper.
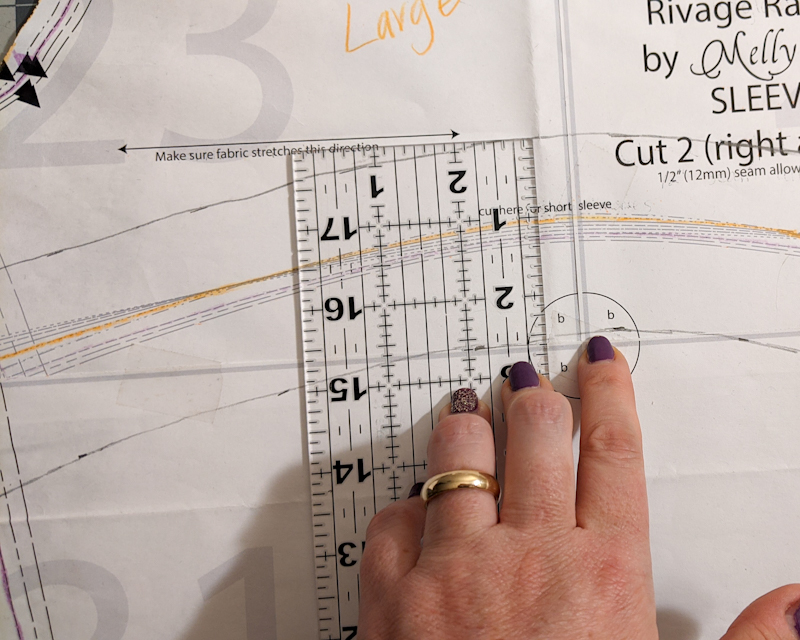
To make the leopard part of the sleeve I measured down 2.5 inches from the new short sleeve line created in the step above and drew another curved line. This made the 2.5 inch wide pattern piece for the contrasting leopard fabric. I traced that on to some tissue paper too.
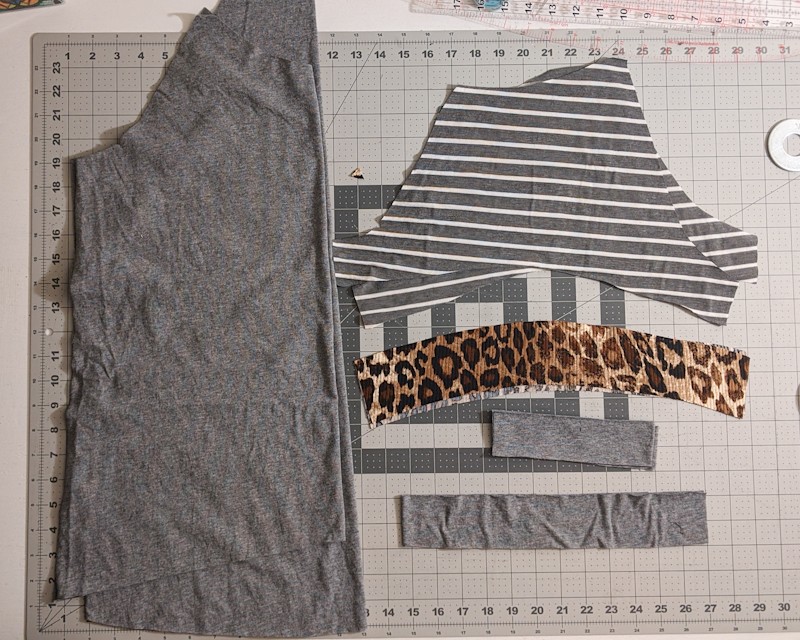
I now had a new sleeve and a contrasting pattern piece. I then cut out all my pattern pieces: The body front and back, two striped sleeves, two contrasting leopard pieces, two sleeve bands and one neck band.
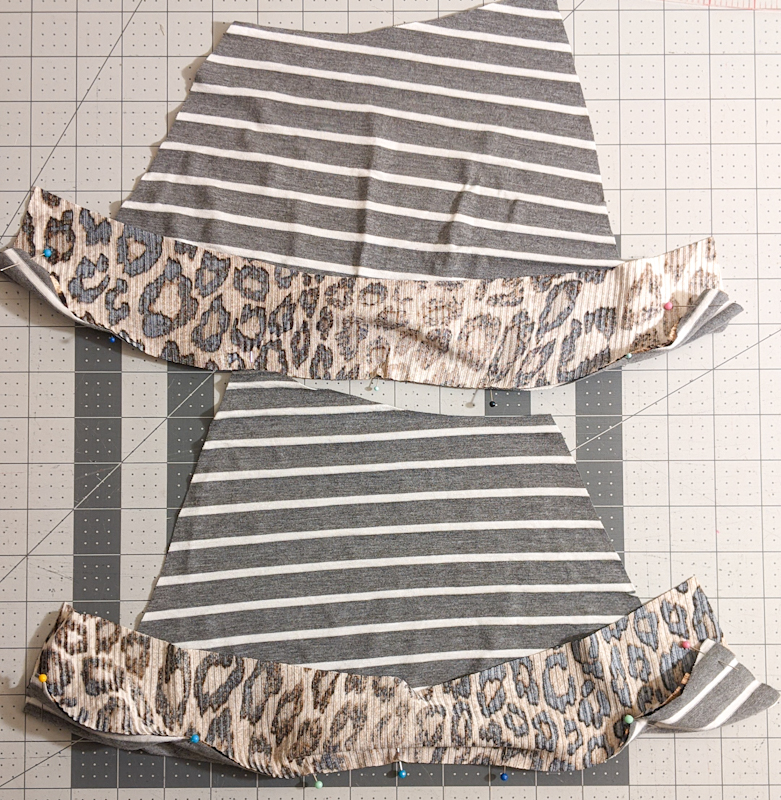
I sewed the contrasting leopard to the sleeves first. To do this place them right sides together. Make sure to attach them with the curve of the sleeve and contrasting leopard piece going the opposite way, like in the picture below.
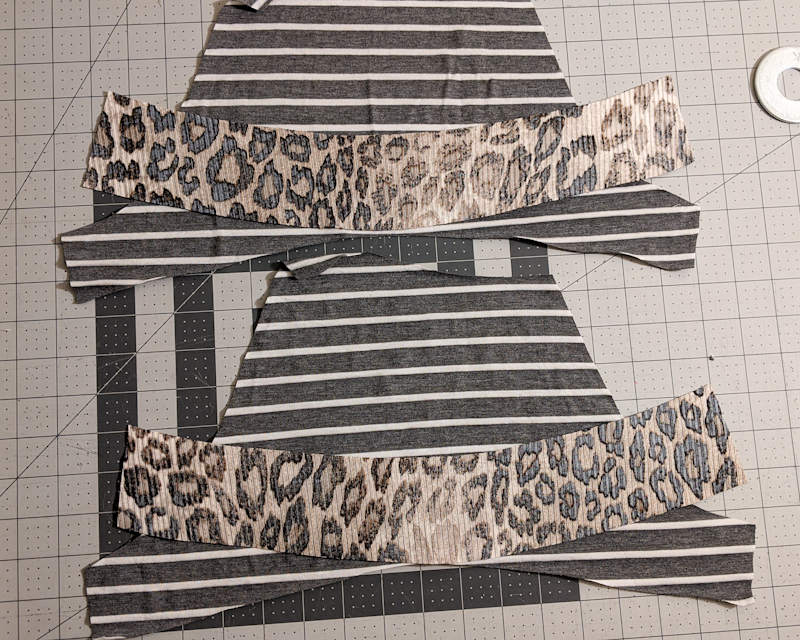
When they are pinned together correctly it should be curved like this.
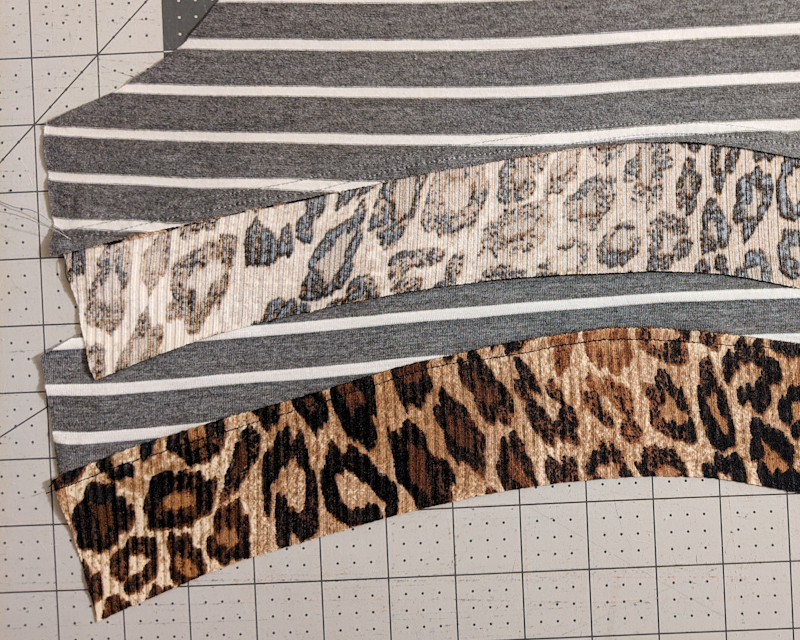
Once both of the leopard pieces are sewn to the sleeve I ironed the seam down toward the hem and did a top stitch. Because I sized up for this pattern I didn’t feel like I needed to do a zig-zag or stretch stitch for this part. I’ve worn this shirt several times and it has been just fine.
The sleeves can be attached to the front and back of the shirt now. Like this.
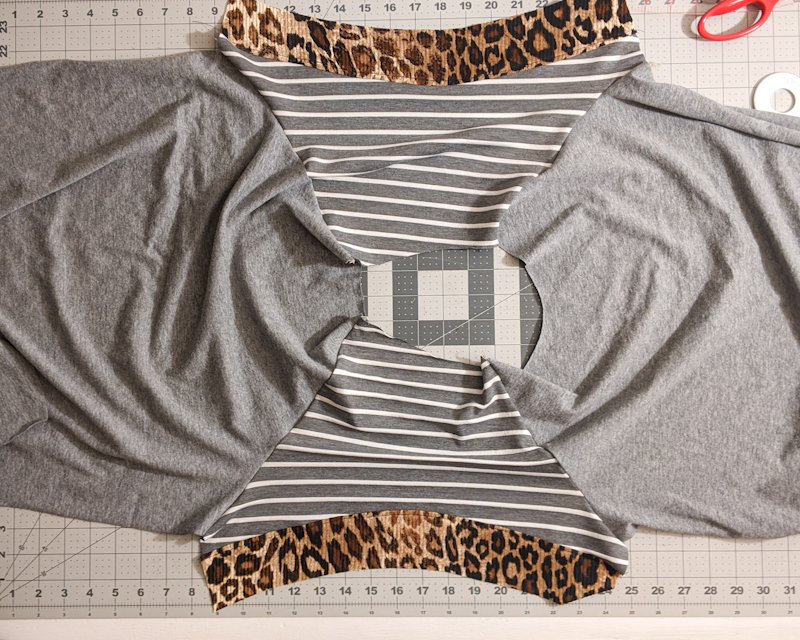
And then you can sew the sleeves and sides shut.
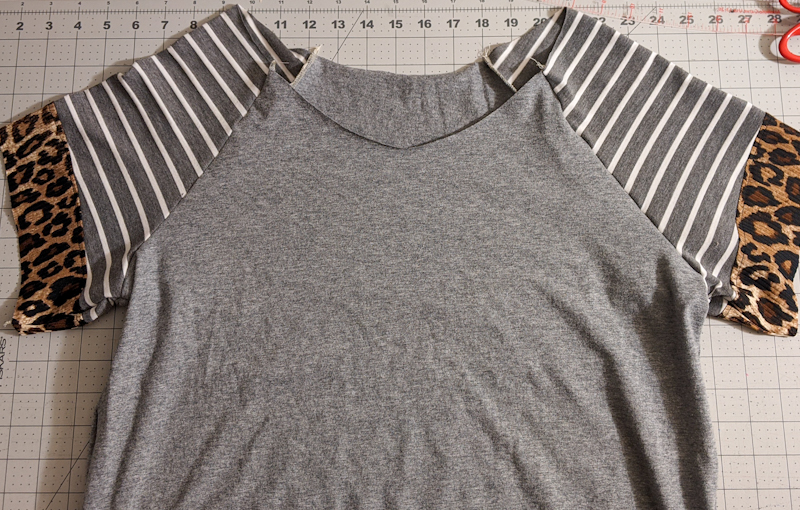
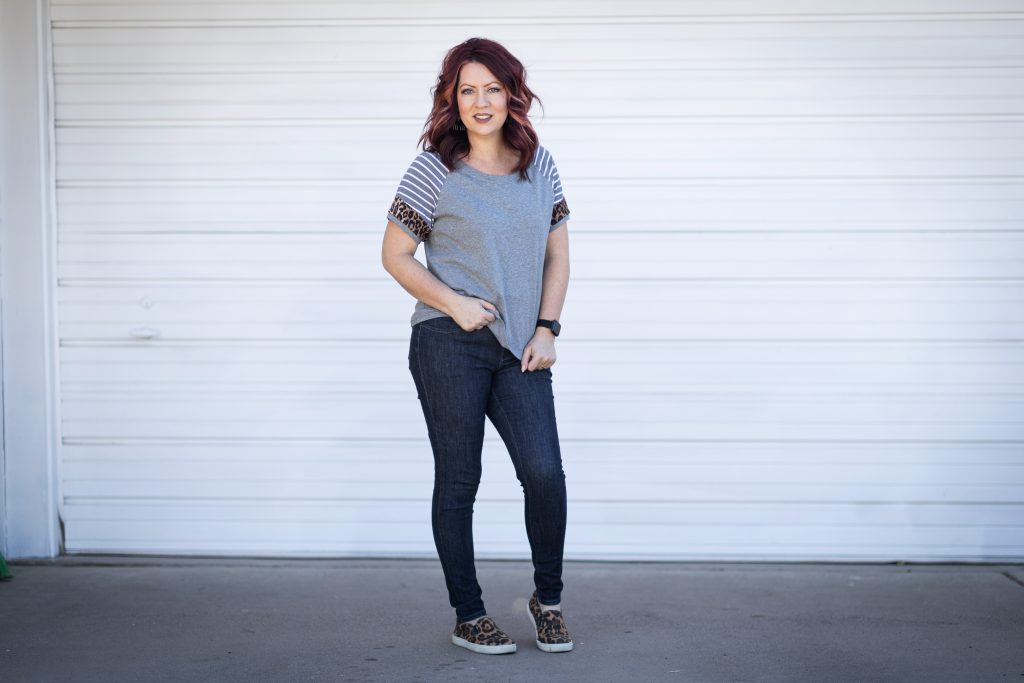
Attach the neck and sleeve bands and you have a cute new shirt!
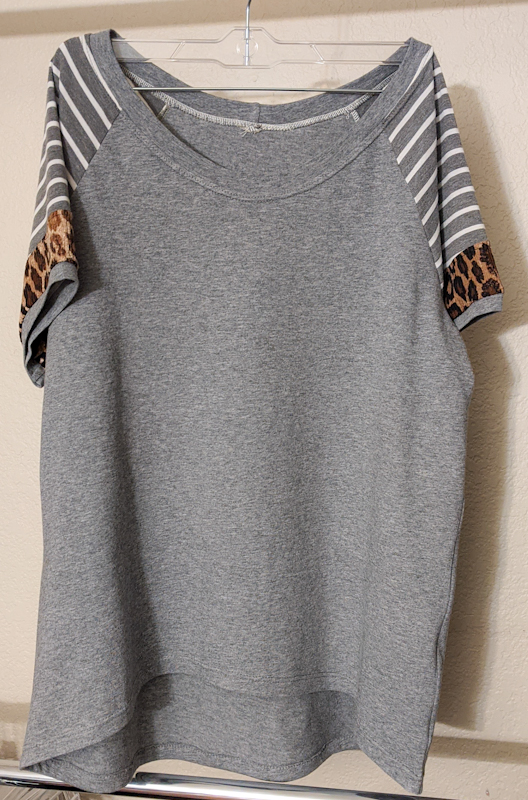
This was a such a satisfying make for me and just what I needed after a difficult few months. Being able to see something I like and make it for myself is an amazing feeling. I think that’s why I love sewing so much. The options are endless and the sky’s the limit!
Happy sewing!
Koe