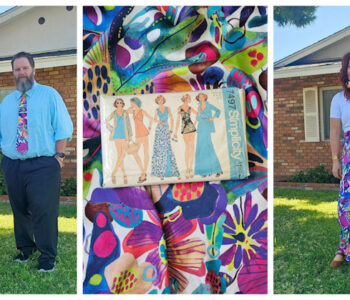
Ties to Obi Belt Refashion
Living in a house with 3 boys and my husband means we have a lot of ties. They all don’t get worn though, some haven’t been worn in years. So what do you do with all the ties? How about Obi Belts!?

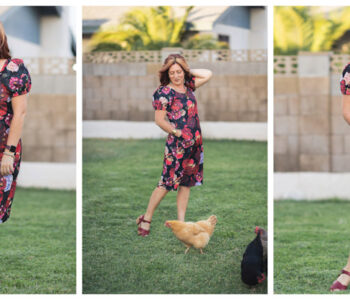
There are a lot of different ways to make Obi Belts. I’m going to show you how I make them to wear with my outfits. They are super fun and easy. It only takes two ties and few minutes to put together.

First you need to find two coordinating ties of the same width. I think it’s fun mixing and matching different tie prints and patterns. The ties need to be on the thicker side. Not all ties are created equal. Some are very thin and flimsy. If you only have ties on the thinner side, you will want to put a backing on the belt once you are finished. That way it will hold it’s shape and not wrinkle or crease while you are wearing it.

Once you have decided on two ties, measure 20 inches from the point of the ties back and mark it with a pin. These markings are going to help you overlap and adjust your ties.

Place one tie over the other and and match those pin marking to the triangular edge, and the side with the tie point. I didn’t want the ties to be put together straight across, I wanted to contour them a bit to fit my waist better. So once I got the edges pinned in place evenly on either side, I pulled the center a bit to make the belt slightly curved. It needs to be wider in the center of the belt and taper off to smaller on the sides.

When I was satisfied with the way it looked, I stitched them together. You can see in the above photo that the stitching through the center was close to the tie edge.

Here is a close-up of another belt I made. You can see how I stitched the edge on the side where the angle of the tie sits under the other tie.

Here’s the whole belt stitched together. You can see how I stitched the ends closed. If the ties you used were on the thinner side and your belt needs a backing; just lay it down and trace the part of the belt where the ties overlap(no need to worry about making the waist ties thicker).Then cut out some thicker fabric and sew it on the underside of the belt. I’ve seen where other people have done some quilting stitches all the way around the part they put the backing on. It adds a really nice finish and design detail.

I loved how quick this was. I also loved being able to use some of my husbands old ties in a fun and different way. I hope you find some fun ways to use those old ties that may be in your closets as well. As always feel free to tell me in the comments below some fun ways you have reused ties.
Happy Sewing and Refashioning!!
Koe