Every Fall and Winter Wardrobe Needs a Vest!!
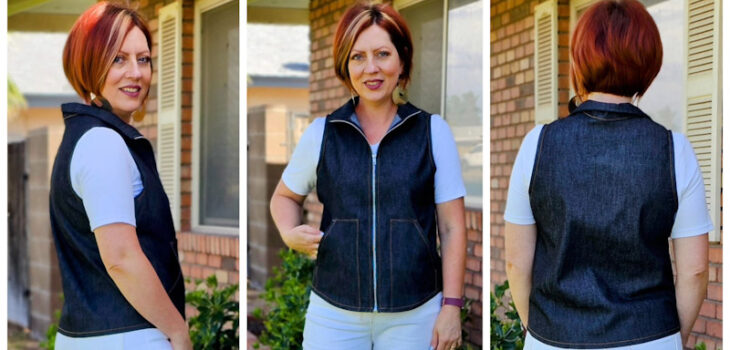
Every fall and winter wardrobe needs a vest! The Oakley Vest gives you three different looks. View A is an open front vest meant for fun fabrics like faux fur and minky. It can be lined and includes in-seam pockets. View B features a separating zipper, bias binding trim and patch pockets. View C also features a separating zipper, bias binding trim as well as princess seams and inset pockets. View B & C can choose from a collar or a hood to finish the look. All views have gentle shaping at the side seams as well as a deeper curved front hem to give a more feminine look.
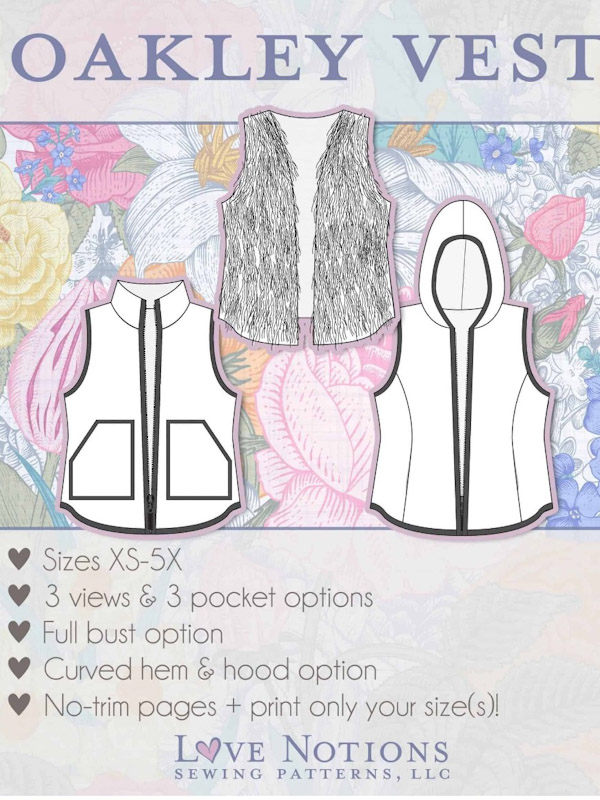
Oakley Vest Features:
- A- open front, fully lined with optional in-seam pockets, meant for faux furs and minky-type fabrics.
- B- Separating zippered front, bias bound, patch pockets. Choose a collar or hood.
- C- Separating zippered front, bias bound, princess seams with integrated pockets. Choose a collar or hood.
- Meant for medium to heavy-weight fabrics
- 3 Body views
- 3 Pocket options
- Curved hem
- Hood option
- Full bust option
Sizes: XS-5X (See Size Charts here)
Skill Level: Intermediate
What View Did I Make?
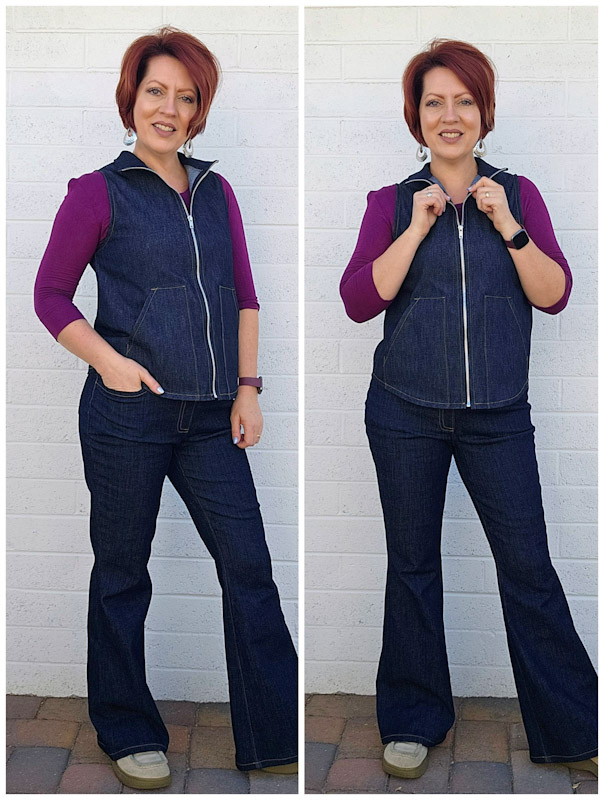
I decided to make view B with the collar rather than the hood. I chose it because it looked like it was going to be the easiest. While I’m being honest, I hate the look of bias tape on the outside of my clothes. You might have noticed in the pattern picture above, this vest is supposed to have visible bias tape on the armholes, zipper and pockets. I only use bias tape where it can’t be seen. But I’m a sucker for a simple pattern like this so I decided if I was going to make it I would need to modify some things.

Pocket Changes….
First I changed the pockets. I wanted them bigger and I wasn’t going to bind the outside edges with bias tape. I was just going to finish the edges with my serger and then fold them to the inside of the pockets. In the picture below you can see I added ½ inch to the top and sides of the pocket pattern. The bottom I extended to the hem of the vest.
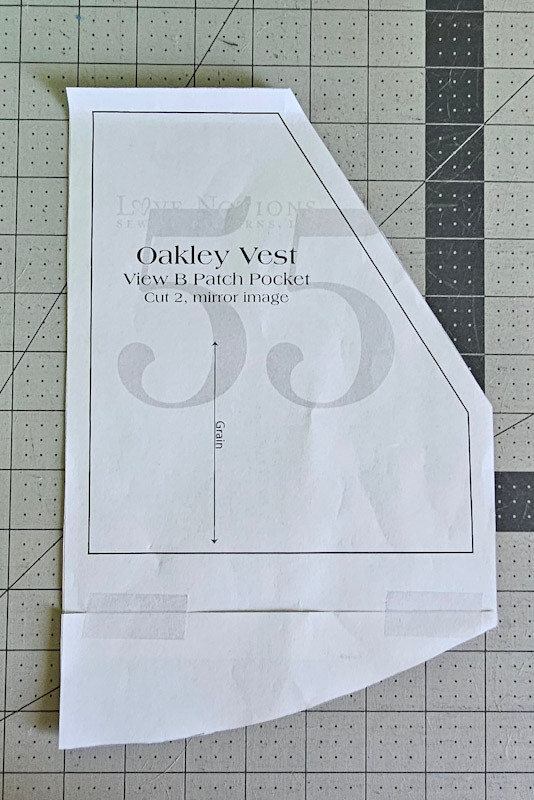
For the pocket opening I attached some Rayon Taffetta seam binding and then folded it to the inside and topstitched it. Then I folded the top and side edges to the inside and stitched them to the outside front of the vest using top stitch denim thread. I also made sure that the bottom edge of the pocket matched the bottom edge of the vest.

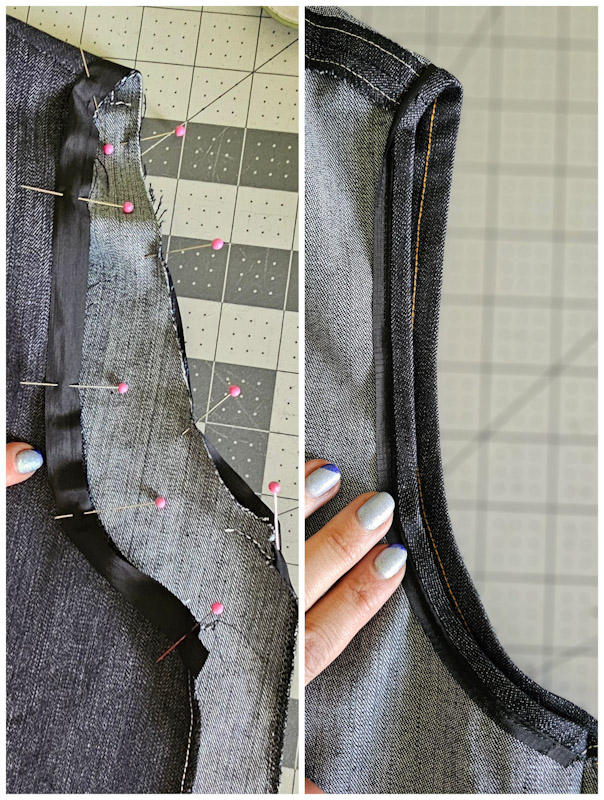
No Visible Binding Here…
I used the same seam binding on the armholes. After I attached it I folded it inside so it wouldn’t be seen. Then I used denim thread to top stitch it in place. This was easier to do before I sewed down the sides of the vest.
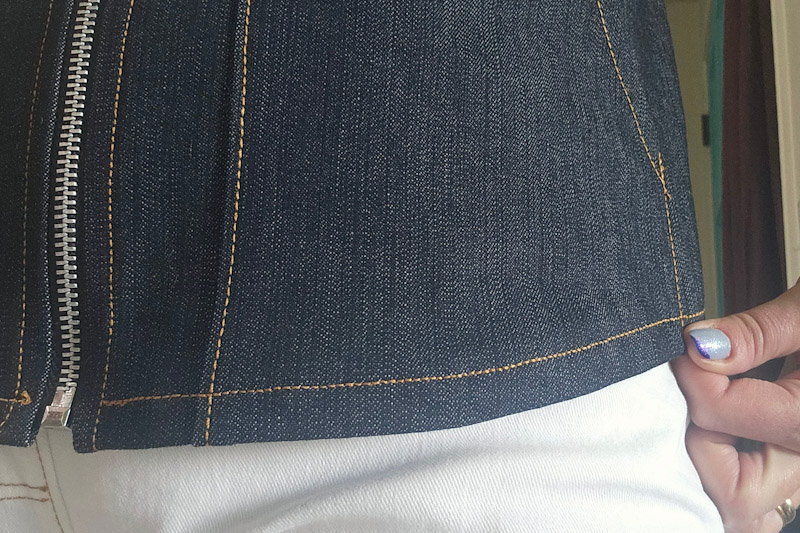
Just a Simple Hem…
After everything else was sewed and the zipper was installed, the final thing to do was hem the vest. Using my seam gauge I folded a ¾ inch hem allowance and ironed it before top stitching it. I think it looks so nice!!
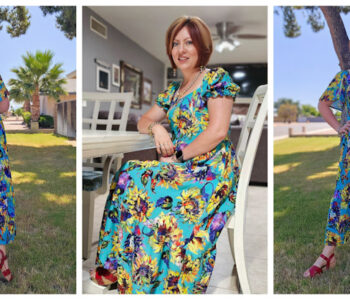
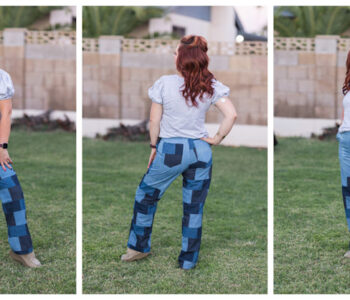
This little vest is the perfect addition to my wardrobe. I styled it with some Crescendo jeans I made that have a similar wash to give a faux denim jumpsuit look. I also love how it looks with these white flared Crescendo jeans and white shirt. I’m sure there’s many more ways to style this cute vest and I can’t wait to discover all of them! If you want to learn more about the Crescendo Pull-on jeans check out this post here.

Let’s be friends!
If you are looking for a pattern suitable for more than one occasion, hopefully this post helps you figure out what will work best with your wardrobe needs. Let’s be friends on all the socials! Come follow along on Pinterest, Instagram, Facebook and TikTok so we can chat about all our sewing projects!