
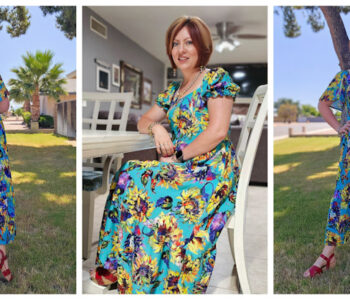
My favorite make of 2019: Red Burnside Bibs
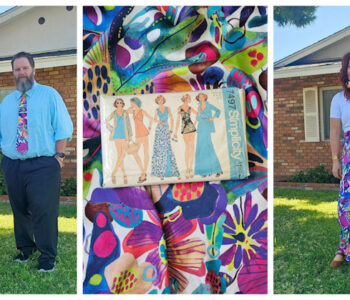
Let me just start by saying, I LOVE this pattern. I was literally jumping for Joy once I completed this most recent pair of Burnside Bibs. They are so fun to wear and look good on everyone I see in them. If you make these be prepared for everyone to be asking you where you got them once you step out in public with them.
As I was preparing to sew up my 3rd, yes THIRD pair of Burnside Bibs, I thought it might be useful to document a little of it along the way. I have been obsessed with the Burnside Bibs since October of 2017! I saw the cropped version #1 view and I had to have it. There were some steps that intimidated me about this particular pattern though. Mainly, the rounded front pocket edge, the darts and back pockets and zipper install. So if you’ve been wanting to sew these and those parts overwhelm you too then read on. Hopefully it will be useful information here and help you make your first of many pairs.

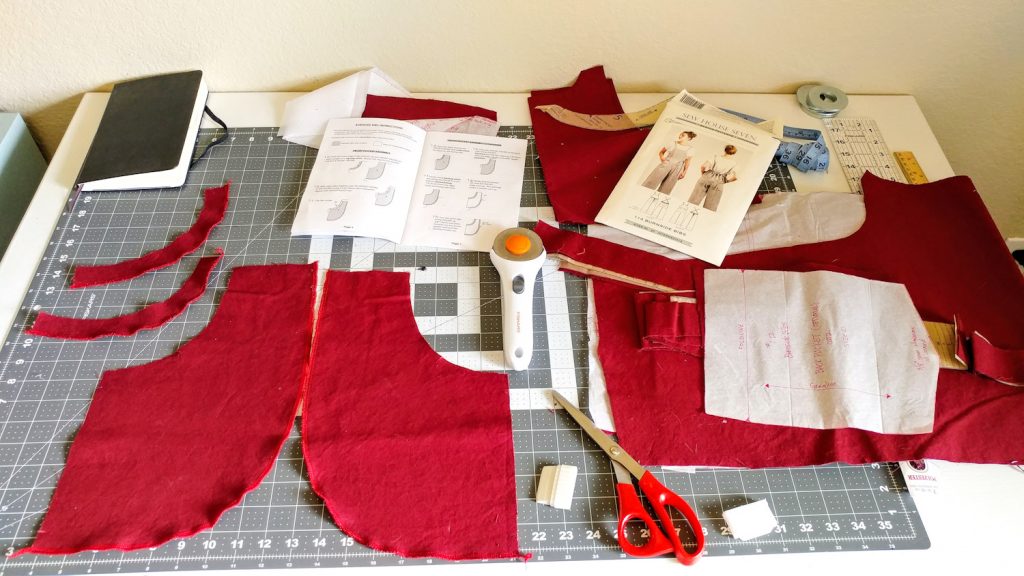
This is NOT a detailed step-by-step tutorial. This is just meant to help those who may need a little help with these steps I documented. This is for version #1 which is more fitted with darts on the back waist and a side zipper. I used a mid weight 100% cotton woven that had a subtle slubbed texture. It was very similar to linen.
Here are my body Measurements in inches:
High Bust-35.5″
Full Bust- 37″
Waist- 31″
Hips- 41″
Based on my body measurements I debated which size to sew. I decided on a size 10 and I was super pleased with the results. They fit amazing and have plenty of ease. Once I choose my size I trace it onto tissue paper so I can preserve the original pattern.
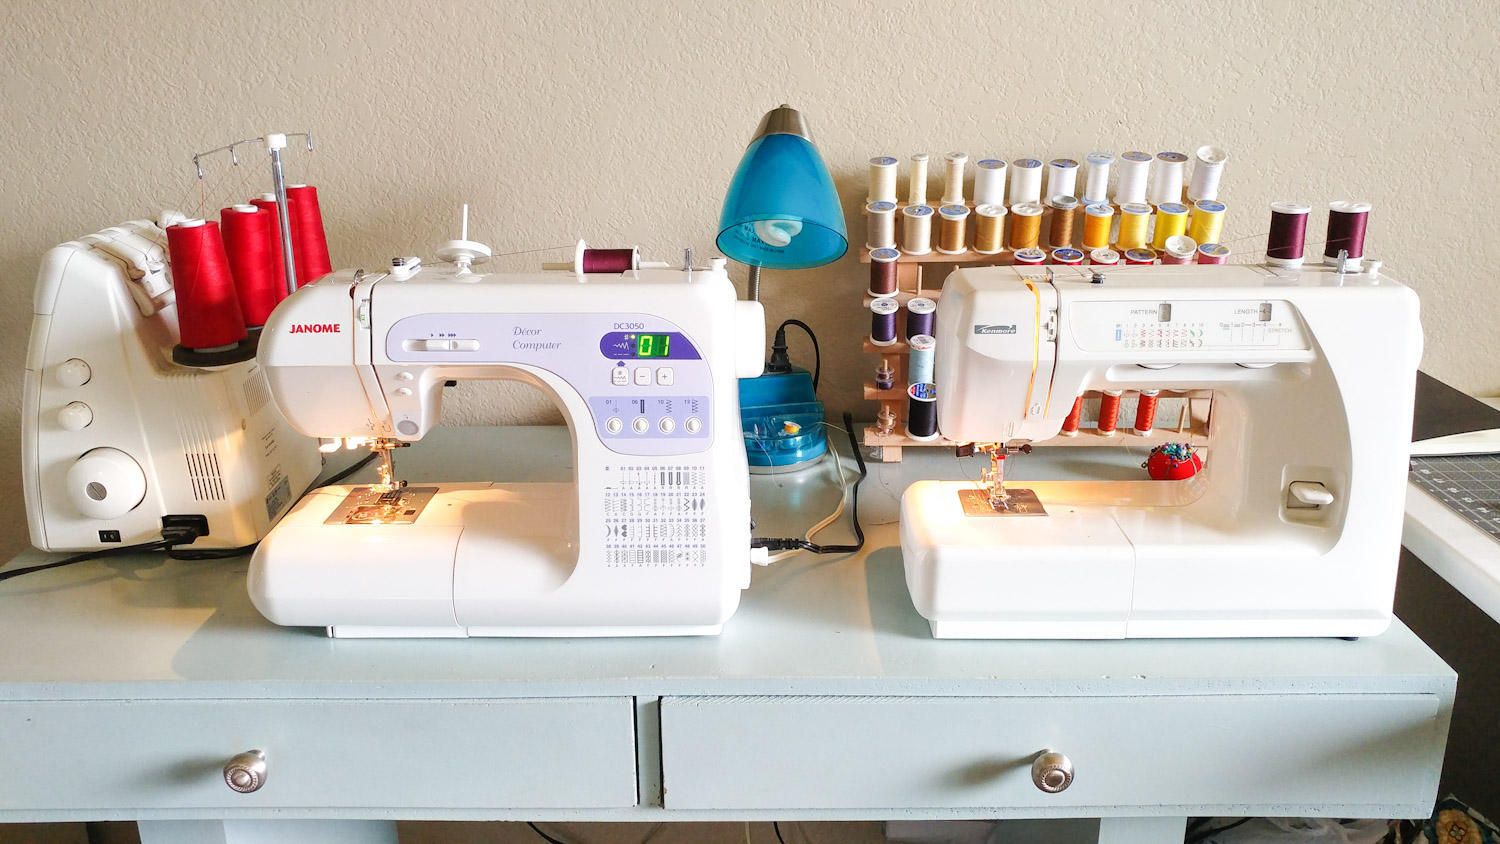
This is my machine set up. I thread all my machines in coordinating thread. I have one machine for topstitching, once for regular stitching and a serger for finishing edges. A family friend GAVE me her old Bernina 1100DA Serger a few years back. I use it in almost every sewing project. Its amazing and I can’t believe how lucky I was to receive it. I also have my 20 year old Kenmore sewing machine that I use for my twin needle topstitching. My Janome DC3050 is what I use to sew everything together. Its a small and poorly lit sewing space but having these three machines is not just a huge blessing but it’s super convenient and makes projects go much faster.
The sewing instructions begin on page 6 of the manual and are very easy to follow. I used my Serger to finish off the curved edges of the pockets and facings. I followed the directions to attach the facings using a 3/8” seam allowance. Something I always make sure and do with this pattern especially, is iron in between each step. It helps me get the nice curved edges on the pockets and just makes the process go much smoother. Of course it takes a little longer but its totally worth it to have the clean edges.
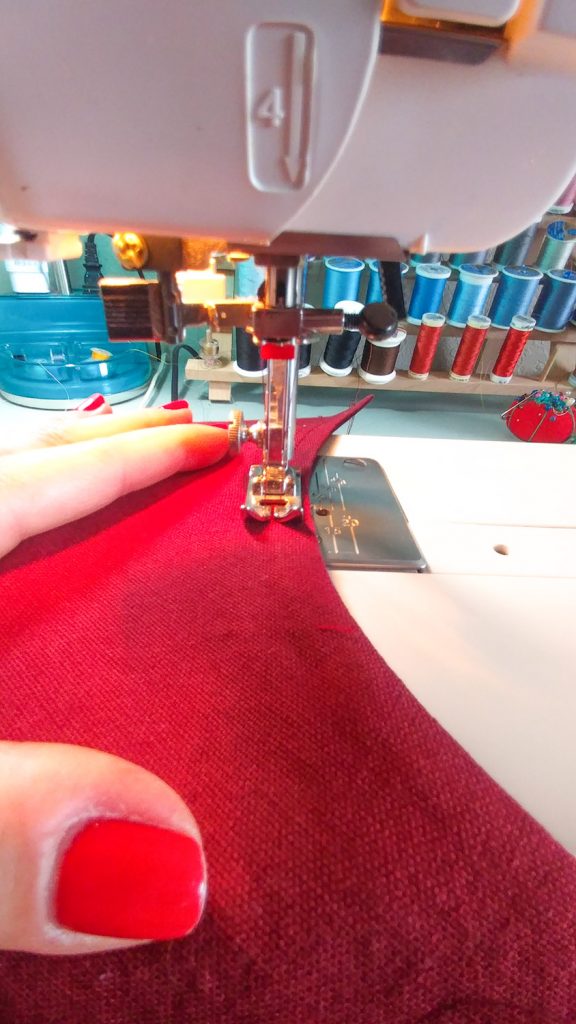
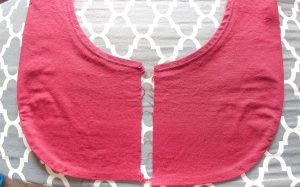
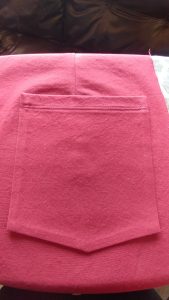
I also prefer to use a Twin needle for the topstitching (Tip: Because back-stitching doesn’t really work with twin needles, I leave the threads very long where I begin and finish topstitching. Then I use a hand needle and thread them to the wrong side of the fabric and tie all three threads together using a double knot). Topstitching goes so much faster when I used my twin needle because it does the two lines at the same time. I think I used the 4/8″ guideline on my sewing machine for the topstitching (Tip: when using a twin needle, my machine works much better if I have my stitch length set to its longest length which is a 4). This is what the opening of the pocket looks like with the facings attached and topstitched with my twin needle.

For some reason, rounded edges on things just overwhelm me. I loved the look of the Burnsides front pocket so much I was willing to give it a try. I set my machine to a long stitch suitable for basting (Remember, you don’t back stitch when doing a basting stitch). Then I basted the outer bottom edge of the front pockets only where the curve is. I made sure to the leave both ends of the basting stitches pretty long (about 3 inches on each end).

Then I pulled the underside or bobbin side threads a little to gather the pocket edge. I was really surprised at how little it took to make the pocket edge start to curl up.
![]()
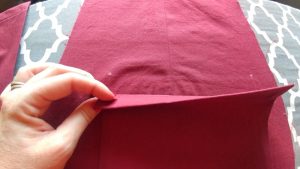
Using some pins and the steam setting on my iron I turned in the outer gathered edge 3/8” and pressed.
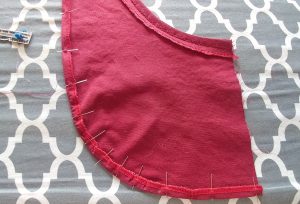
Then I removed the pins and basting stitches and ironed again.
Following the direction in the manual, I attached the pockets to the front side of the pants. I used my Twin needle here as well.
The directions are very clear and easy to follow for attaching the bib and waistband. The only thing I did different was the top stitching on the bottom part of the waistband. It shows you how to do it in the directions but because I was using a double needle, I found it easier to topstitch the top part of the waistband and then leave the bottom topstitching until after the inside bib facing was attached. Sorry I didn’t get a picture but I figured this is just preference anyway..
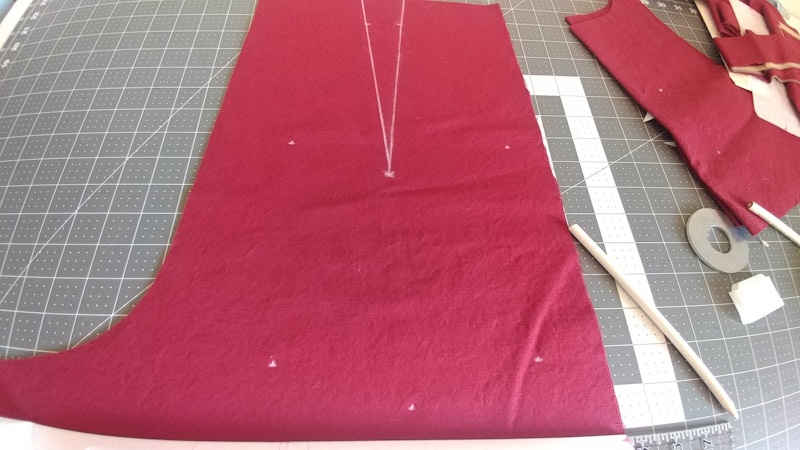
Ok so next is the darts and pockets. I struggle when it come to markings so this is what I do to my pattern for the darts. I first reinforce the dart line on the pattern piece with packing tape. It may be hard to see.

Then I cut down one side of the dart. This makes the pattern piece super sturdy which makes it easier to mark the fabric.

I mark the entire darts and the pocket markings on the right side of the fabric like this.
Then on the wrong side of the fabric I mark just the dots at the top and bottom of the darts. I make sure they all coincide with the markings on the right side.
Then I fold right sides together, matching up the dart markings on the right side. With the wrong side facing out, I pin directly where the dots are on the right side . Using my clear ruler, I draw a line connecting the two dots. This gives me a clear line to sew the darts. I know there’s other ways to mark it with transfer paper and a wheel but I don’t always have transfer paper on hand so I just use this method. Also I feel like the wheel always destroys my pattern so I just avoid it.
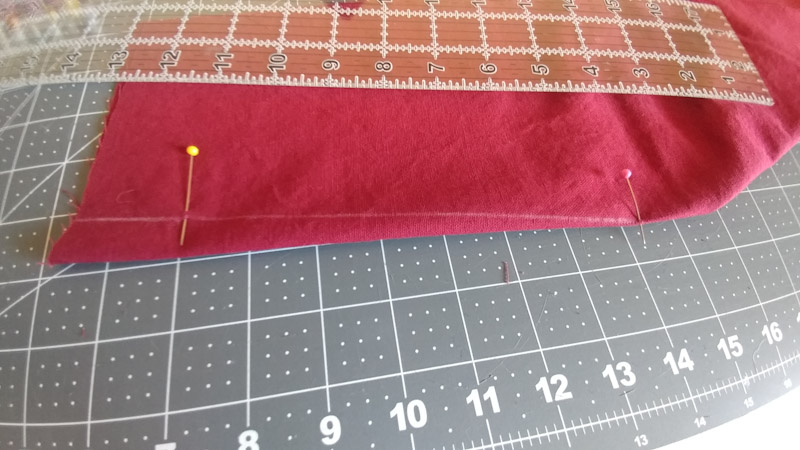
I have this fear of my pockets on my back side being lopsided or uneven so I measure and remeasure them before attaching. Here’s a couple pictures to demonstrate how I do that.
I match the pocket corners to the dot markings.
Then I line up, compare and measure both sides of the pants using my cutting mat and clear ruler.

I measure from the waist to the middle of the pockets and to the pocket corners as well.

Once I’m satisfied with the symmetry I sew the pockets on using a twin needle.
Ok so the final thing that always stresses me out is the Zipper. The directions are very clear on how to do the zipper install. I didn’t use an invisible zipper on this pair of bibs. I just wanted to use a regular zipper and I had zero problems.
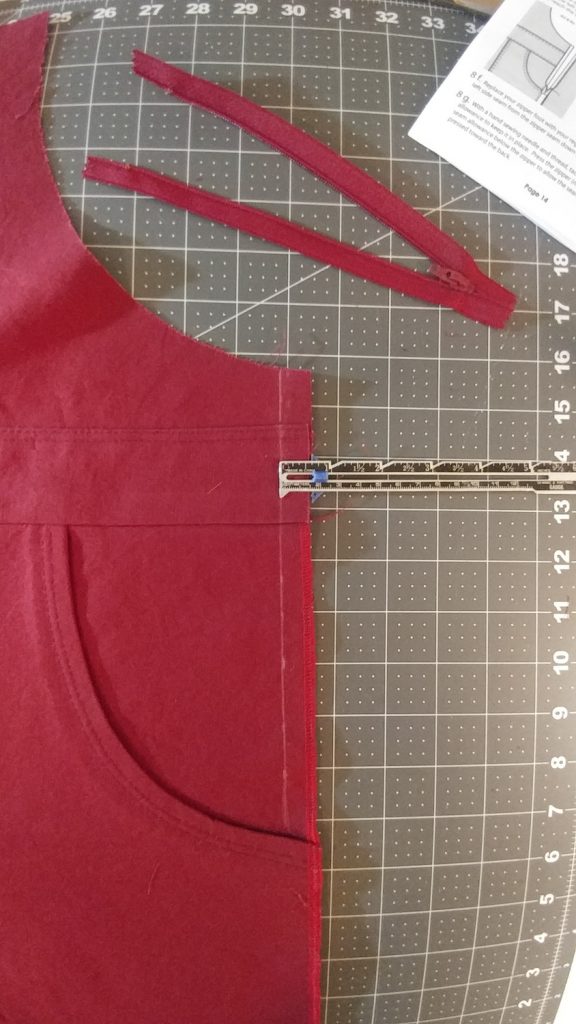 Because you’re supposed to use a 5/8″ seam allowance, I find it super helpful to mark 5/8″ on the front piece and back piece sides of the pants where you install the zipper. That way I know where the seam will be and can place my zipper accordingly. Since I started drawing this line in, zippers stress me out much less.
 After this zipper is installed on both sides, just finish the bibs as the directions tell you to do. Its only a few more steps and then Wah-lah! A fantastic and fun pair of Burnside Bibs to wear everywhere!


2 COMMENTS
Thanks for the great review. I love your tip on transferring the dart markings, genius! Lots of other helpful tips too, I’m starting my first pair soon!
I’m so glad glad you found it helpful! Good luck on making your first pair. I hope they make you as happy as mine make me.
Comments are closed.