From Bed Sheet to Maxi Dress!
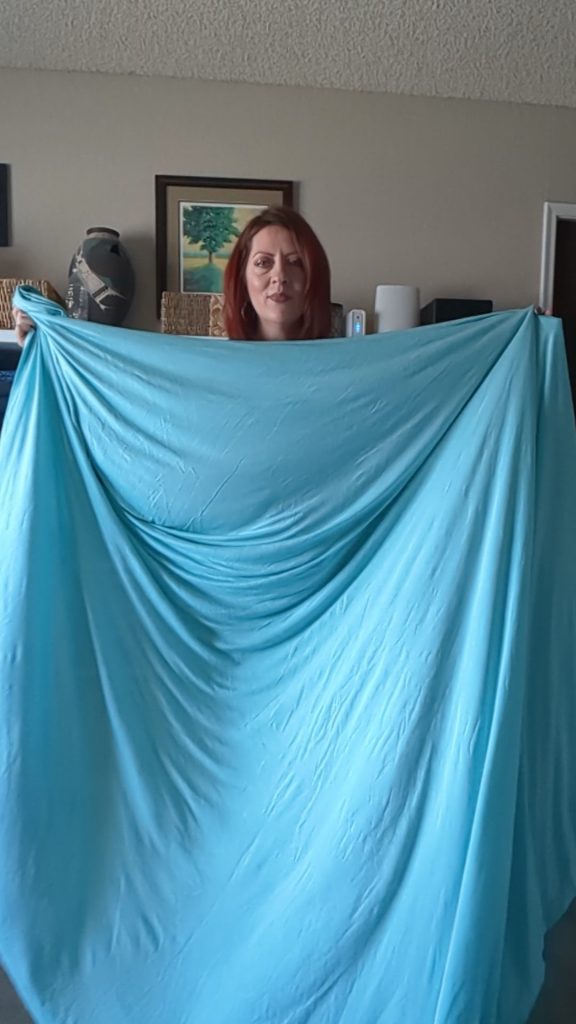
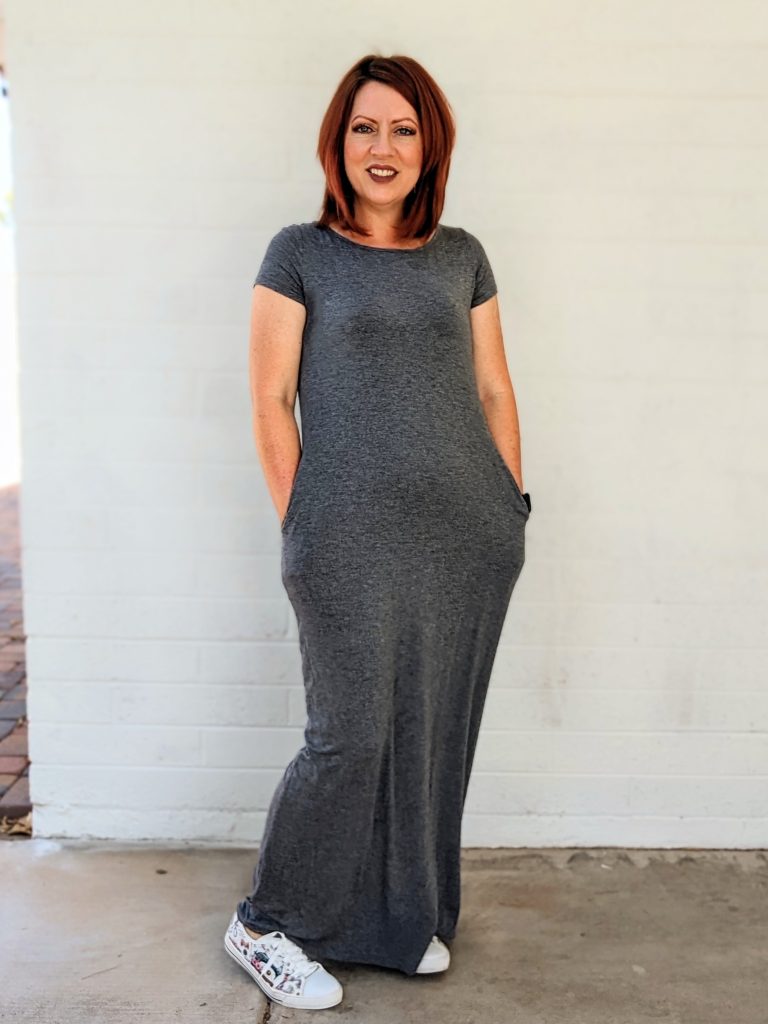
A few years ago I found this super comfy grey maxi dress at the thrift store for $3. It immediately became a wardrobe MVP. Since I wear it so much I decided I needed another one. It had to be just as comfy as the grey one though. I searched everywhere for the perfect fabric. Then my friend donated to me a truck load of fabric from her stash. Hidden deep inside one of the many bundles was the softest modal jersey knit top sheet. It wasn’t the right size for any of the beds at my house, but it was perfect for a maxi dress
I wanted the new maxi dress to fit like my grey one, with a few exceptions. I wanted to make a thicker neckband and make the sleeves a little longer. Pockets and length would remain the same. Here’s how I did it using my grey maxi dress.
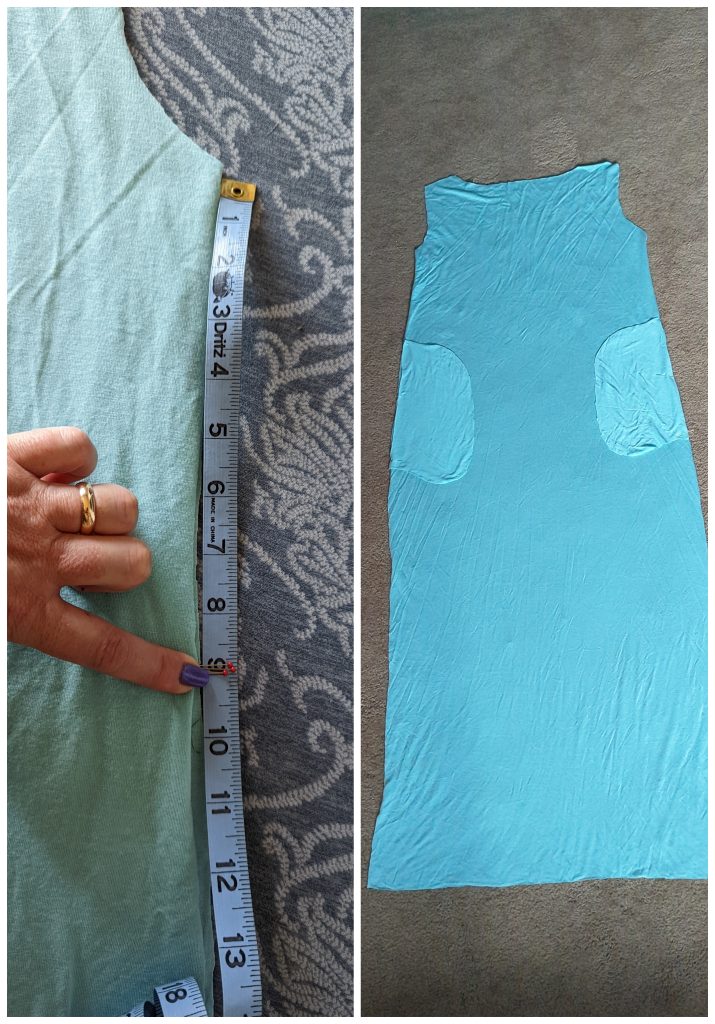
Pockets!
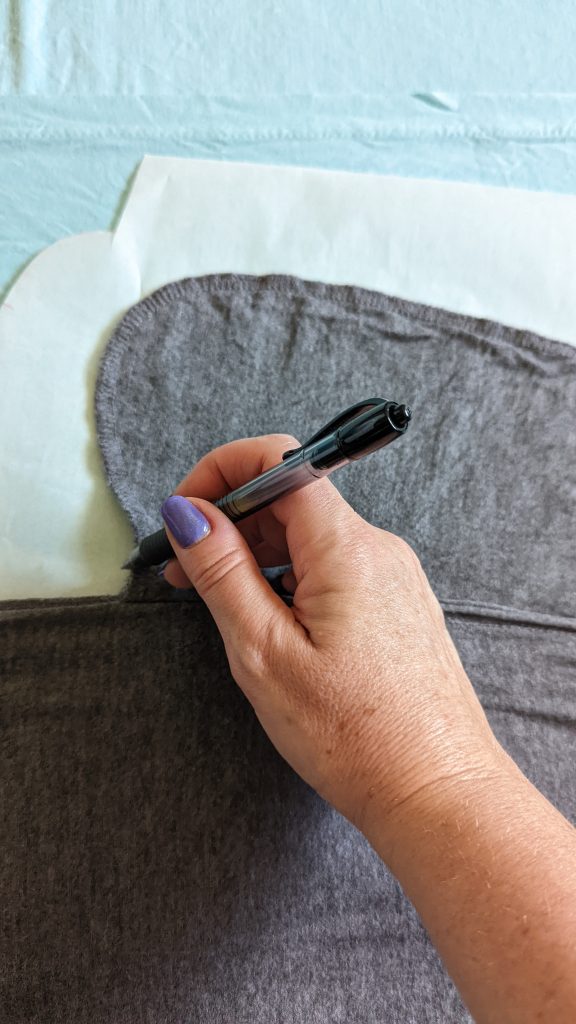
I layed the sheet on my floor and folded a portion of it over, making sure the stretch would go around and not length wise. I folded the grey maxi dress in half and layed the pocket out and placed some tracing paper under it so I could trace it. Once I had made the pattern piece I would need to cut four of these.
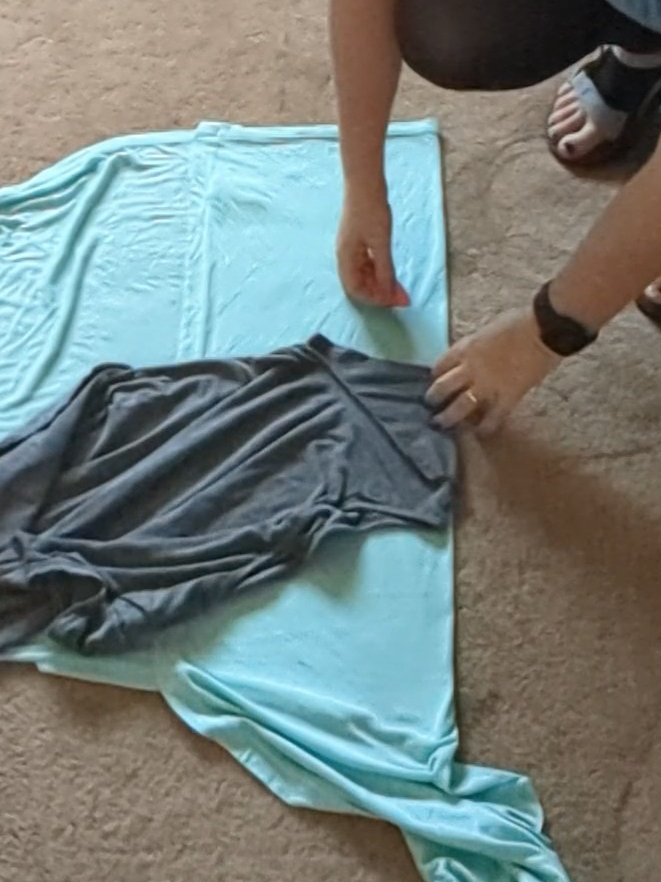
Trace the Dress!
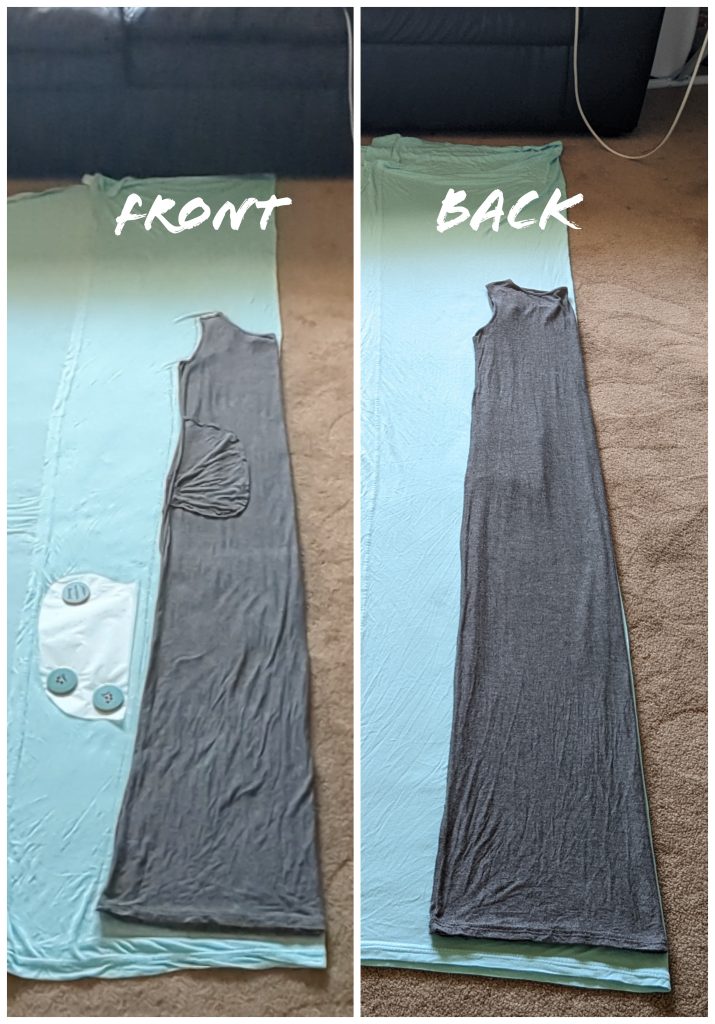
To trace the dress, I tucked the sleeves and the back neck line in so I could trace the front. Once I cut out the front I folded the dress the other way and tucked in the sleeves so I could trace and cut out the back.
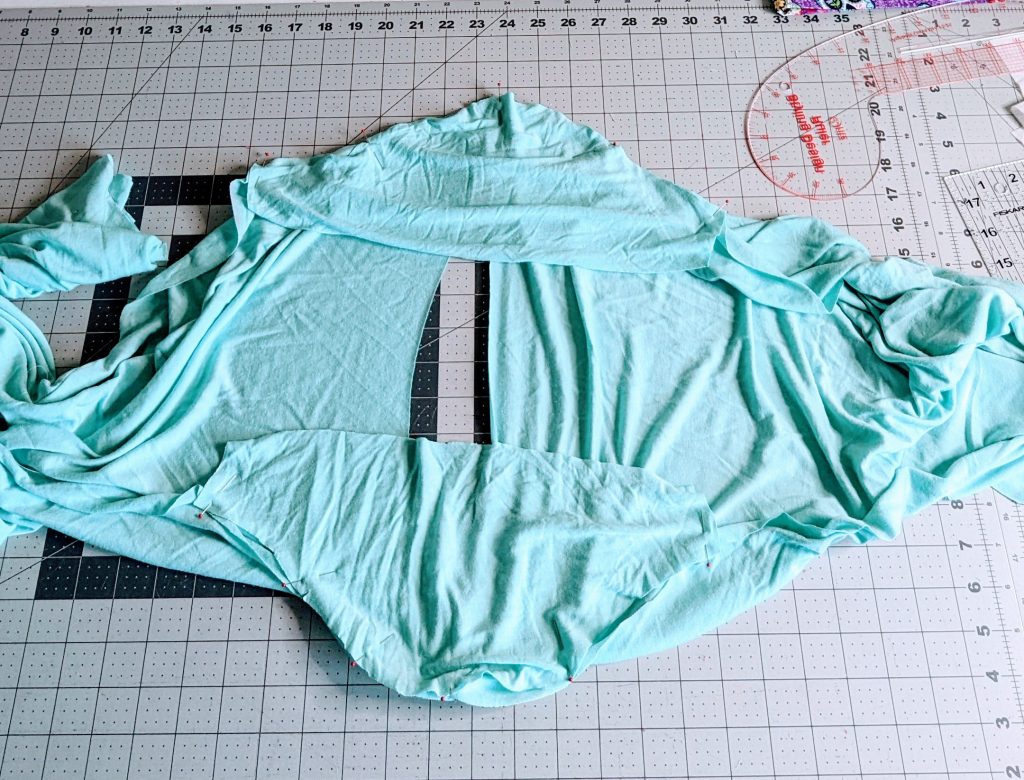
Sleeves!
For the sleeves I did something I don’t normally do. I traced and cut them on the fold. To do that I layed the sleeve flat on the folded fabric, lined up the fold of the sleeve to the fold of the fabric and traced the sleeve. I made it 1.5 inches longer than the sleeve I was tracing. I only do a sleeve on the fold if I know the fabric is really stretchy. I cut out one sleeve and then used it to cut out the second sleeve.
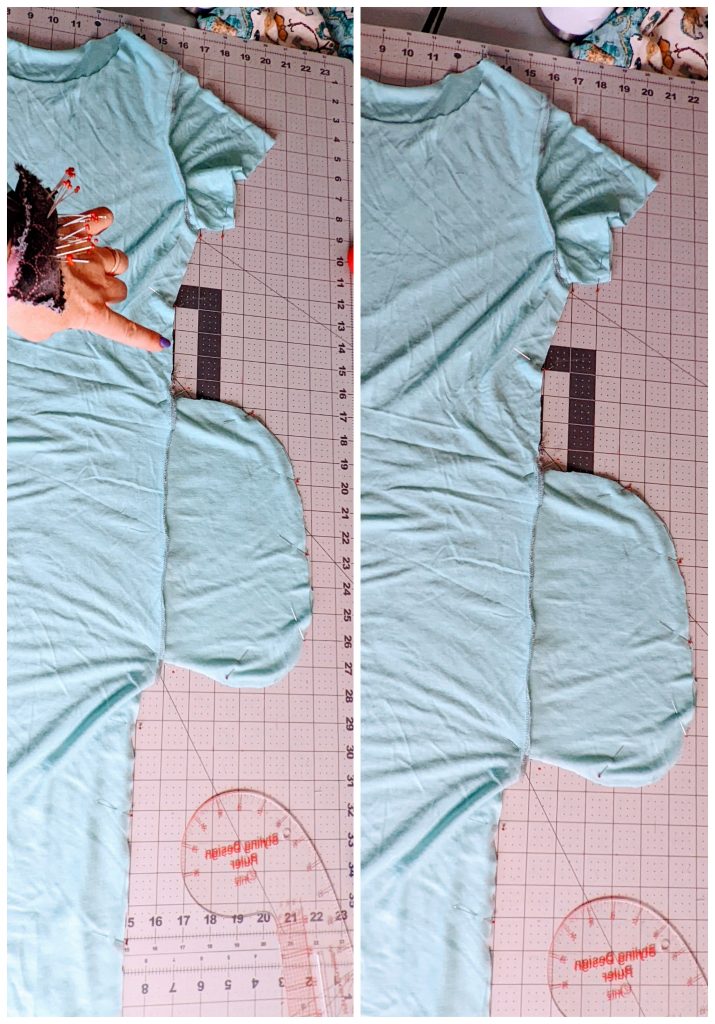
Put it All Together!
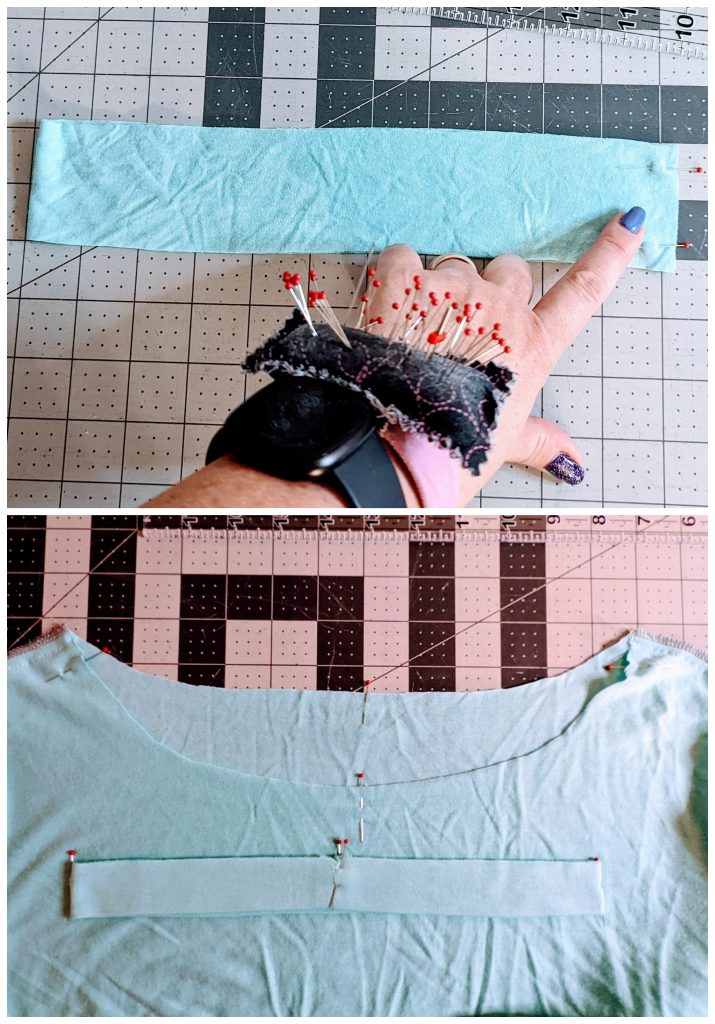
To assemble the dress I started with the pockets. I always place my pockets 8-9 inches below the armpit. I measured on the front and the back pieces where that was and pinned the pockets in place. Then I sewed them to the dress.
Once the pockets were attached I sewed the front and the back together at the shoulder seams. Then I pinned the sleeves in and attached them.
I pinned the front and the back together at the side and sewed from the sleeve down to the pocket. I did a little back stitch before I turned and went around the pocket. Once I had gone around the pocket and was back at the side I did another back stitch and them proceeded down the side the the hem. I did this on both sides.
Once both the sides were sewn I could then do the neck band. I measure the opening of the neck and subtract 15% from that measurement. For reference my neckband was 22 x 2 ¼ inches.
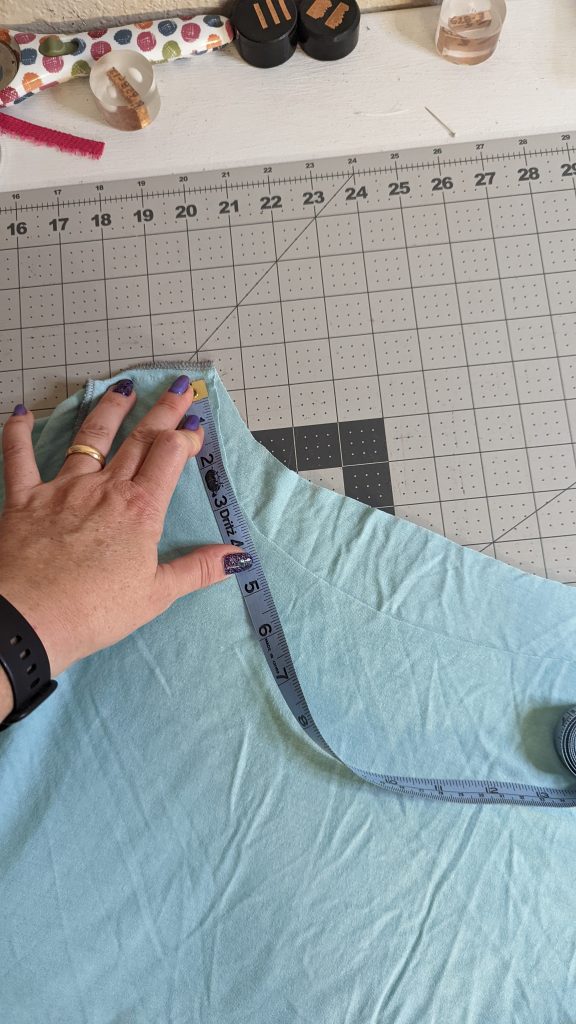
I sewed the short ends together, folded it in half and made quarter point marks on the neck and the band. I matched those up and sewed it on. Before you sew the neckband on, make sure that the neck band stretches a bit to fit the neck opening. This way you won’t have a gaping neck because the band will hold it in.
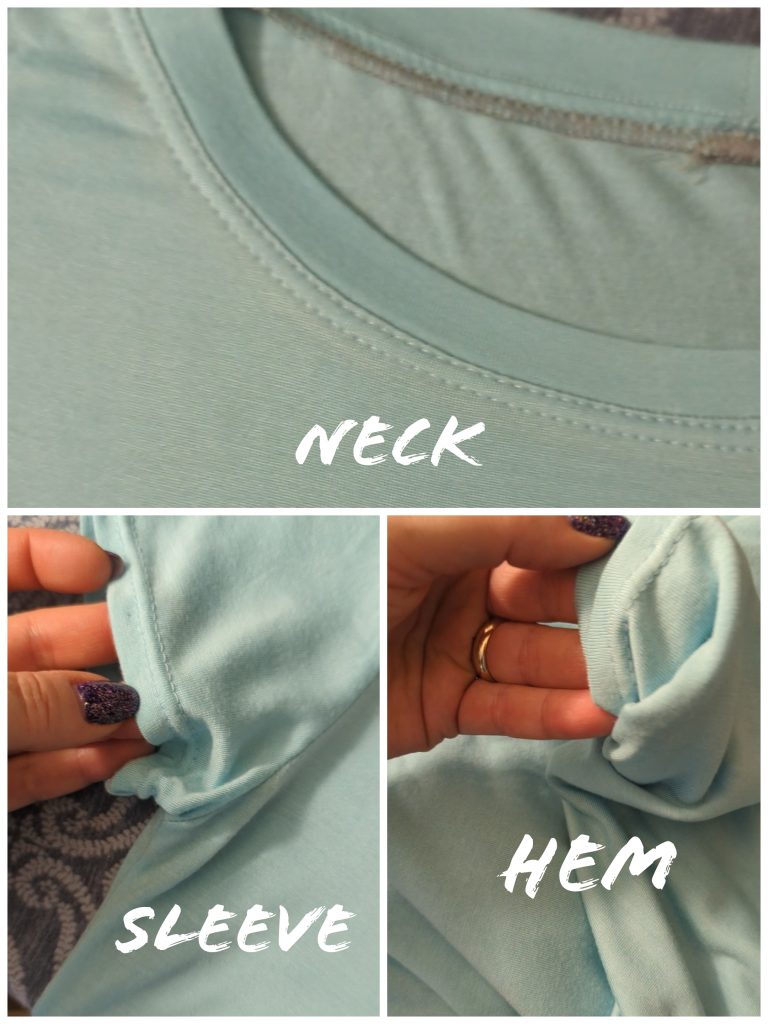
Finishing!
After I attached the neckband I changed the needle on my machine to a twin needle and did some top stitching on the neckband to hold the seam allowance in place. Then I hemmed my dress and the sleeves.
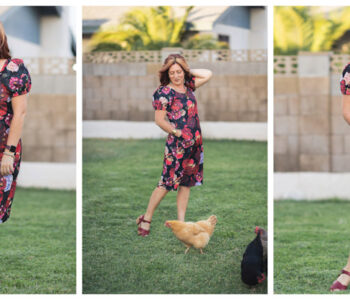
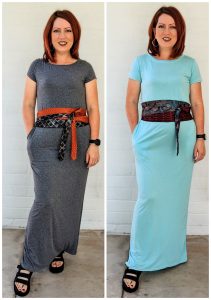
It was done! I tried it on immediately and it fit me like the other one did! It was such a simple thing to do and took me about 2 hours. Plus because some one gave me the sheet this was a FREE project.
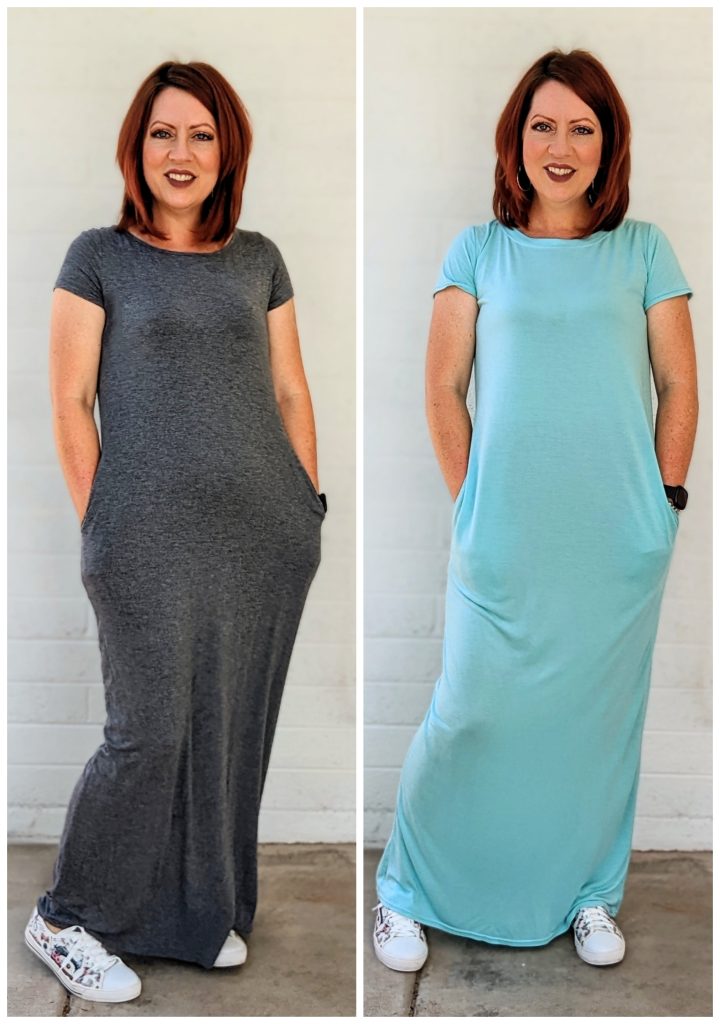
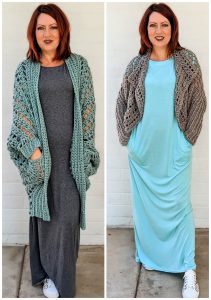
I now had two super comfy maxi dresses I could stay home or go out in. I absolutely love a dress like this that lets me wear it in so many different ways.


Have you even made something from an item it’s not typically made of? Let me know in the comments how it turned out!