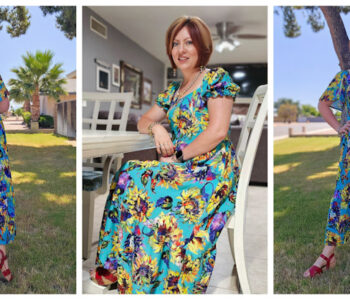
Easy Sumer Project- Bleach Dyeing Clothes
I wanted to share this fun and simple project that I did with my kids. Bleach dying! I had previously done this with my oldest son on some pairs of overall I made for each of us. My other two boys really loved it and wanted to do it as well. So they have been making thrift store trips to find cool shirts to bleach dye. Needless to say we’ve been bleach dying ALL the things now.
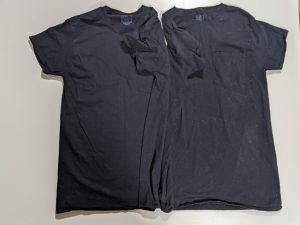
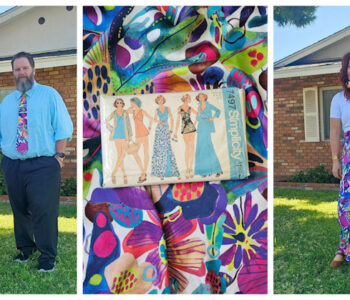
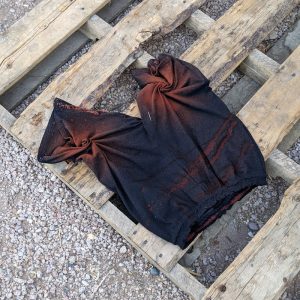
Since graduating from high school, my oldest son has been cleaning out his closet. He had two identical, black, cotton Hanes shirts that he didn’t want. They were too heavy of knit and he didn’t like to wear them. So he gave them to me. Well I love to repurpose and use things like that so I made the decision to turn the shirts into some shorts for my 9 year old. He had wanted to bleach dye some shorts but we were unable to find any in his size. He’s right at that age where nothing fits him. Lucky for him I sew, so I went straight to work.
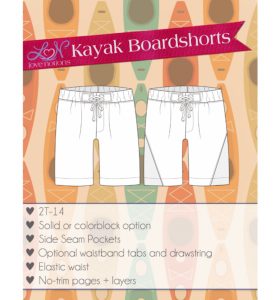
I decide to use a pattern I hadn’t tried before, the Kayak Board shorts from Love Notion. It looked like a straight forward pattern with not a lot of details. I really like that they coud be used for woven and mid to heavy weight knit. They can be used for boys and girls too. Also, they had inseam pockets. I love inseam pockets.
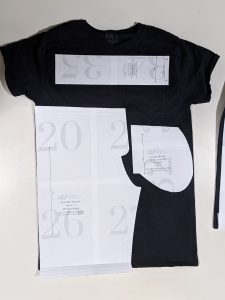
My kiddos measurements put him in a size 14. I used the size 10 for length. These shirts were a size medium so I knew I would need to use both of them. I laid the pattern pieces out and could get the shorts front, pockets and waistband on one shirt. I used the other shirt for the back of the shorts. I lined the pattern up with the shirt hem so I wouldn’t have to hem the shorts when I was done. I always like to do that when I can. It saves time and looks nice. Of course it did make the shorts be a little longer than intended, but hopefully that means they’ll fit him longer.
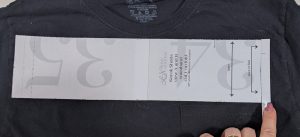
The only modification I made was not cutting the waistband on the fold. I didn’t have a wide enough area to do that. So I cut two separate pieces but added seam allowance to the ends.
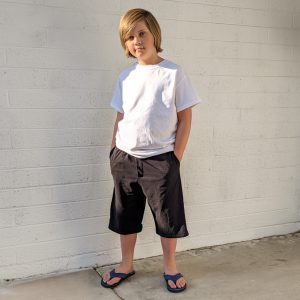
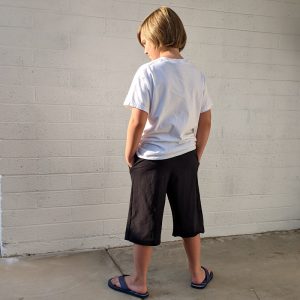
It took me a little over an hour to sew these together. Once I finished I had my kiddo try them on and they were a perfect fit! So we grabbed our supplies and and went out to bleach dye them. I do have to say that my 9 year old is really reserved and methodical in all of his creative projects. He’s mature beyond his age so doing projects like this with him is really fun and not at all stressfull.
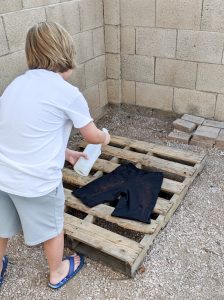
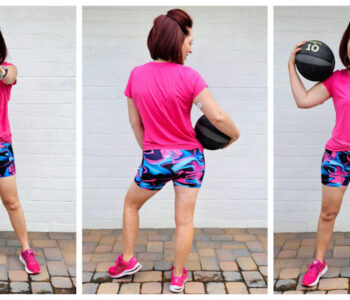
Now, for the bleach I did equal parts of water and clorox in a spay bottle. Then I set the bottle to be “stream” rather than “mist.” He wanted to start out spraying some lines on the back side, then switch it up on the front side. I gave him total design freedom. He decided how he wanted it to look. I just changed the spray nozzle for him and let him go.
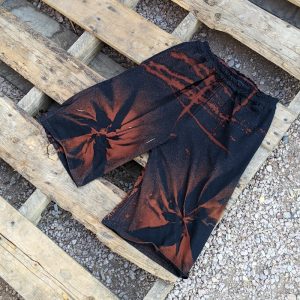
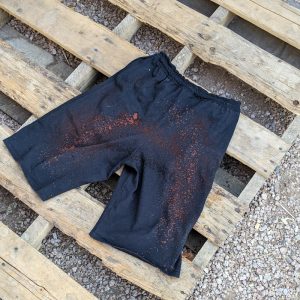
For the front he had me flip it over and then he did some little twists on both front legs. He misted those and then used the stream to spray some Tic-tac-Toe lines above the twists. He really had some great ideas and it was fun to watch him work. My kids love having the freedom to create things like this. I offer little to no input. I just like to see the things their brains come up with.
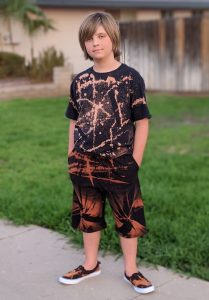
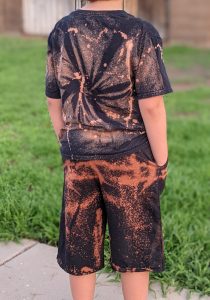
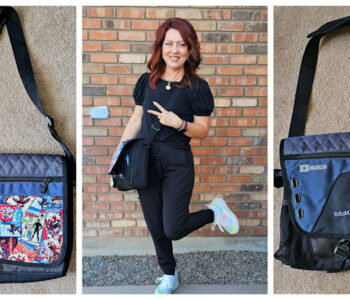
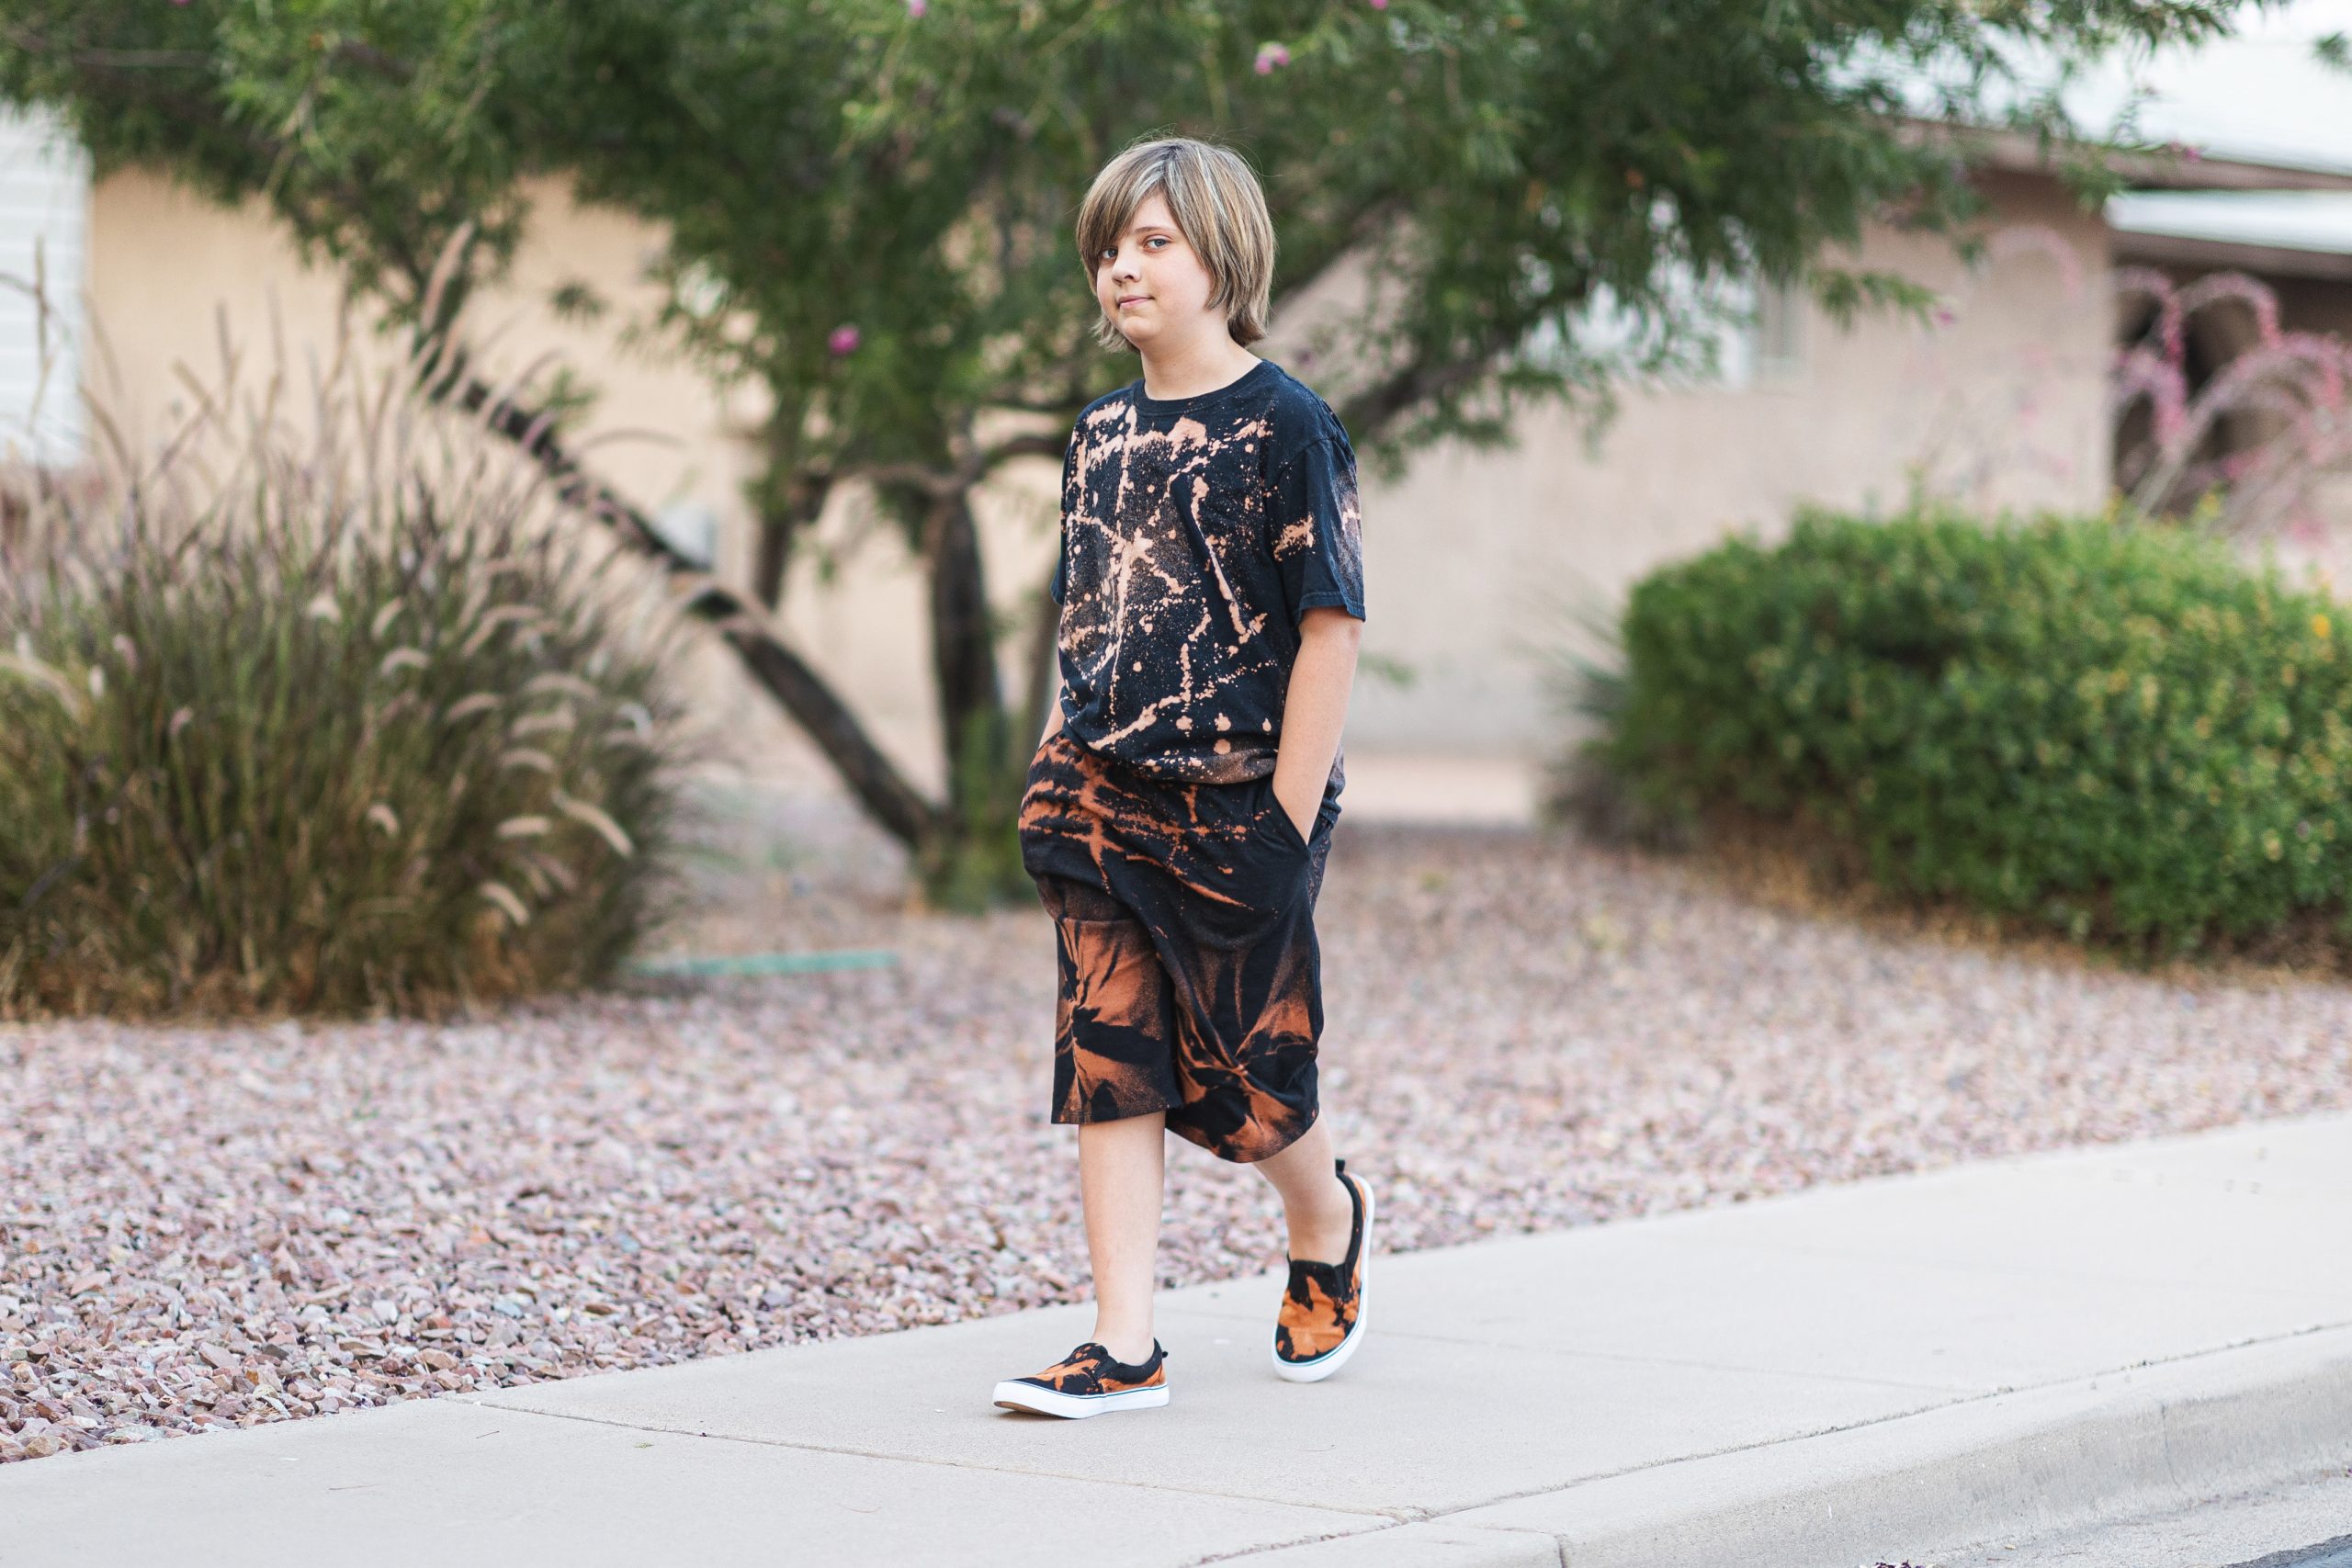
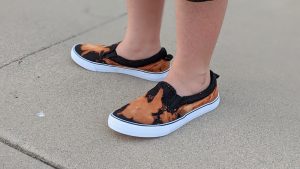
Once he found out how fun it was to design things this way he decided he needed a whole ensemble! So he bleached dyed some shoes and a shirt to go with his shorts. This kiddo was so excited to have a truly original, one of a kind outfit. And I’m glad I got to help make this happen for him. Creativity is amazing! Just look at these cool shoes!!
I hope all my kids remember the feeling of making things like this. Hopefully it’s something they can do with their kids too.

Happy Sewing and Creating!
Koe