A Flounce to Fit Any Pattern
I love a good pocket dress. I add pockets to almost every dress I sew. So when I saw the tester call go out for this pattern I immediately emailed Blue Dot Patterns because I wanted in on this one.
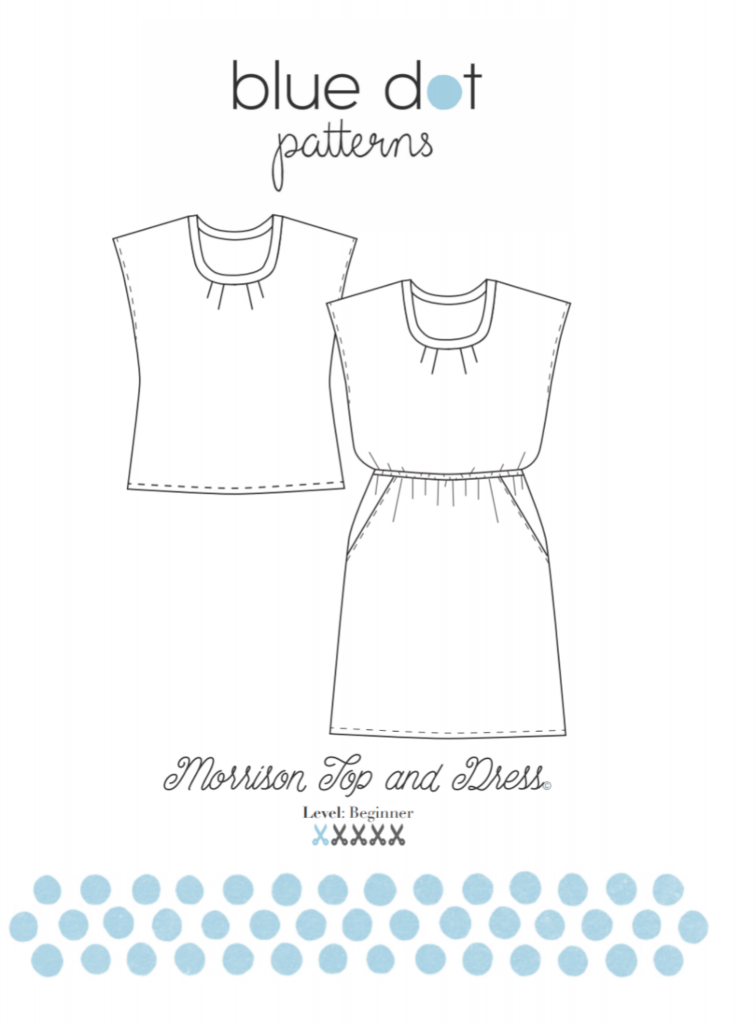
This easy to sew, short sleeve shirt / dress has a scoop neck and a pleated bodice at the front neck. The dress has an elastic waist and side pockets. Both the shirt and the dress can be made in either knit or woven fabric. The ease for this pattern is 4 inches at the bust and hips. The finished length for a size 10 is 24 inches for the shirt view and 40 inches for the dress view. This pattern is very beginner friendly and perfect for adding little embellishments. I love to take a smart little pattern like this and add a few details to make it a bit extra.
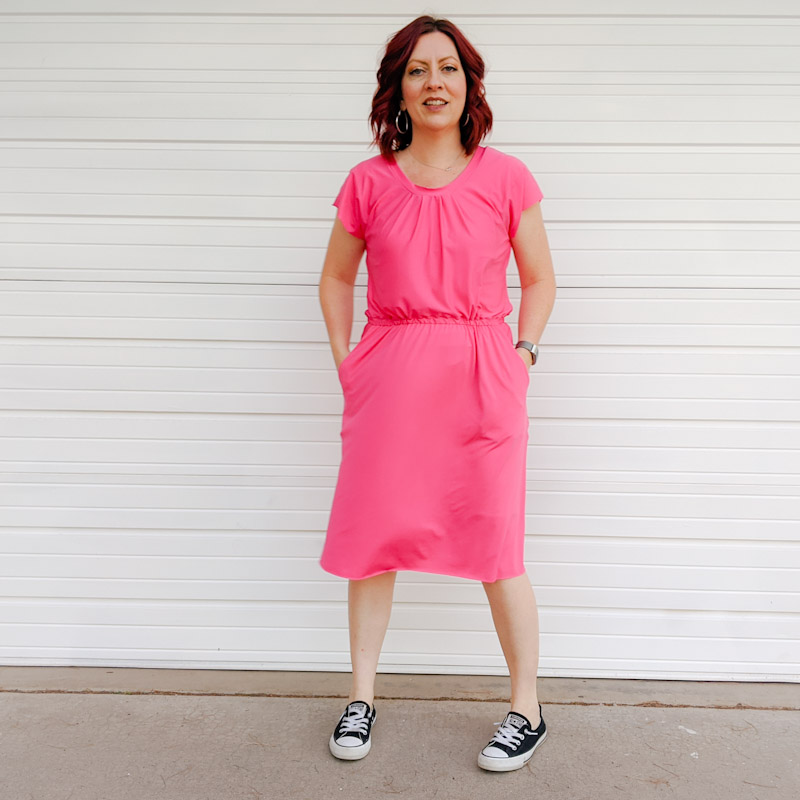
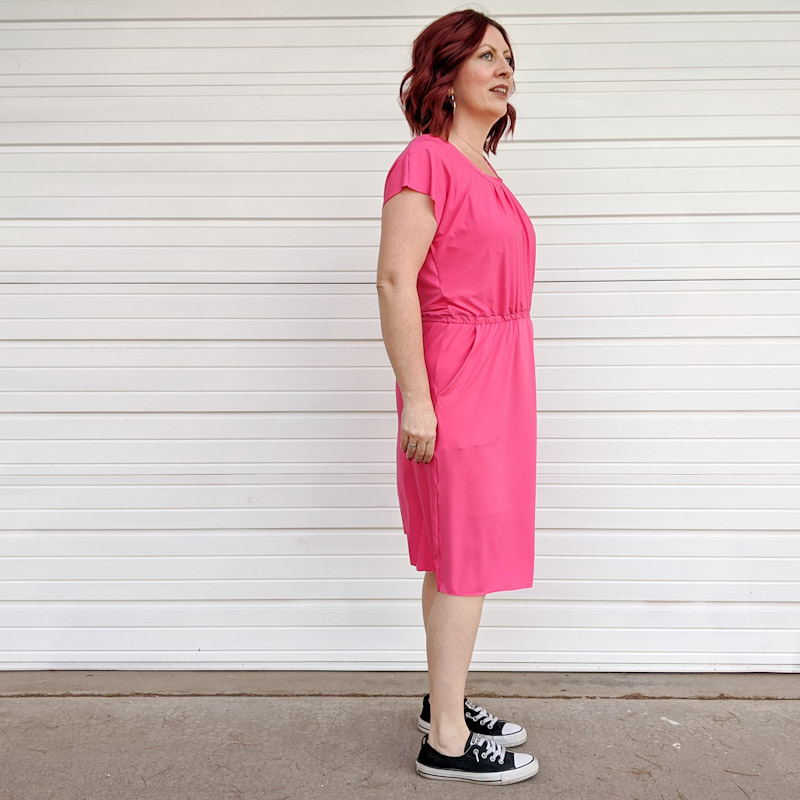
I made two dresses for this test. The first I made in an inexpensive pink, poly knit from my stash, I made a size 8 with zero adjustments. After I made it, I started thinking about ways to customize it without compromising the pattern’s integrity.
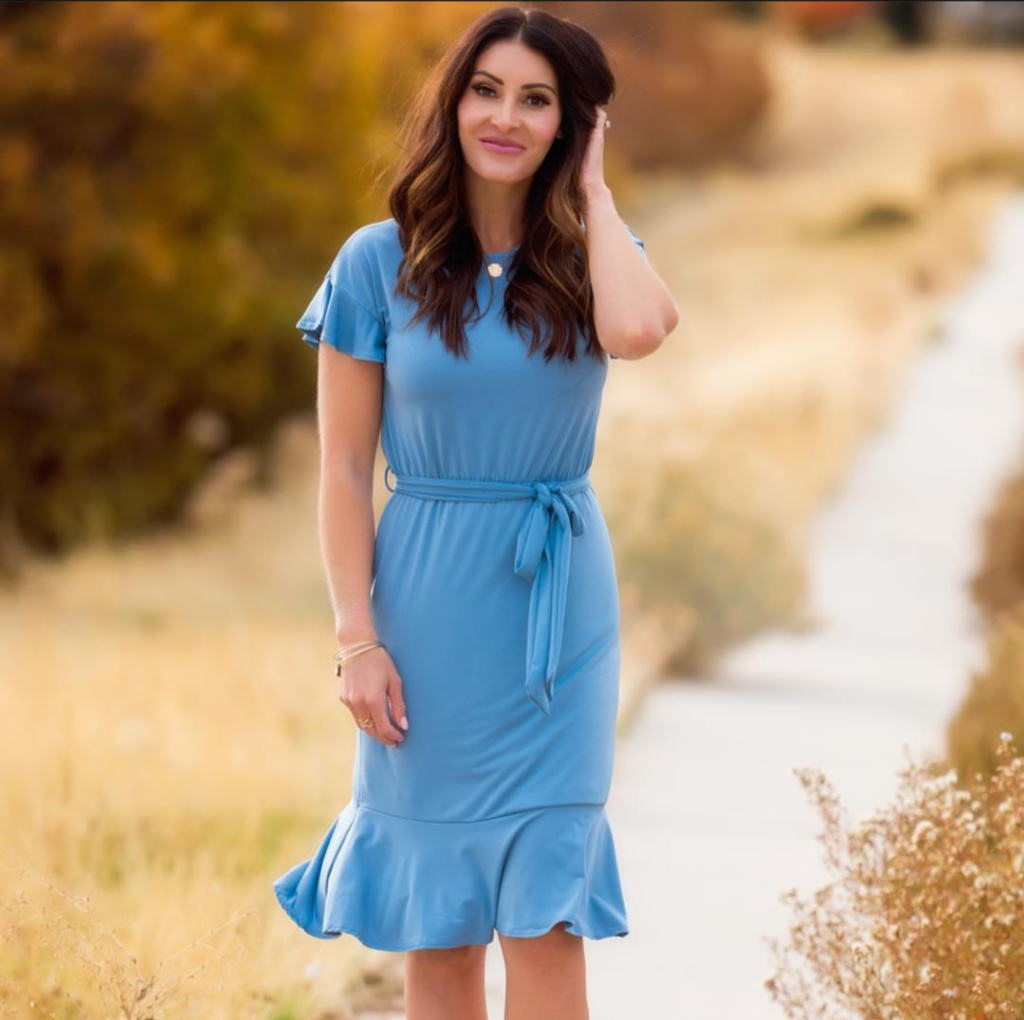
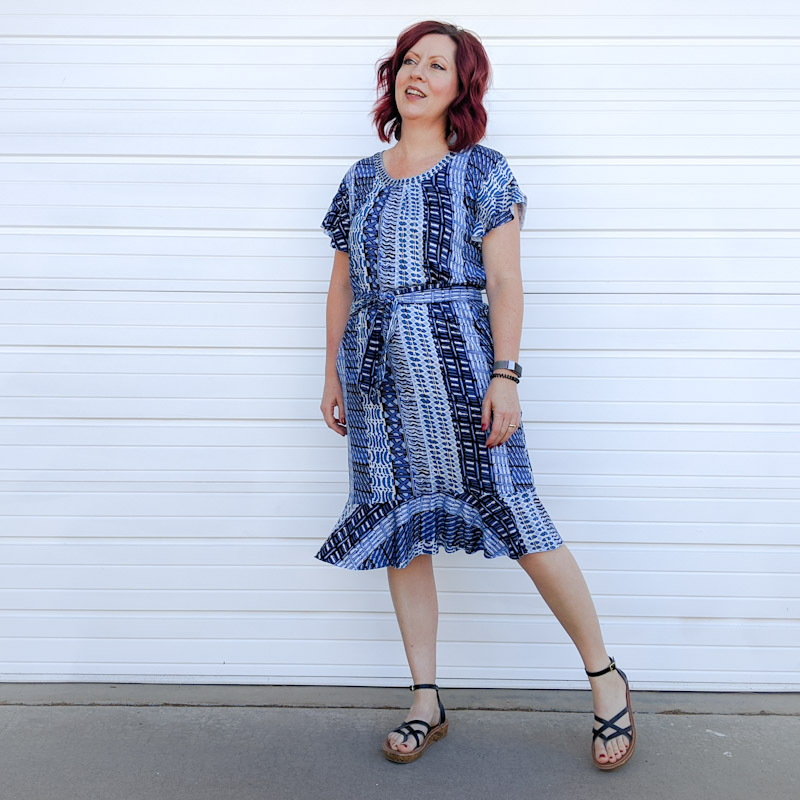
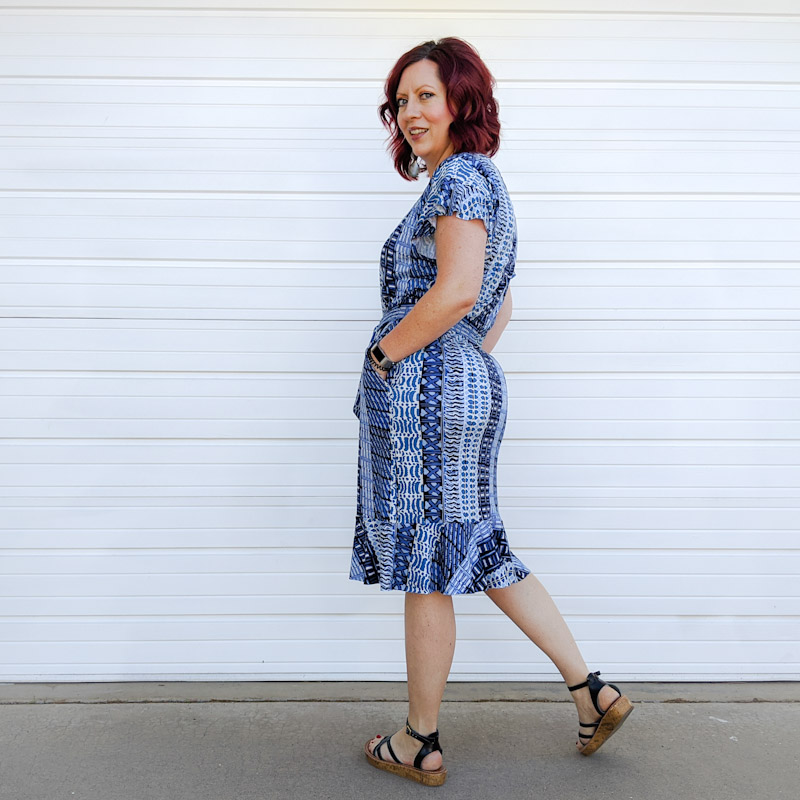
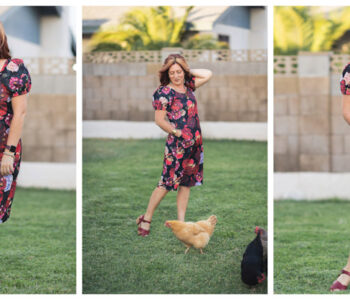
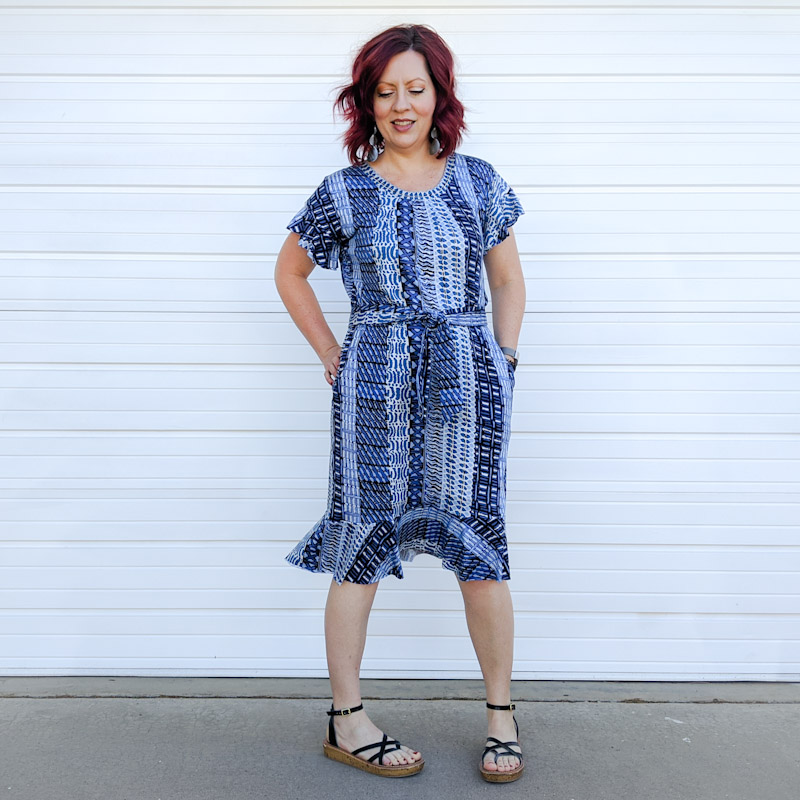
I saw this picture from one of my favorite places to get inspiration, The Brigitte Brianna Collection from Sexy Modest. I just loved the flounce ruffles on the sleeve and dress hem. I loved the idea of adding them to my final make. So I asked Diane, the pattern drafter, if I could do that and she approved. When testing a pattern, it’s always good to communicate with the pattern maker when you want to add any changes to their pattern. We both liked the idea of showcasing the versatility of this pattern so I went ahead with my plan.
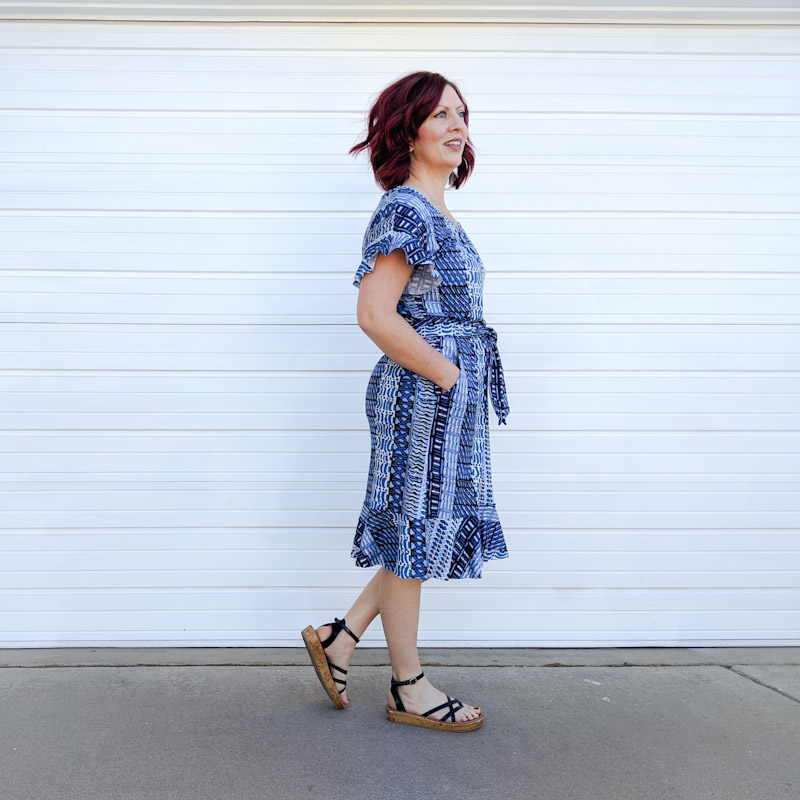
I had originally made a size 8, but I felt the 4 inches of ease in the bust and hips was too much for my liking. I opted for a size 6 for my final make and I’m so happy I did. It was perfect. Keep reading if you want to know how I got the final look. It’s a bit long.
Adding flounce ruffles to any pattern isn’t as hard as you might think. It just takes a little math. First you find the circumference then you divide it by 6.28. Why 6.28 you ask? Because 6.28 = π x 2. What does π have to do with this? π is what you multiply the diameter of any circle by to get that circle’s circumference. It is a constant, meaning it never changes. We need to know half of the diameter of the sleeve and skirt to make our flounce so we multiply π ( 3.14) by 2 which gives us 6.28. Did I lose you? It’s ok. Just follow this formula and it will all work out:
Circumference ÷ 6.28= ½ diameter
Because I am working with very stretchy jersey knit these measurements don’t have to be exact. It’s ok to round the answer down once you do the math. However, if you’re using a woven or a less stretchy knit, you may want to be more exact.
First I needed to find the circumference of the sleeve. To do this I needed to sew together the bodice shoulders and sides. Next I laid it flat so I could measure the sleeve opening, making sure it wasn’t being pulled or stretched in any way. The sleeve opening was 7 inches. I multiplied it by 2 because there is a back side and that gave me the circumference of 14 inches. Now, 14 divided by 6.28= 2.229 inches. I just rounded down to 2 inches to make it easy. Again, my fabric is very stretchy.
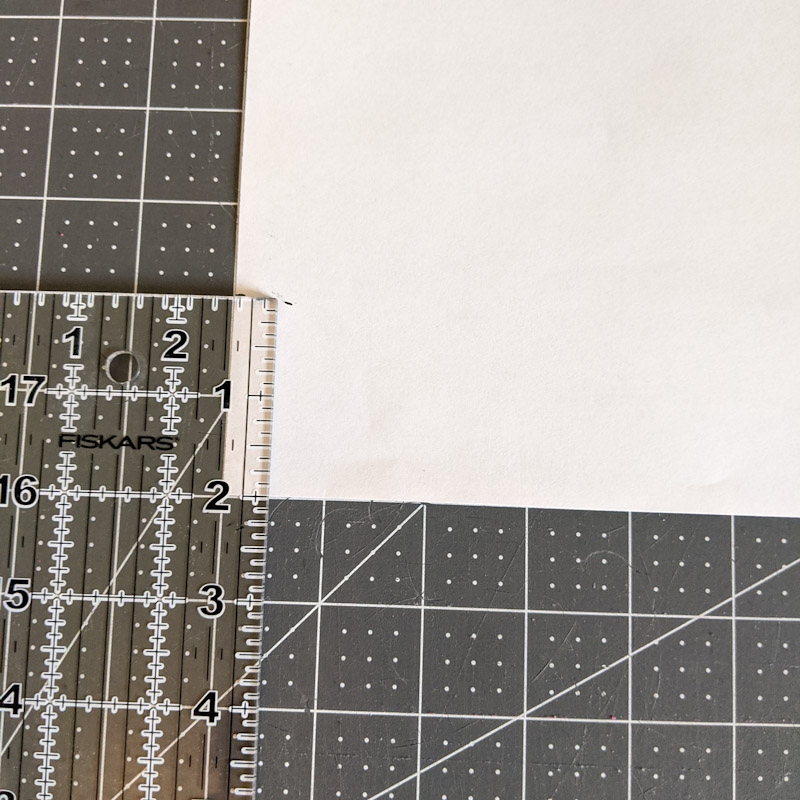
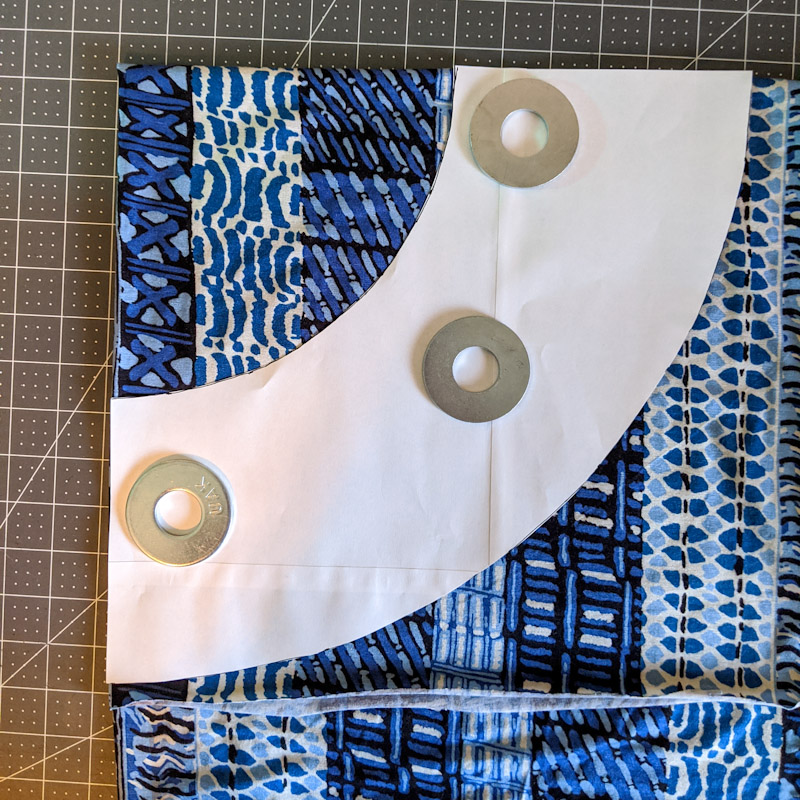
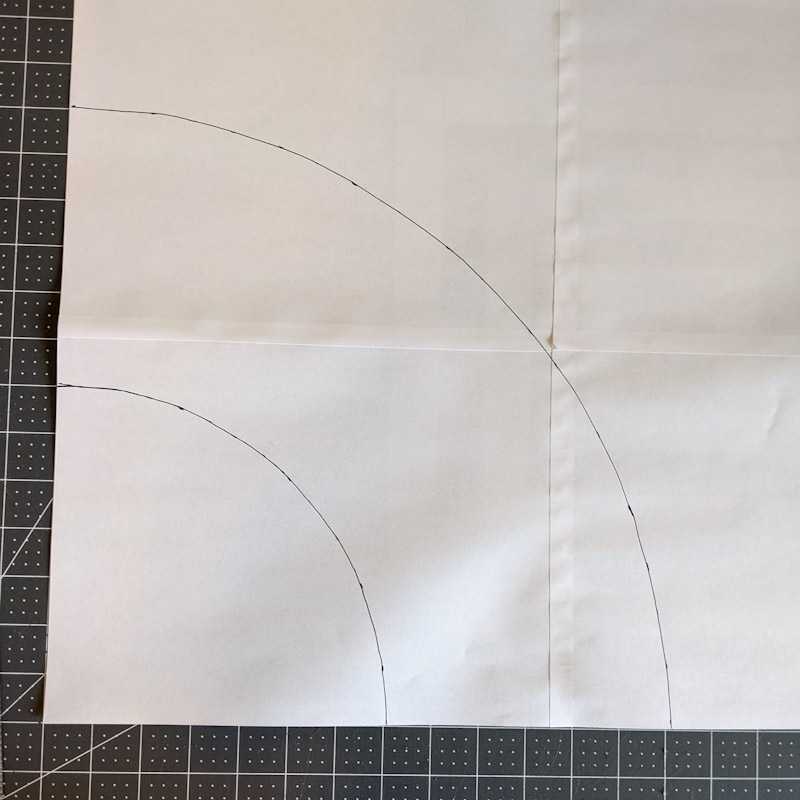
This is what you do with that measurement. We are going to make a pattern so you will need a piece of paper with a right angle. I just used printer paper. Starting at the corner of the paper, use a ruler and measure out 2 inches and make a mark. Pivot from the corner and make another mark.
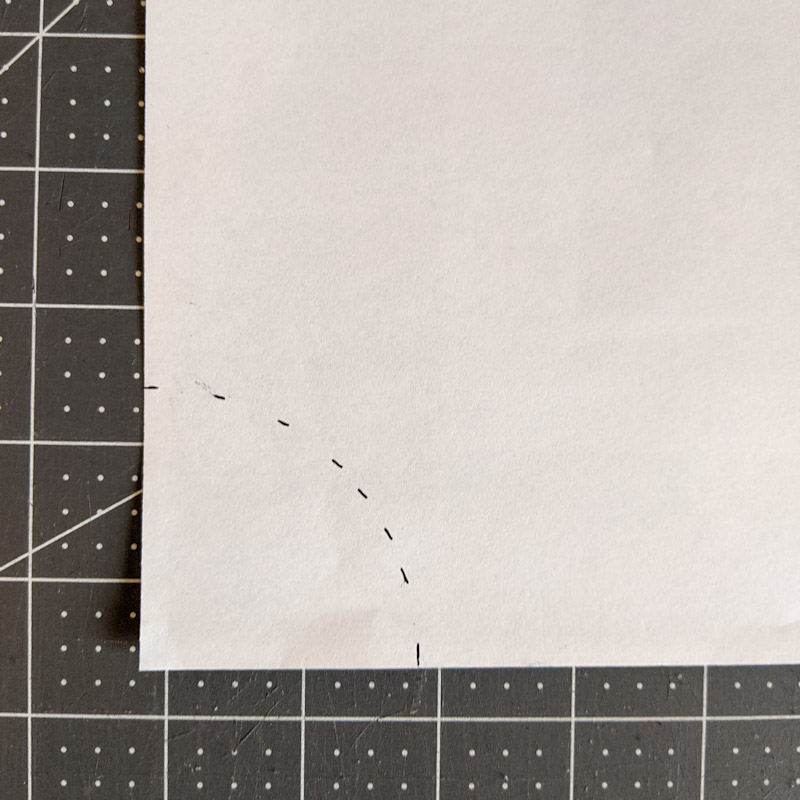
Make sure you are keeping your ruler at the corner. Keep pivoting until you have made it to the other edge of the paper. Connect the marks and you have an arch. This will be the inside of the flounce that connects to the sleeve opening.
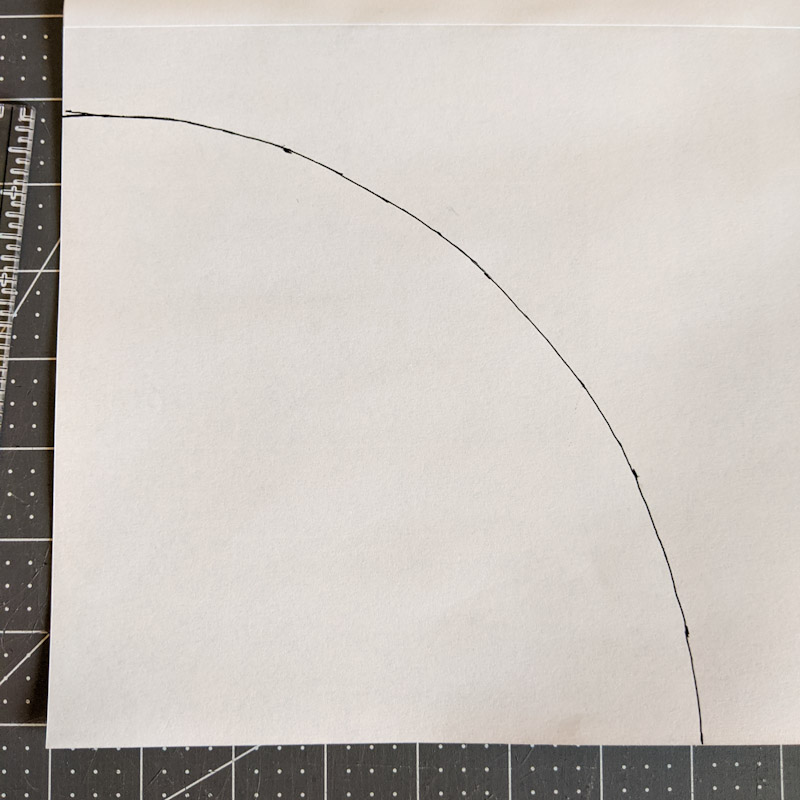
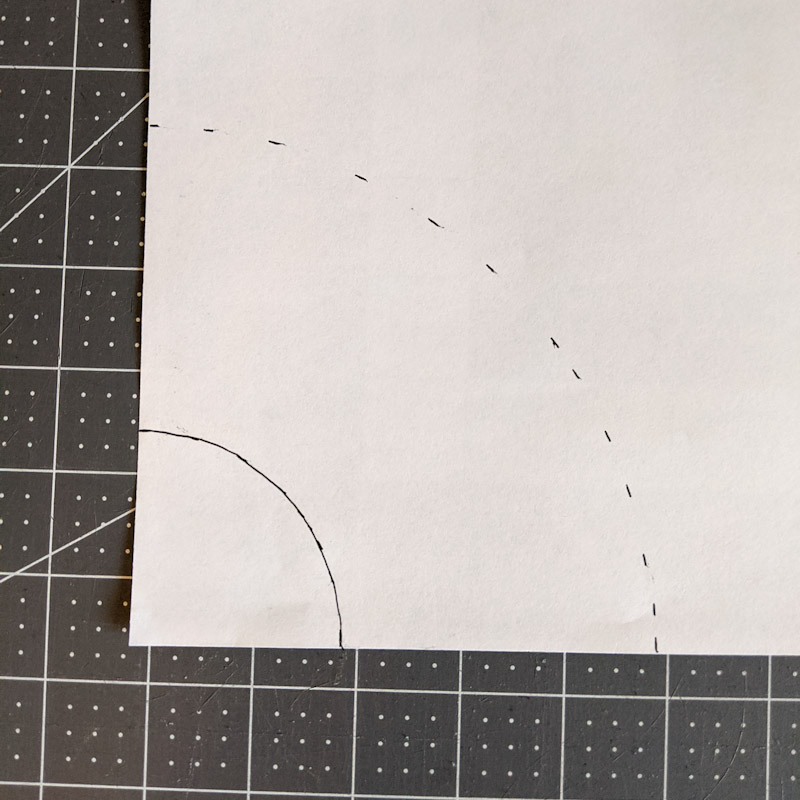
Now decide how long of a ruffle you want it to be and account for seam allowance. I wanted mine roughly 2 ½ inches and I knew my fabric wouldn’t need a hem so I went with 3 inches. You would need to add more if you plan on hemming yours. Then I measured 3 inches out from the first arch edge and made a mark. I continued measuring 3 inches out from the arch edge until I got to the other side of the paper. Connect the marks and you have two arches.
Cut on both lines and you have a pattern. Because it’s only 1/4 of the pattern, we have to fold our fabric a certain way to make the whole flounce. Here’s what you do. Take your fabric and fold it once vertically.
You can check to see if you folded it enough by laying your patter on it. Adjust if needed, then fold it again this time horizontally. You should have what looks like one fold on one side and two folds on another side.
Place your pattern on it as shown and cut it out. You will need to cut two for the sleeves.
Before you unfold your flounces, make markings at the 4 different folds so that it’s marked by quarters. You will need those markings to attach it to the sleeve. When you unfold it you should have what looks like a doughnut. Make your quarter markings on your sleeve, using the shoulder seams and armpit seams as two of them. Just match those and fold the other way to get the other two marking.

You can now match the flounce marking and the sleeve markings to attach the flounce to the sleeve.

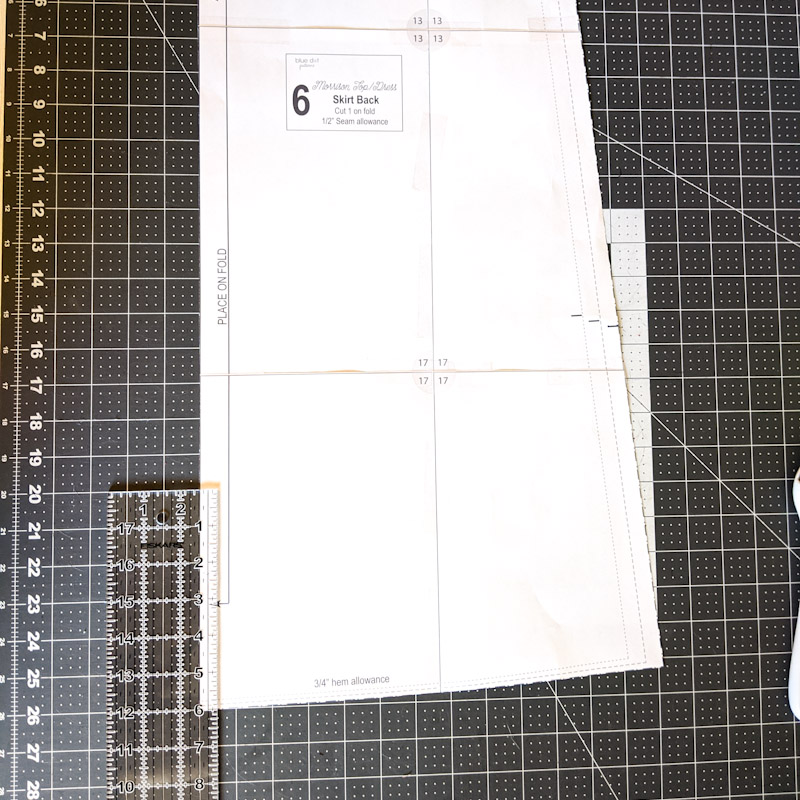
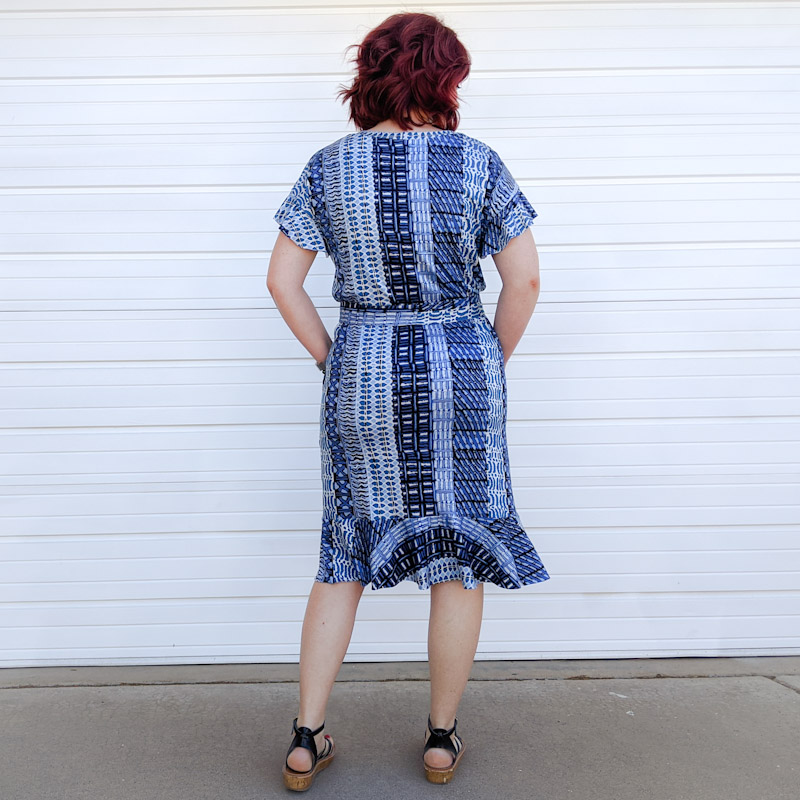
To make the skirt flounce ruffle I used the same formula. However I wanted my dress to still be roughly the same length as the pattern intended. To do this I took 6 inches off of the skirt length of the pattern.
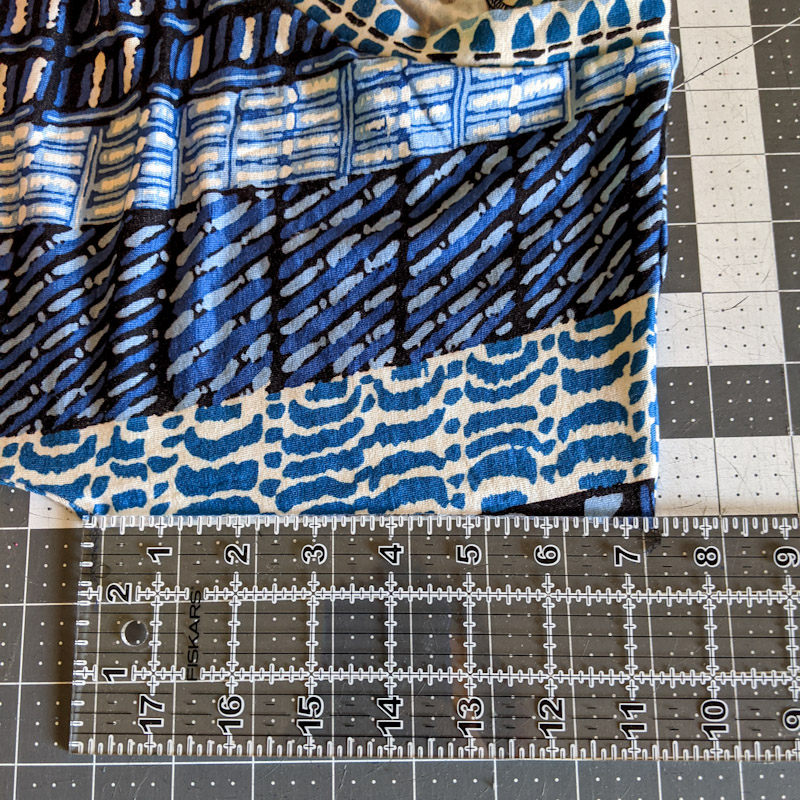
Once I had sewn the skirt portion together as the directions intended I laid the dress flat, making sure it wasn’t being pulled or stretched in any way. Then I measured it width wise at the hem. Mine came to 22 inches. I used the same formula from above and multiplied it by 2 to get the circumference of 44 inches. Then I divided that by 6.28 to get 7.0063 inches. I rounded down to 7 inches.
I did just as I had previously done for the sleeve flounce and measured on a piece of paper 7 inches out from the corner and made a mark. Continue making your arch to the other side of the paper. For the next arch, I wanted my flounce to be 5 ½ inches so I measured 6 inches out and made the second arch. I folded my fabric as I did before and cut out my skirt flounce ruffle making sure to mark my quarter markings.
Make you quarter markings on the skirt hem just as you did for the sleeves by using the two side seams, matching them and folding it the other way to get the other two. Once you have 4 markings match them up with your flounce ruffle markings and sew it to the skirt.
Since I used a knit fabric that doesn’t fray I didn’t bother with hemming my flounce ruffle. If you would like to hem yours the easiest way would be to use a rolled hem foot. If you don’t have one you can do a ½ inch basting stitch around the outside of your flounce ruffles before you attach them. Use the basting stitch as a guideline and iron your hem in place and sew it.
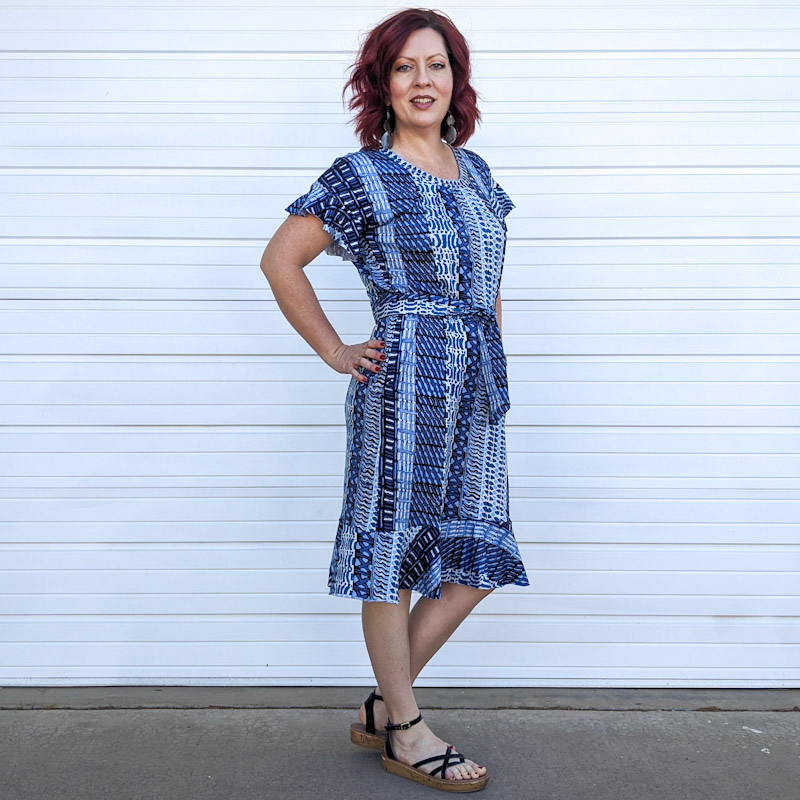
The following is how I matched my striped prints up and made my simple belt addition.
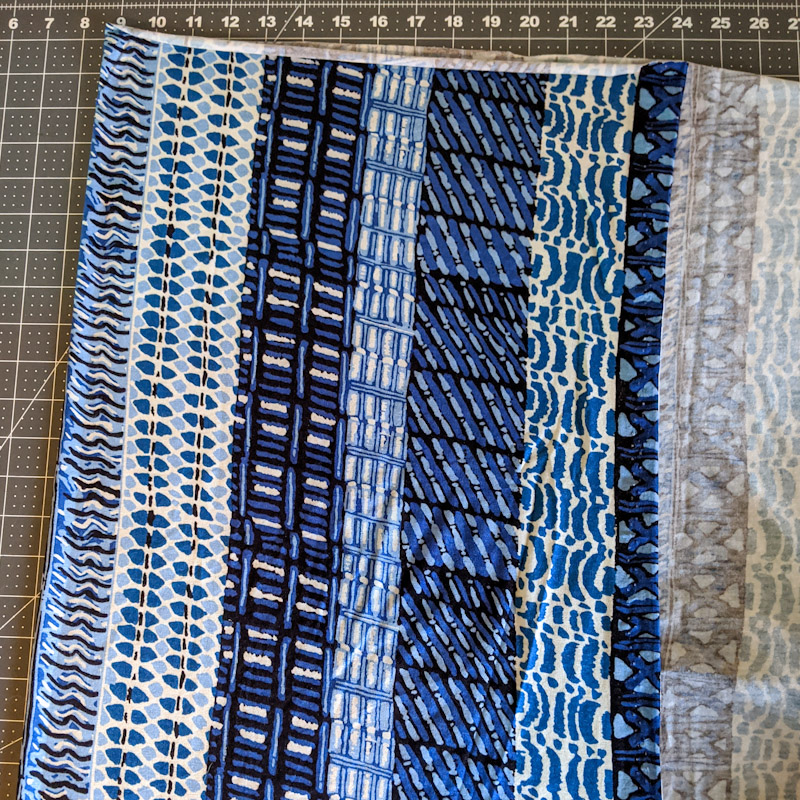
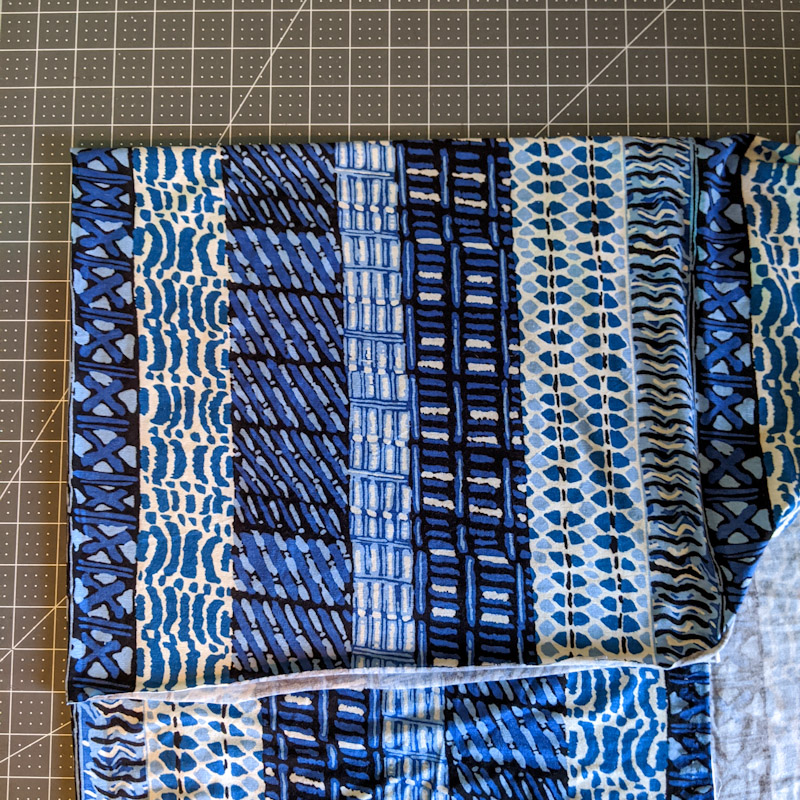
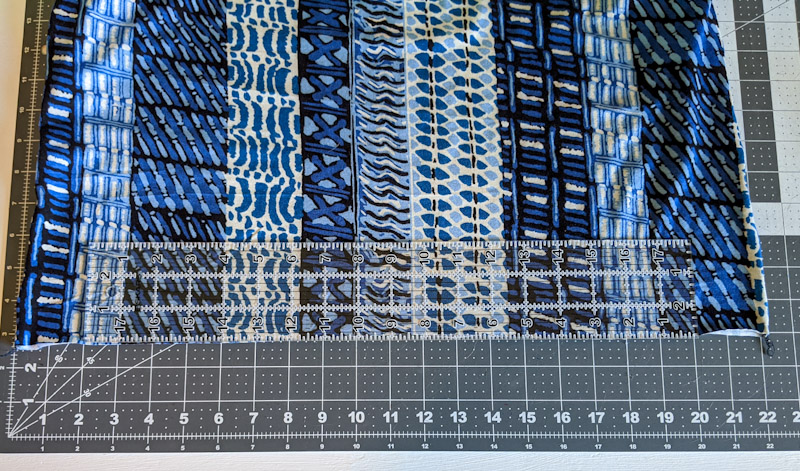
Because this dress was a vertical striped print dress I made sure to match them all, including the pockets. To do so I laid the front skirt piece on the fabric matching the pattern on the fabric. Then I matched the pocket liner piece and removed the skirt piece so I could cut out the pocket.
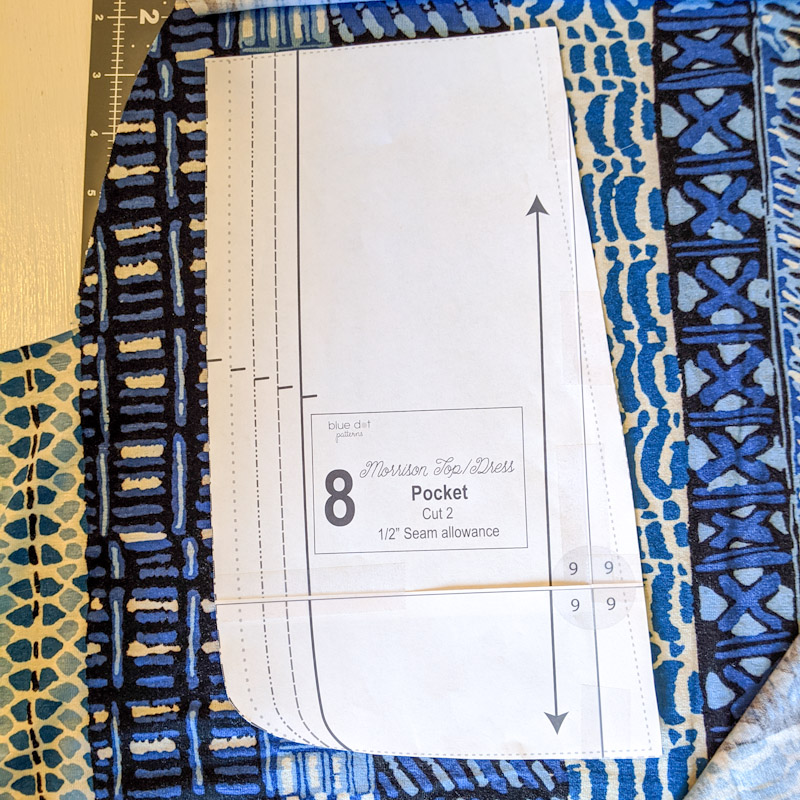
It thought it matched almost perfect.
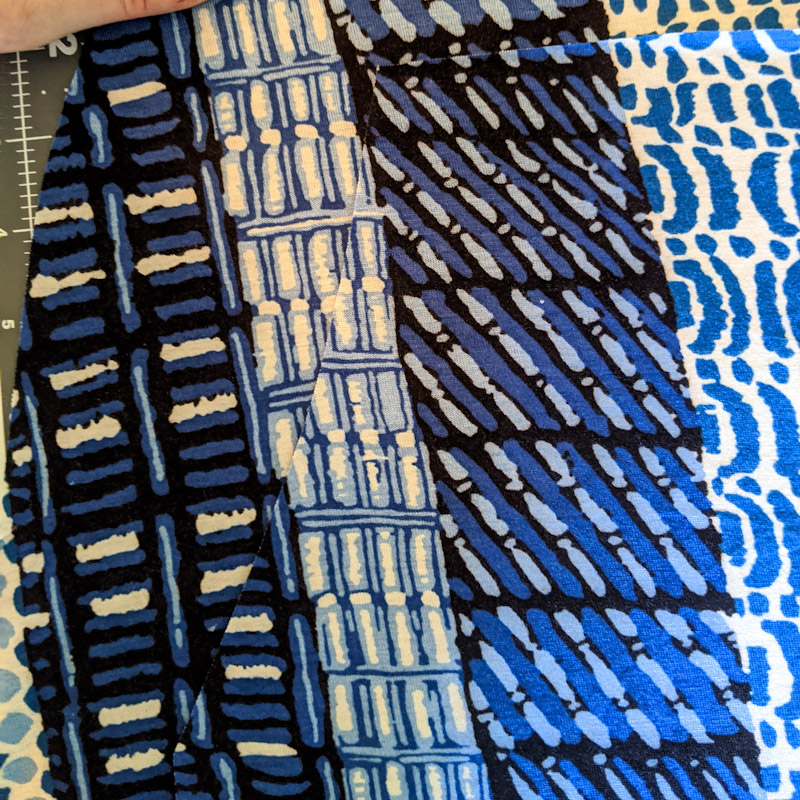
Also when cutting the front and back for the skirt and top, I made sure it was folded on corresponding stripes so the Bodice and skirt would match and look like one piece. I love a good stripe matching challenge.
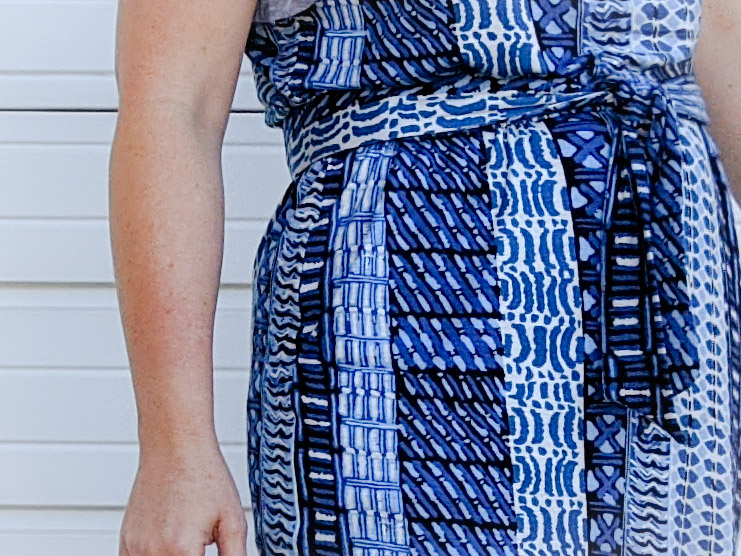
To complete the look I made a belt. To do this I cut out 2 strips of fabric on the grainline that were 3 inches x 28 inches and attached them. Then I folded them in half long ways and angled the edges. I sewed the angles and then down length wise leaving an opening in the middle to turn it right side out.
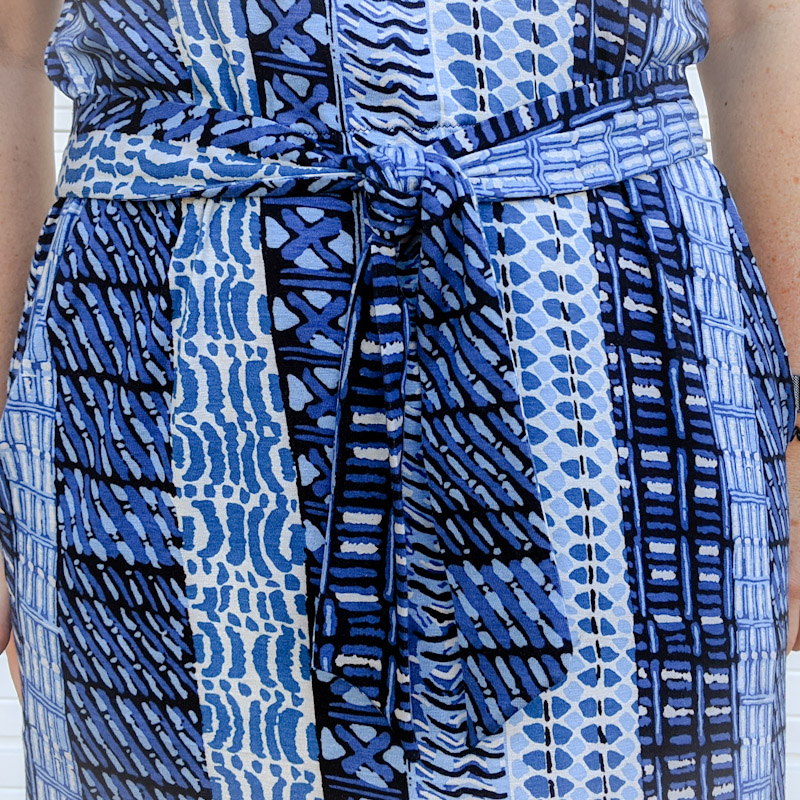
Because my fabric was so stretchy I chose to interface one side. I did this right before I turned the belt right side out. It made my belt more stable and helped it keep its shape.
I really am pleased with how this turned out. I had no idea π would be this fun and useful when I learned it decades ago. Hope you found this helpful! Now go add some flounce ruffles to something.