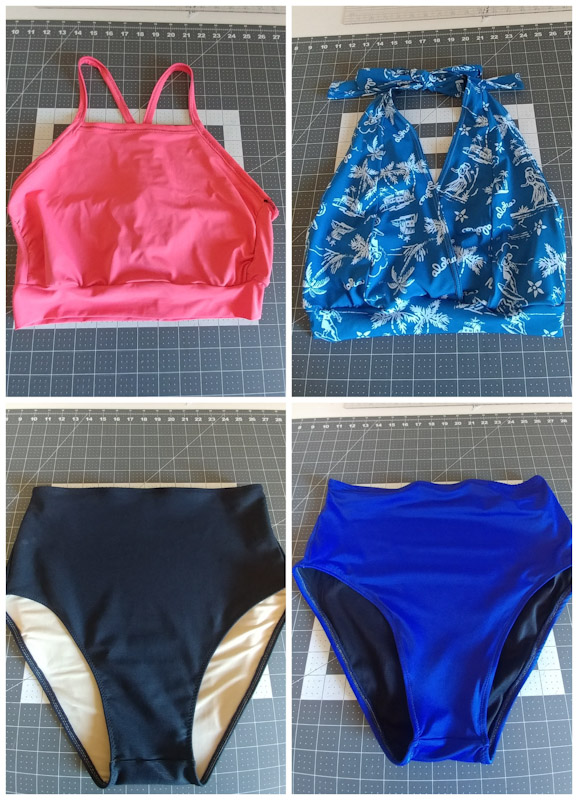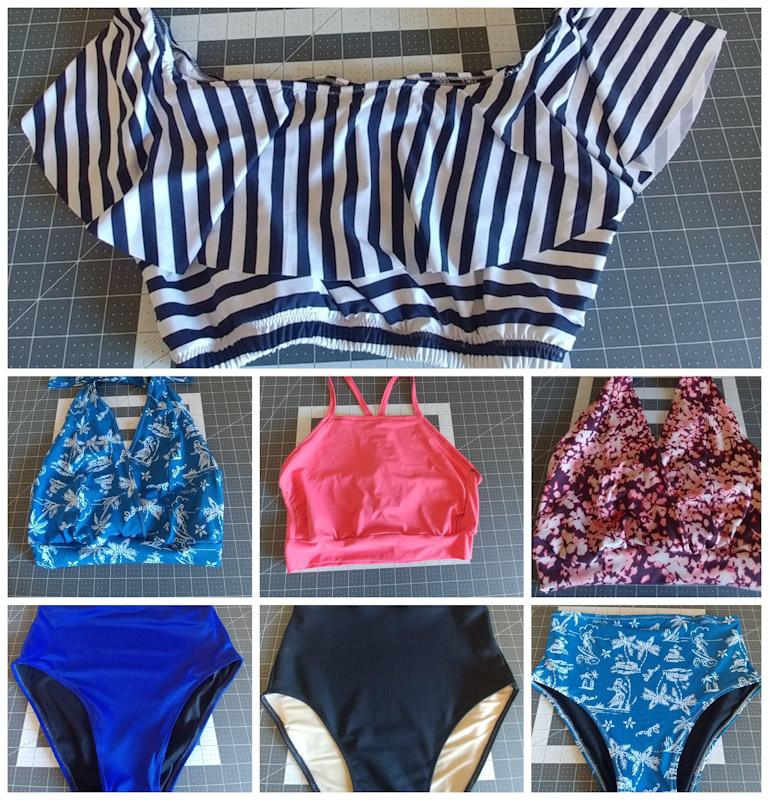
4 tops, 3 bottoms, 12 different swimsuits!
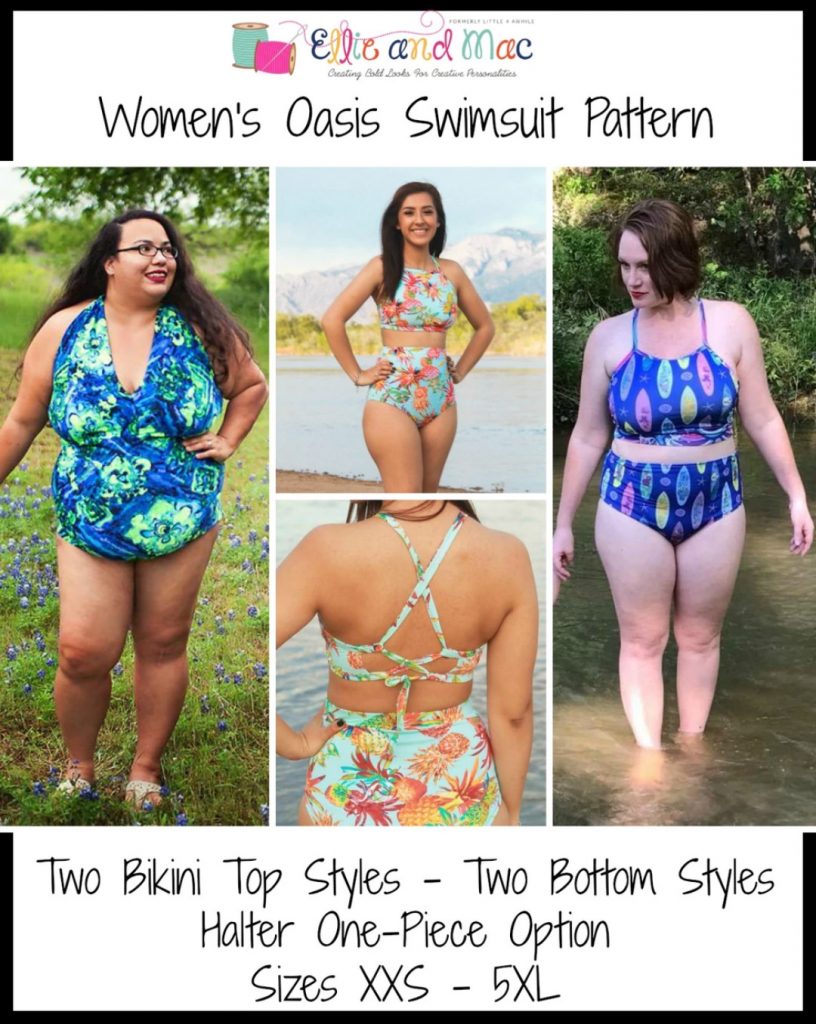
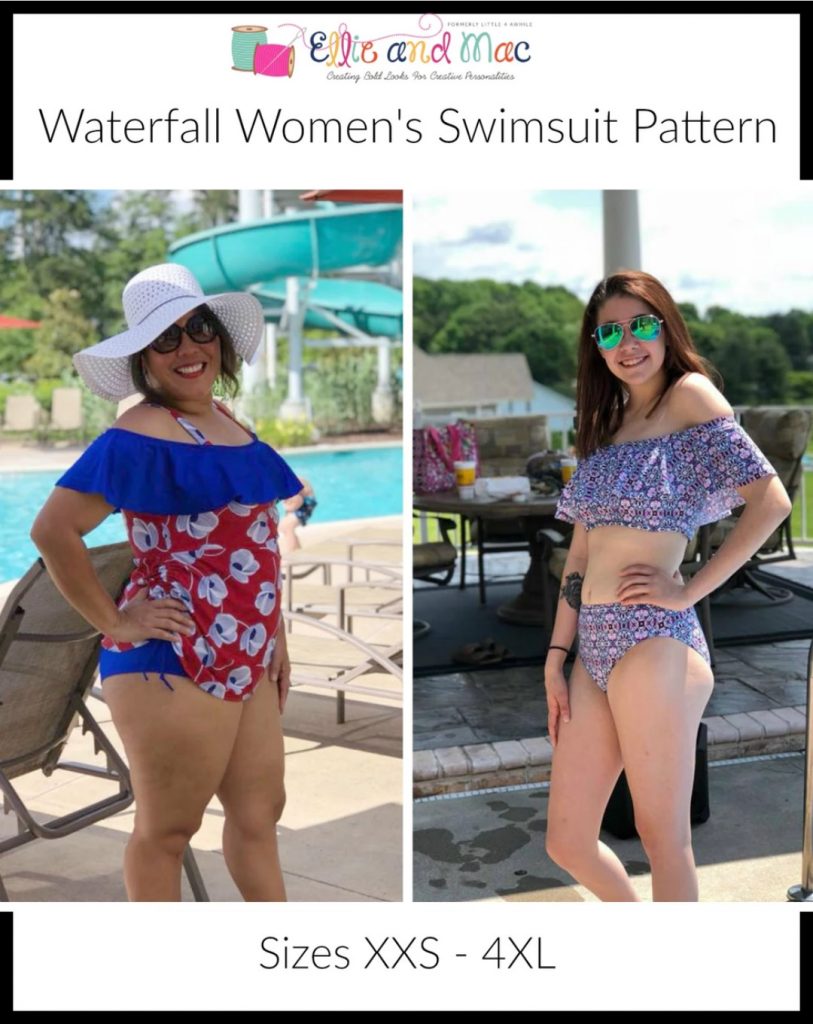
For the past 3 or more summers I have just made do with whatever I could find to wear in the pool with my boys, ie. running shorts, a sports tank, old miss-match swimsuits, old shirts and sports bras. You name it, I probably swam in it. I didn’t want not having anything to wear in the pool keep me from playing with my kids this Summer. I was determined that this would be the year I made my own swim suit. So I went to my favorite indie pattern companies and looked at some patterns. I like Indie Companies due to the fact that most of them show real life woman with bodies like mine modeling the suits that they made for themselves. That way I have a pretty good idea of how it will fit me. I needed the pattern I bought to give me lots of mix and match options. The Oasis Swimsuit by Ellie and Mac fit the bill right off. It has options for two and one piece, and it looks really simple and straight forward.
Then I saw the Ellie and Mac Waterfall Swim Suit and loved it too. Since the Oasis gave me more than enough options I thought the Waterfall would be a perfect addition as well. Plus it was a buy one get one so it was kind of a no-brainer to get them both.
I’m kind of impulsive and wanted to get started on my project the first second I got free and I didn’t want to spend a lot of money on essentially a practice project. So I made a quick run to SAS Fabrics Tempe and found some sport Lycra and swim elastic perfect for my project. Then I printed out my swim patterns and taped them together in no time at all.
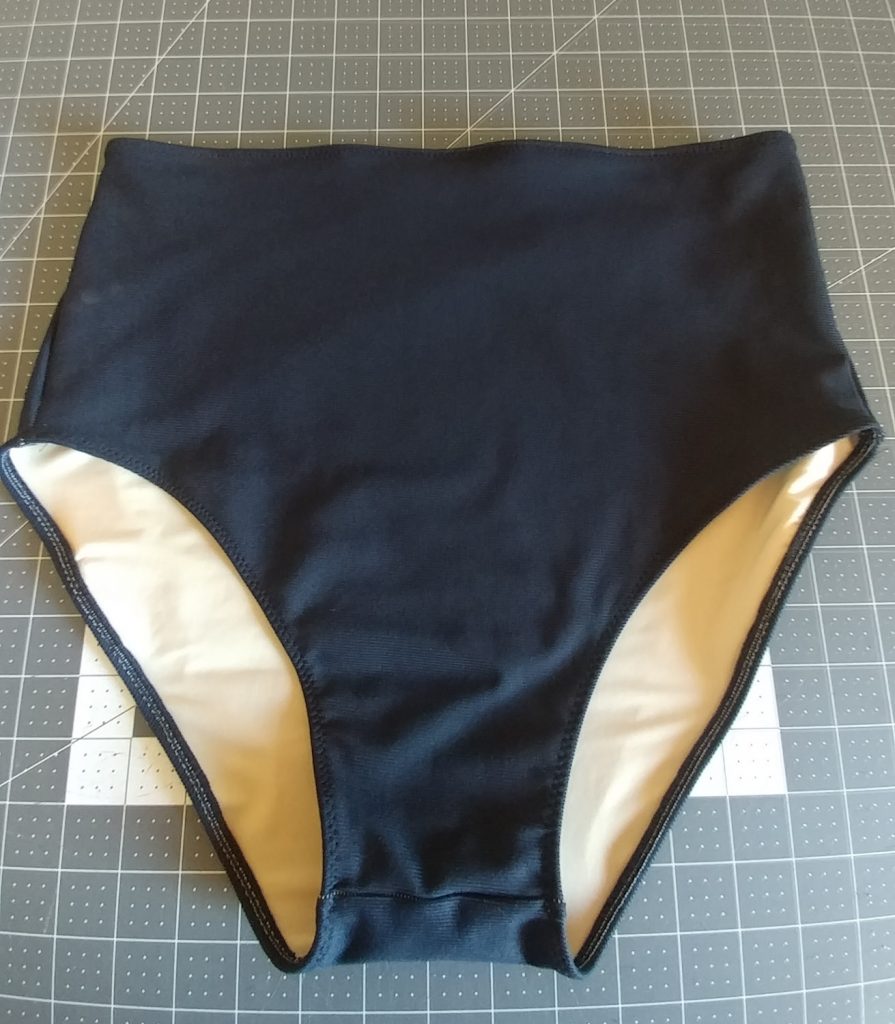
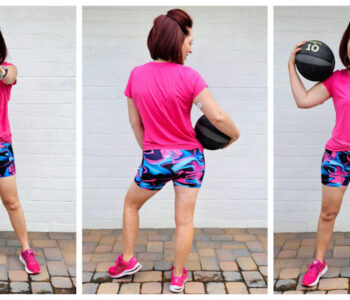
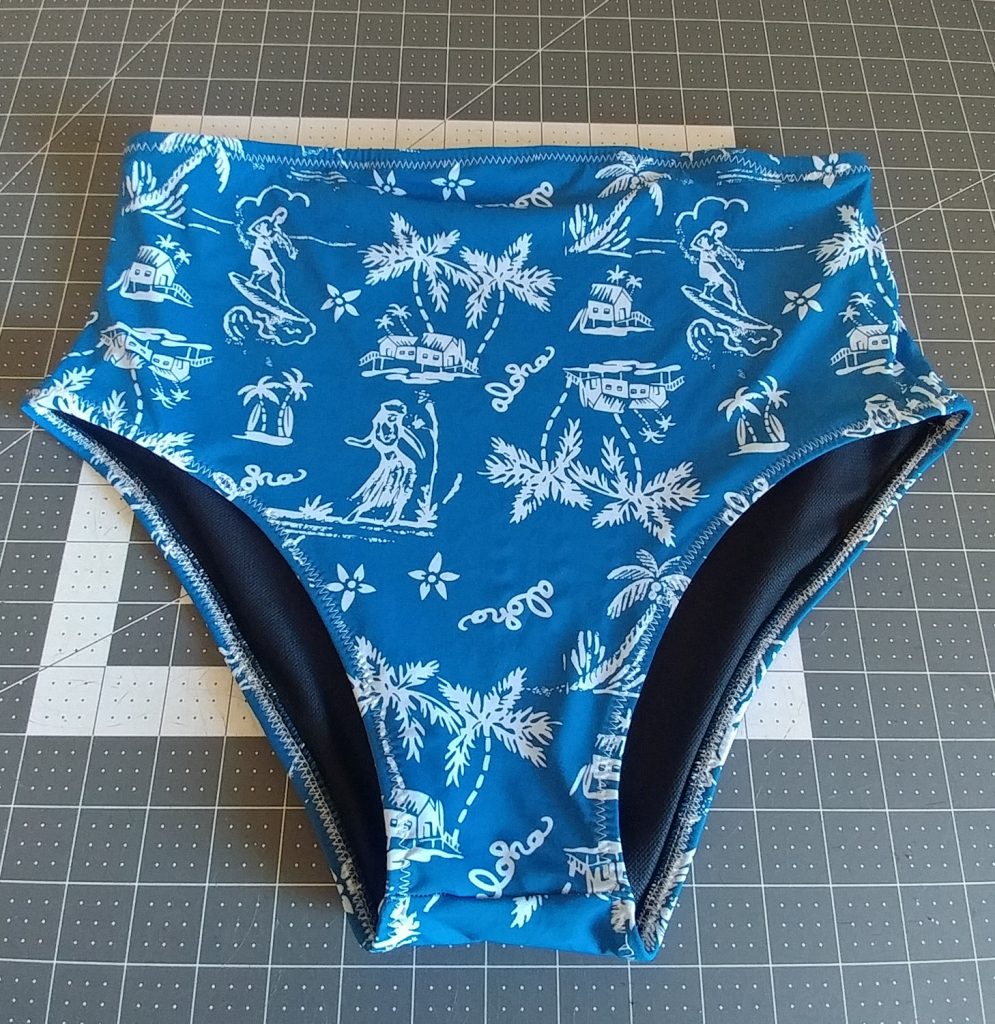
I had heard so many other sewists say that sewing swim bottoms is really easy. I decided to start there. I cut out two of the High Waist Waterfall Bottoms in a size large. I followed the directions exactly and they went together perfect! I love the fit. I have lost about 5 lbs since I made them, so now when they get wet they are bit big. They are so easy to make though, I can just make a few more pairs!
Things I’d Change: #1- Go with the smaller size. I usually size up when I’m in between sizes, but because this gets wet, I think my best bet would be to size down. #2- Maybe use a little thicker elastic in the waist.
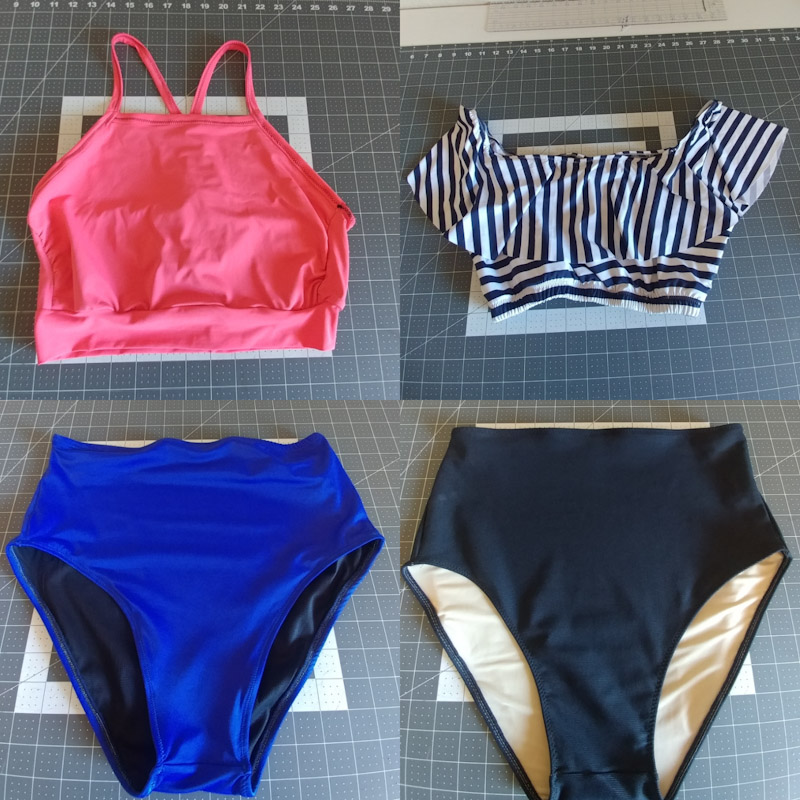
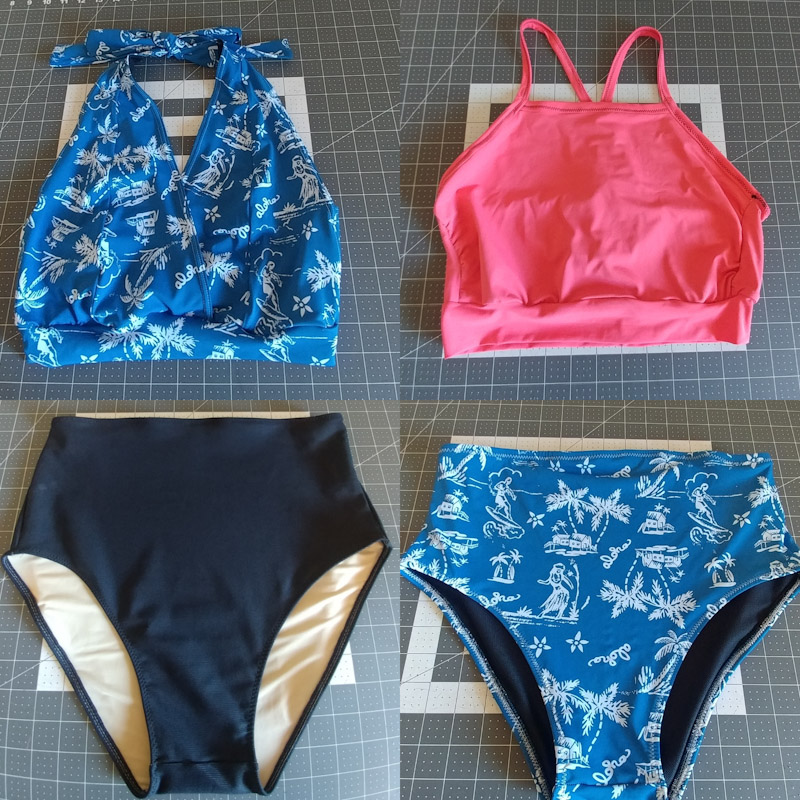
Next I made the Oasis Bikini top. It has a really cute strap option that crosses over in the back with longer straps you can wrap around to the front. However, for my first swim top I went with the more simple sporty view. Just for a heads up to anyone who get this pattern. There isn’t a pattern piece for the straps, neck binding and hem binding. The measurements are listed on the top pattern piece. I really appreciate not having to put together a pattern piece for simple things like that. I just wish it would mention in the instructions to do that. I always forget to look at the other pattern pieces for those smaller pattern piece measurements. Other than the fact that I really need to work on my top stitching, I really liked how it turned out. Not too bad for my first swim top EVER! Things I’d change: #1-Line it better with a thicker material so the whole world cant tell if I’m cold. #2- Use a twin needle rather than zig-zag stitch. #3- Do the cute strap wrap version. I seriously wish I would have just done it.
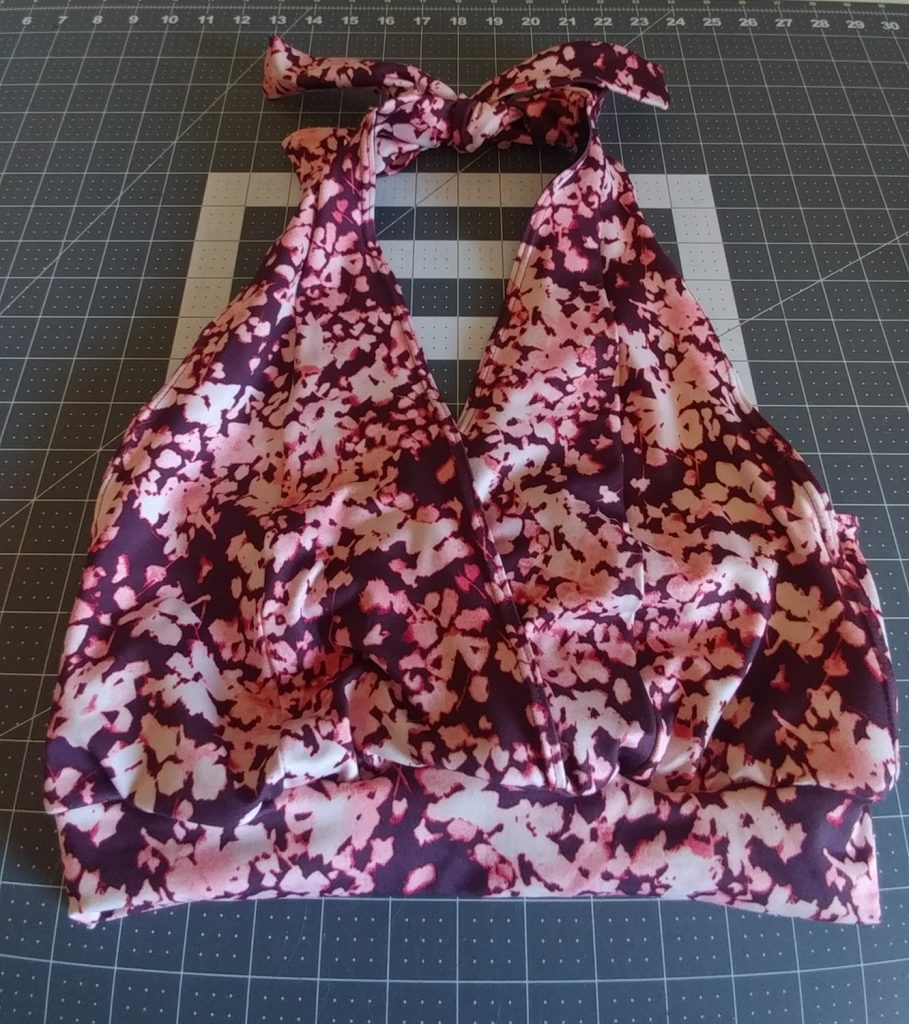
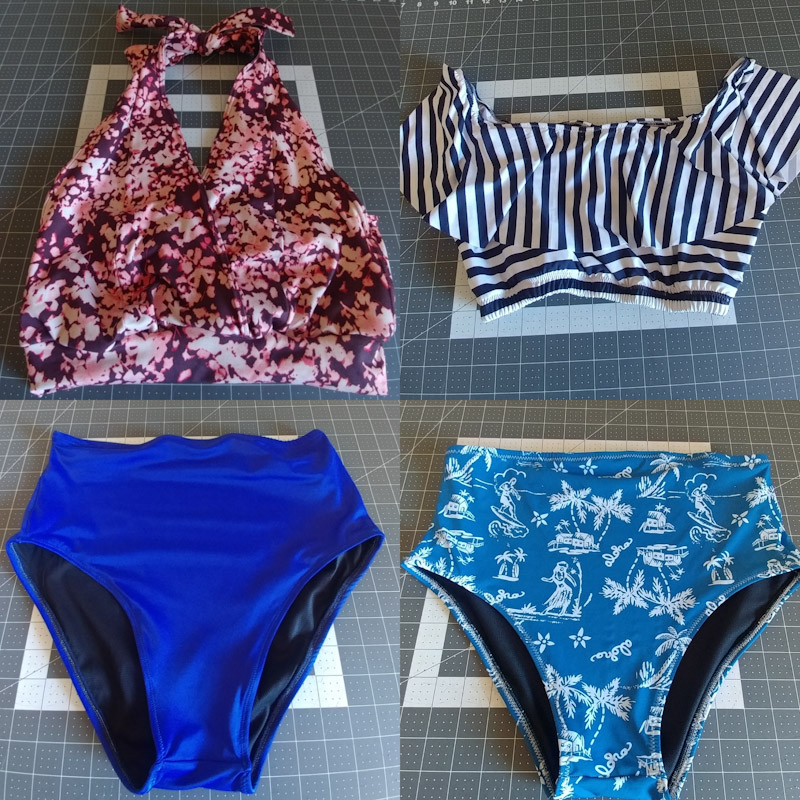
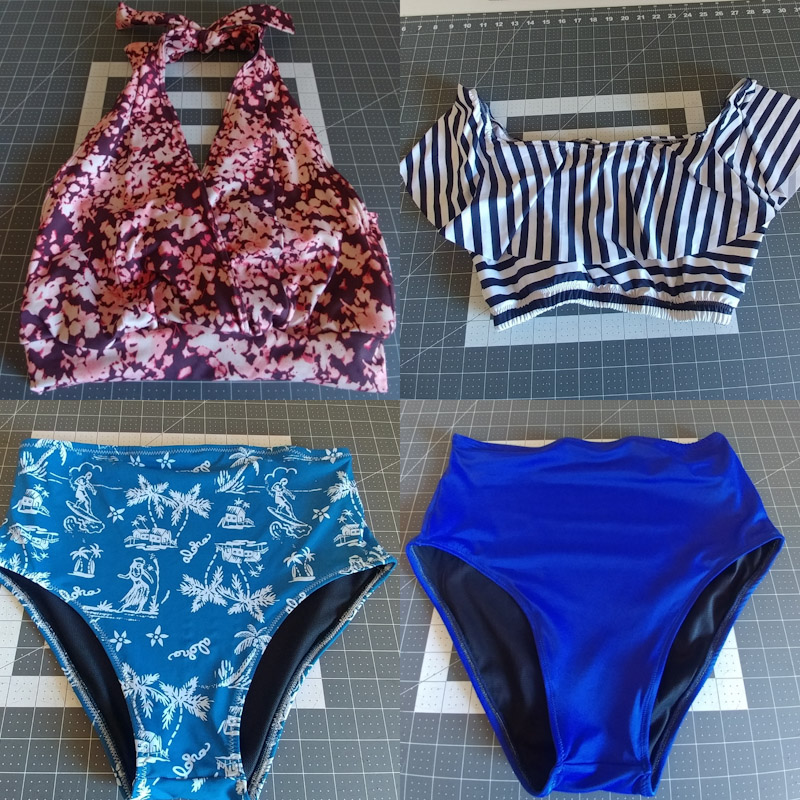
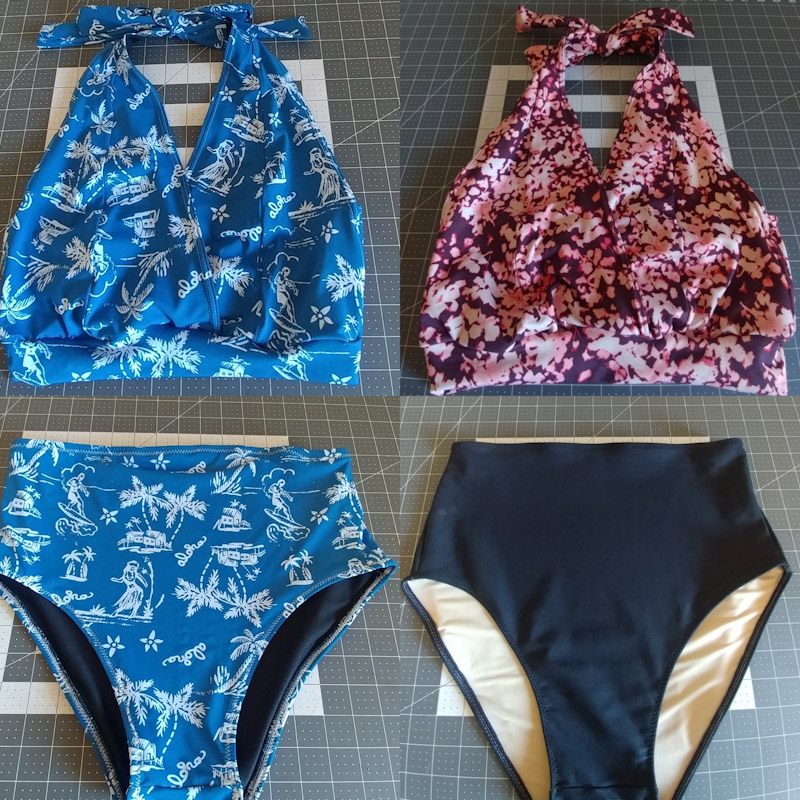
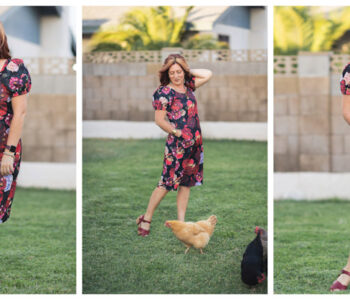
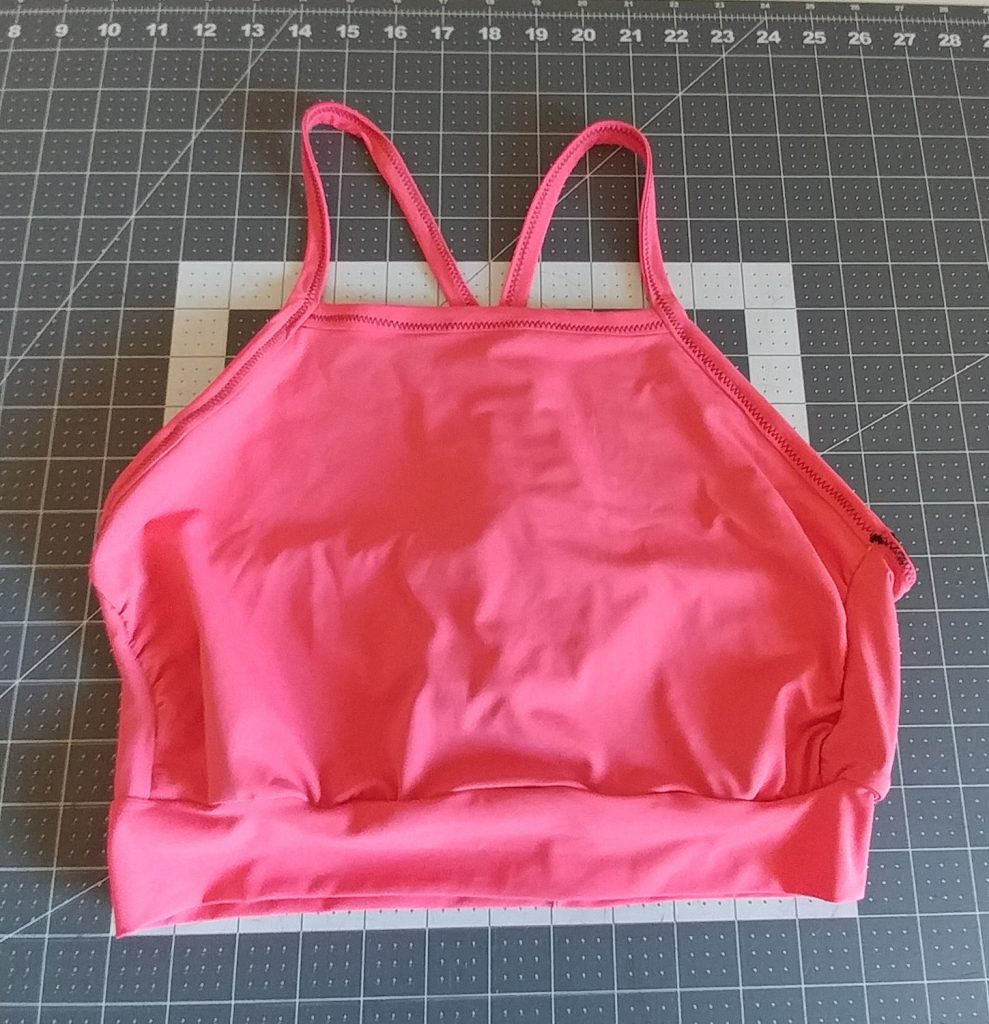
Next I cut out and made two Halter Top options of the Oasis Swim Suit. I made them both exactly the same way. I didn’t want to do a one piece though so I used the back and the hem binding from the bikini top and just put it together how I thought it should go on the halter top. I didn’t like how the zig-zag stitching looked on the previous top so I opted instead for a twin needle. I like that look much better and I feel like it gives me plenty of stretch. This top went together so fast. I was thinking of all the different ways I could hack it as I was sewing. On the Blue top I ended up doing a small stitch in the middle to hold the two bust cups in place.

Things I’d change: #1- Because this is meant to be a one piece I should have taken a few inches off the length. The way I did it gives more coverage like a tankini top. Which I like but I think I may take a few inches off the blue one and add a cute ruffle under the hem binding. #2- Add 1/4″ elastic to the top of the back piece and maybe to the front v-neck cross over area to hold it in place better. I’m super flat chested so I need all the help I can get to make my swim suit stay in place.
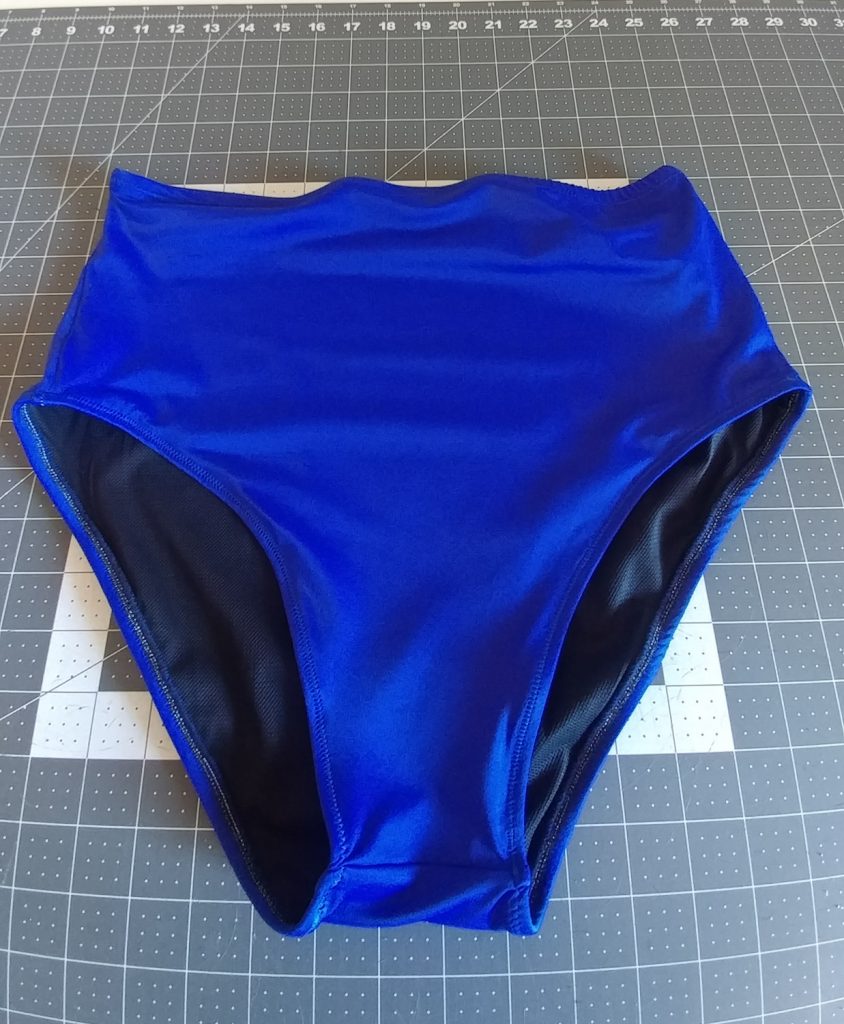
Because both swim suit patterns come with bottoms I wanted to see the difference between them. Above are the Oasis swim bottoms I made to go with the Oasis halter top. I really liked these as well. The waist is a little bit lower than the high waist Waterfall ones. Both bottoms give great coverage but I feel like the Waterfall ones cover more of my booty. Neither of them gave me wedgies so that’s a huge win!! Things I’d change: NOTHING! These bottoms are my most favorite!

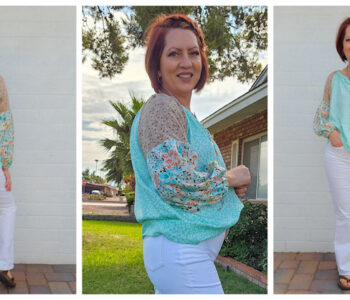
The Waterfall Top was probably the easiest to sew but it was the most intimidating to me. It’s the off the shoulder elastic. I can never get it quite right. I made it in about 30 min, but the elastic was too big so I picked it out, took off 3 inches and sewed it back on. It’s still not quite right but it’s cute and I wear it anyway. Things I’d change: #1 Size down. As I mentioned before I’m super flat chested so I just think I should. #2- Use a wider elastic around the top. I think that may help it lay a little better Or if anyone has any tips to help me, I’d gladly take them.
Over all I’m really happy with this little experiment in swim suit sewing. Last Summer I ALMOST spent $150 on two swim tops and one bottom. This year I spent about $40 on supplies and have 12 different suits to wear. Below I compiled all 12 swimsuit combos! Next time I may splurge a little and get some super cute Sport Lycra like Katie Kortman. I think I need more practice first.