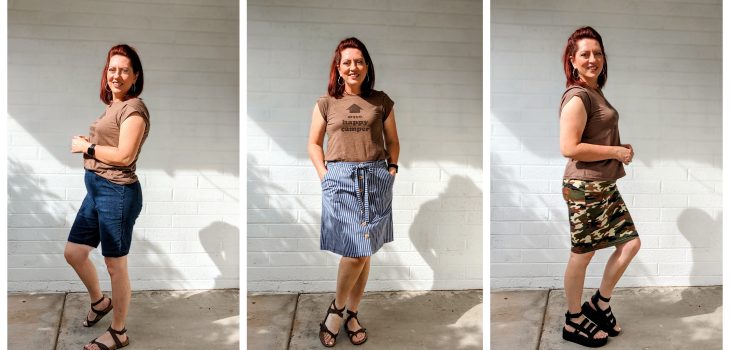
Petal Sleeve T-Shirt!
I’m all for simple things. Give me t-shirts, sweatpants or leggings all the time. My version of dressing up is a t-shirt, sandals and pencil skirt. I can’t help it. It’s what I like. Sometimes I like to add something to make my t-shirts a little more special. A great thing to do is add a petal sleeve. I’m gonna show you how I took this big, comfy t-shirt and made it more feminine with a petal sleeve.
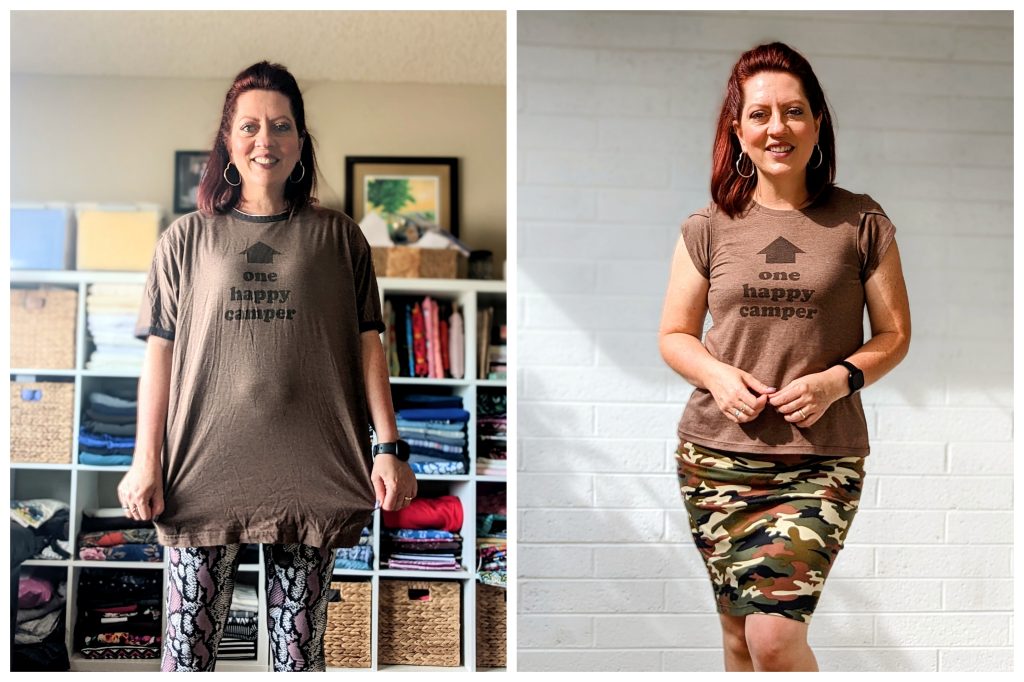
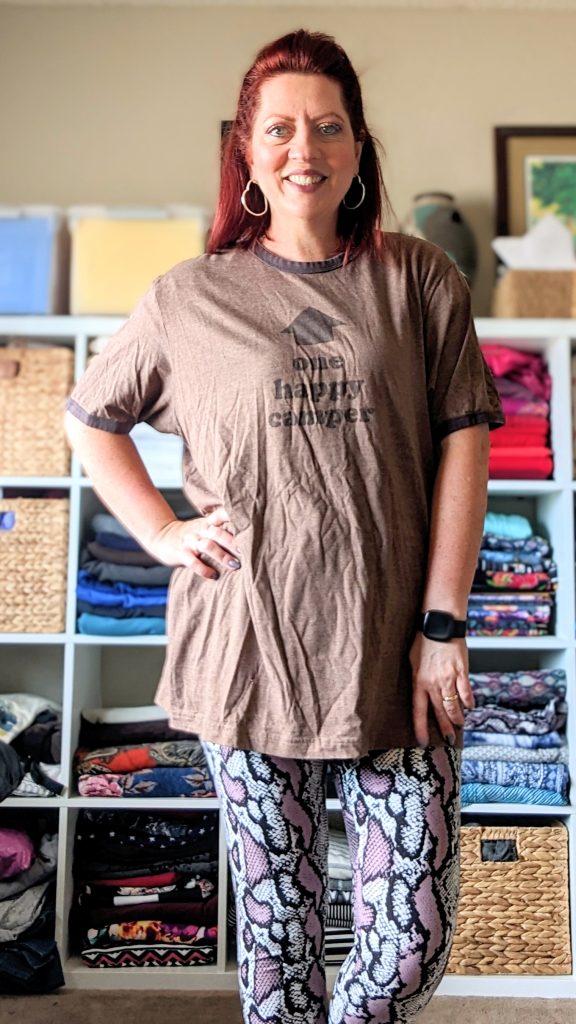
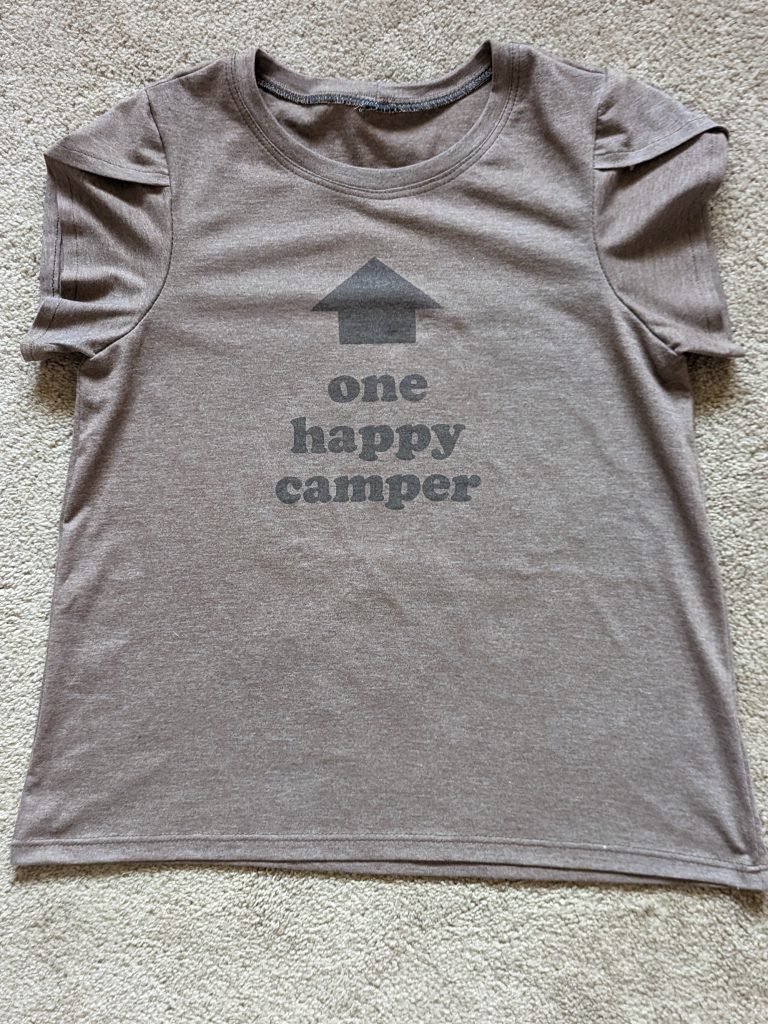
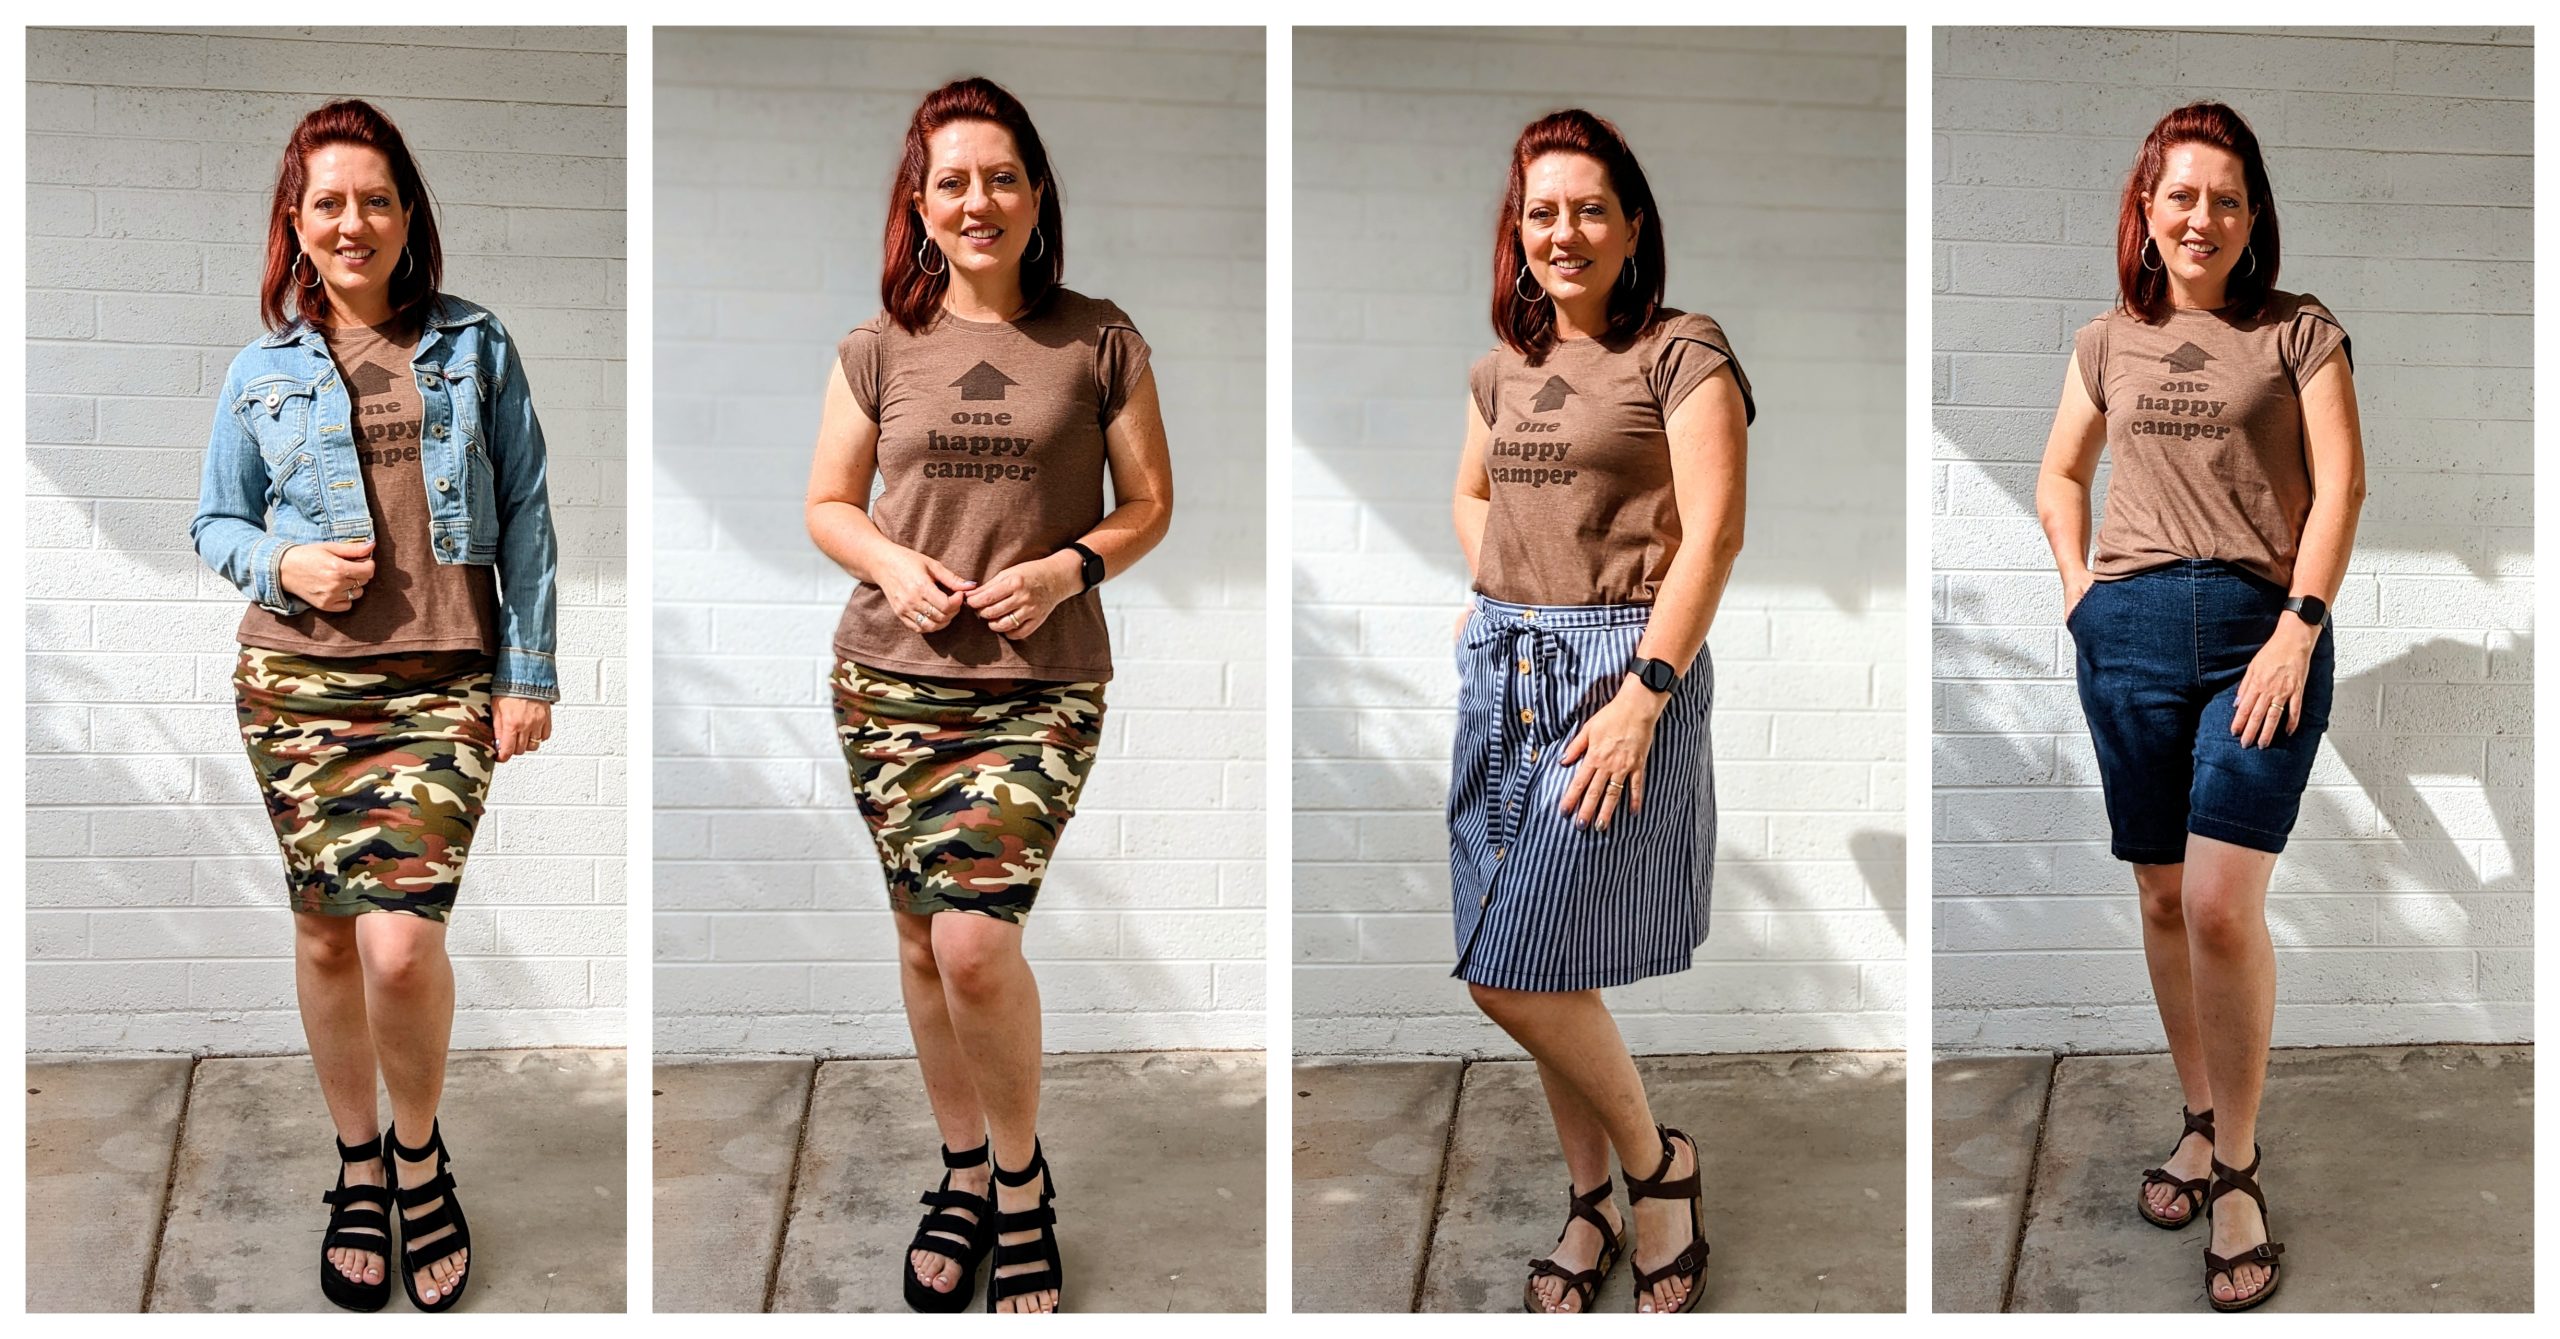
Pre 2020, my husband used to go to a lot of conferences. As an attendee of those conferences he always received random bags, sweatshirts, sunglasses and of course…… t-shirts. He kept his favorites and gave the rest to his family. I happened to be the recipient of this “One Happy Camper” t-shirt. It sat in my project pile for over 6 years until I finally had an idea for it. Re-size it and do petal sleeves!
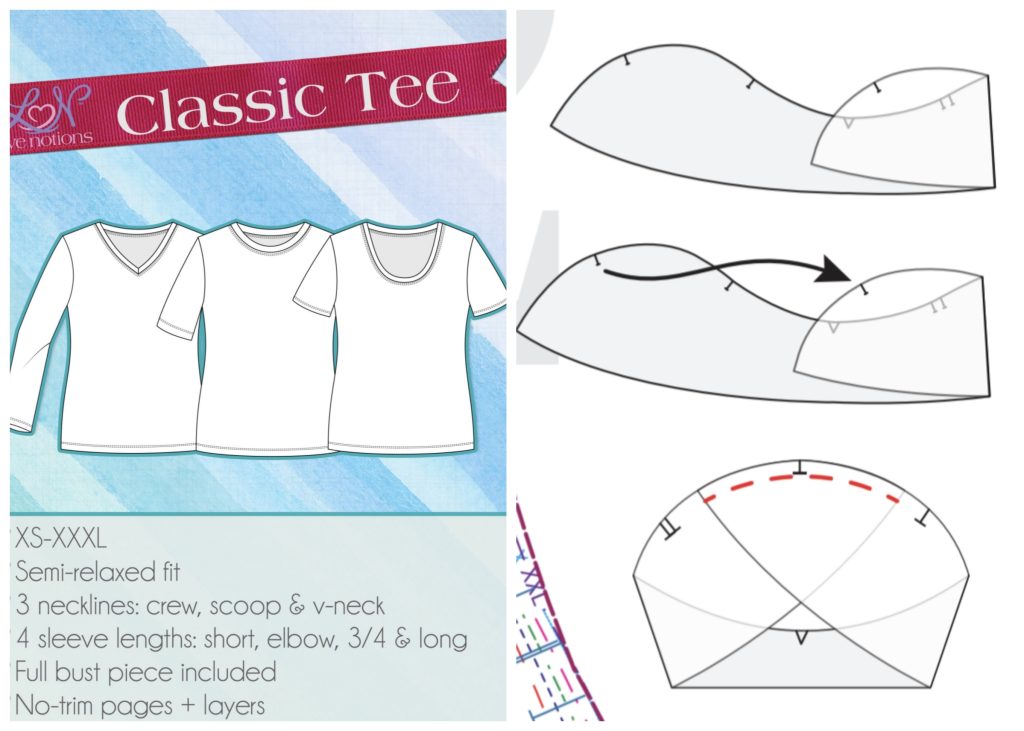
I used one of my TNT patterns, the Classic Tee by Love Notions Patterns. Rather than do regular t-shirt sleeves I switched them out for petal sleeves. The Petal sleeves are a free digital pattern located on the Love Notions blog that you can download and print at home. Then you can add it to your pattern collection. It’s meant for woven fabric but I’ve found that if I size down one size it will fit with a knit pattern just fine.
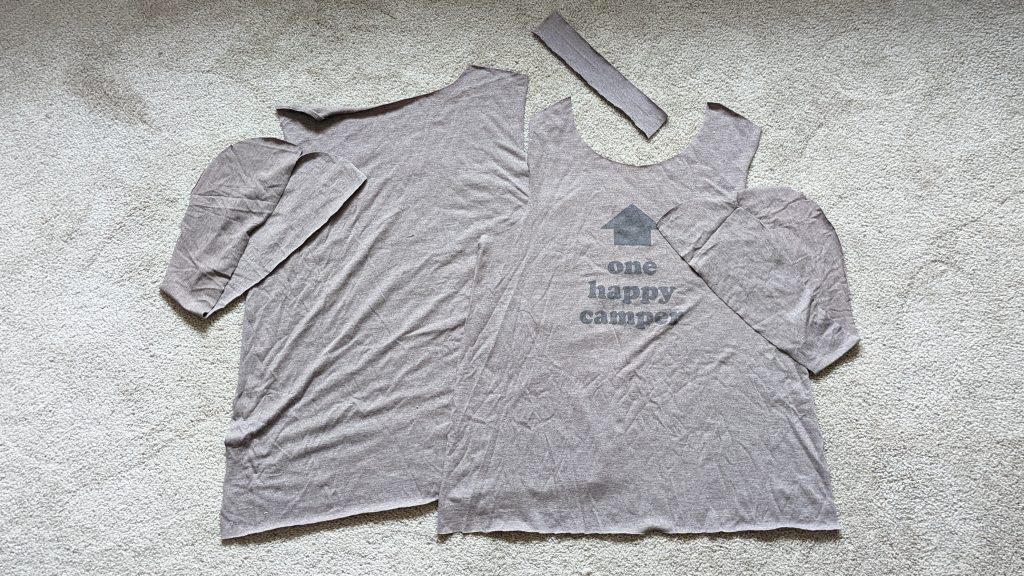
To make the shirt my size I removed the sleeves, cut down the sides and removed enough from the bottom to use for the petal sleeves. For me it was 4 ½ inches. The shirt was plenty long and I didn’t want to reuse the sleeves because they had the conference logo on them.
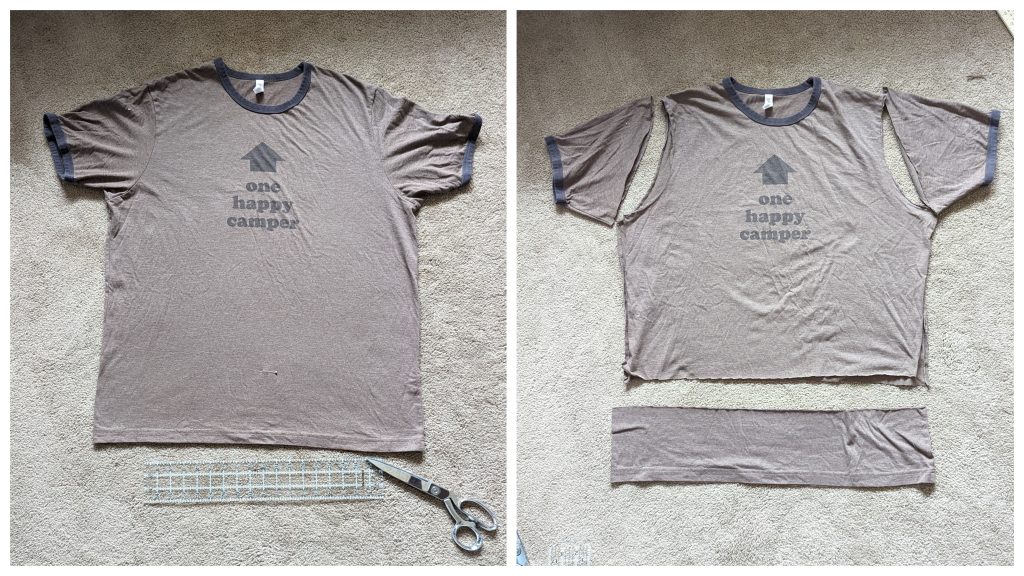 Some people are fine with that, but I don’t like running into people who were at the same conference and having them try to chat me up about keynote speakers and such. It’s just kind of embarrassing to tell them I wasn’t there.
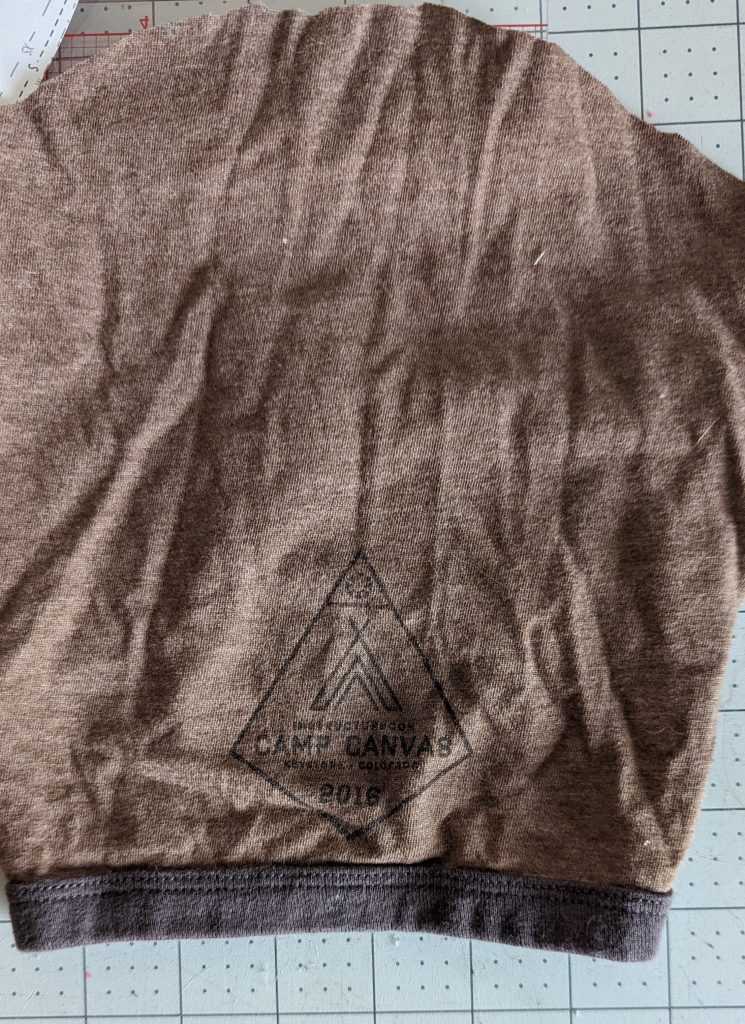
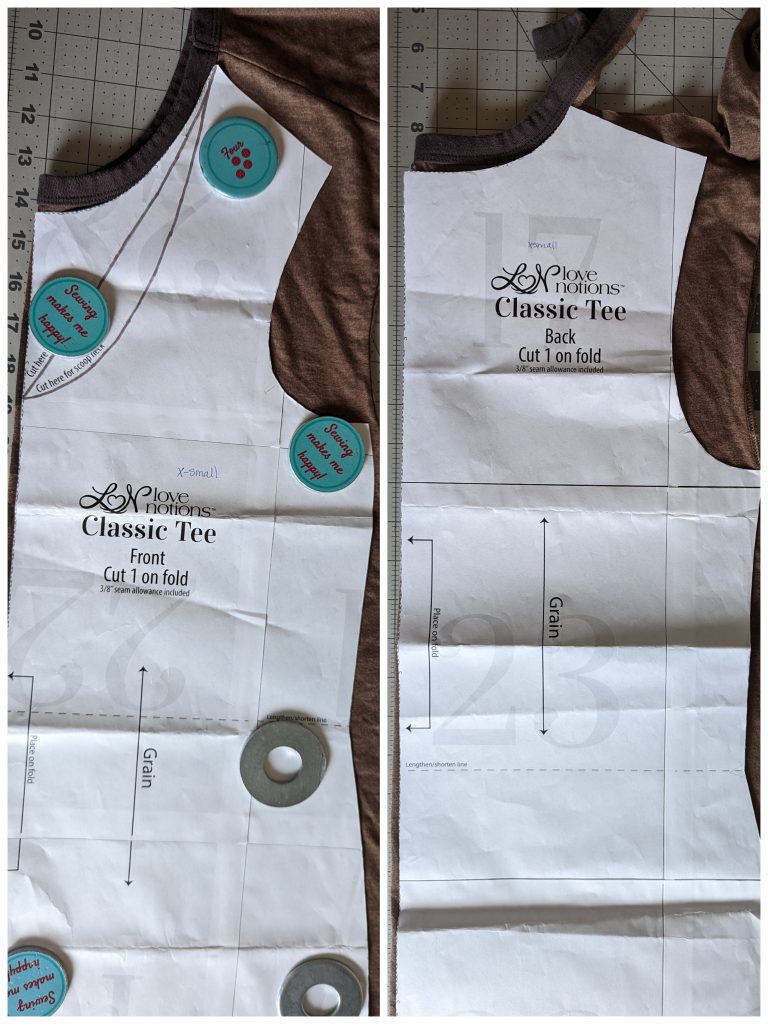
So once I have all those things removed I can cut the shirt to my size. I cut the bodice out first. I removed the brown neck band because it was stiff and scratchy and I didn’t like it. I was going to use some of the shirt fabric to make a new crew neck band.
I cut the petal sleeve out and made sure to transfer the notches so I would know how to fold it over to make the petal look. Oddly enough the shoulder seam of the shirt matched up almost perfectly with the two notches that you match on the sleeve to make the petal.
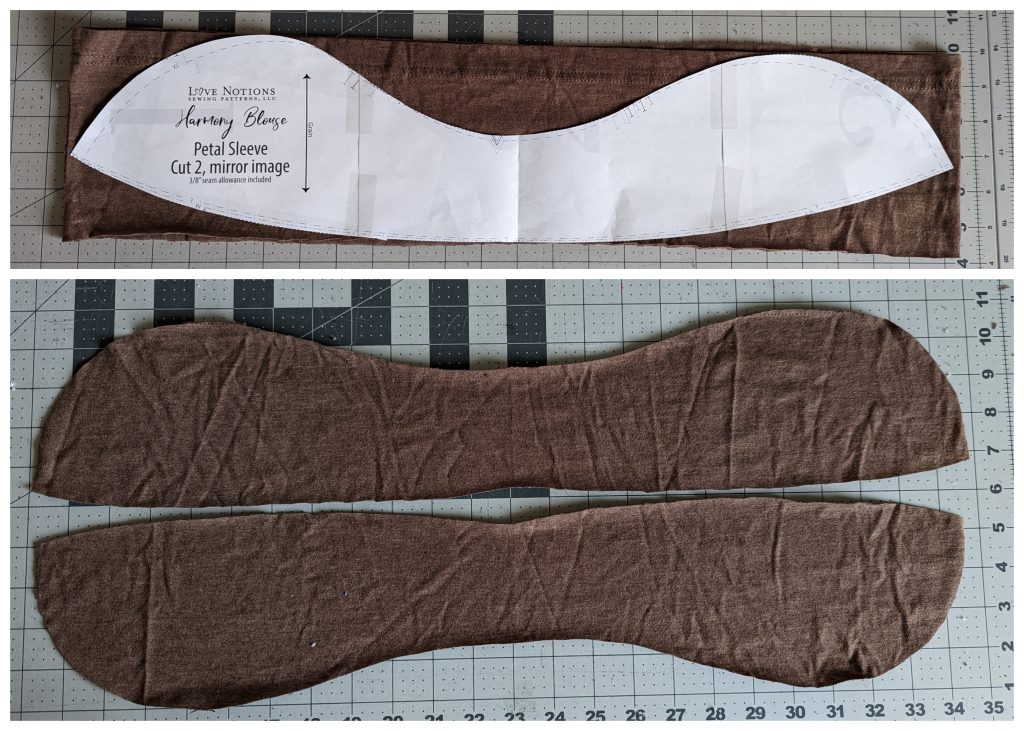
Here’s all my shirt pieces cut out and ready to assemble. I started by attaching the front and the back at the shoulders. Then I sewed down the sides. Normally when I make t-shirts I wait to sew down the sides until I have the sleeves in. Then I can sew from the sleeve hem to the shirt hem all in one go. Petal sleeves have to be inserted “in the round.” That’s why you really need to make sure you transfer the notches.
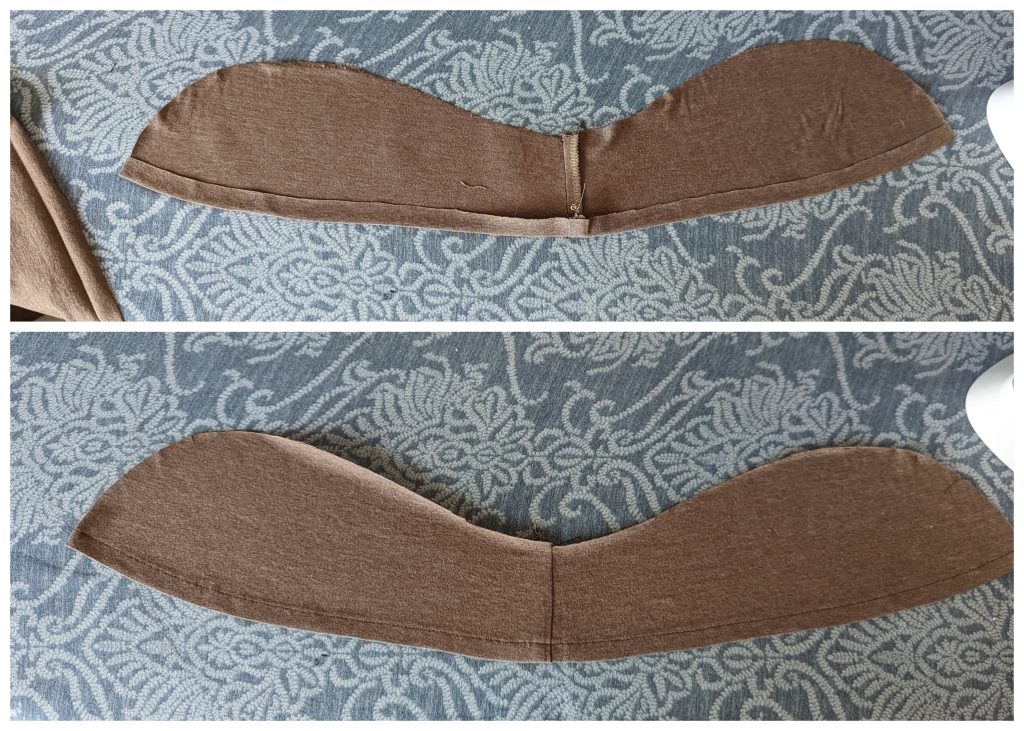
For the petal sleeves you need to hem them first. You’ll notice that my petal sleeves have a seam down the middle. That is because I made it bigger at first to see if it would fit. It was too big so I took some off there in the middle which made it have a seam. Remember, the sleeves are meant for woven, non stretch fabric, so sizing down is necessary. I needed to know for sure how much it needed to be sized down. So if you try this with these same patterns that I used, you will definitely need the sleeves to be one size smaller than the shirt.
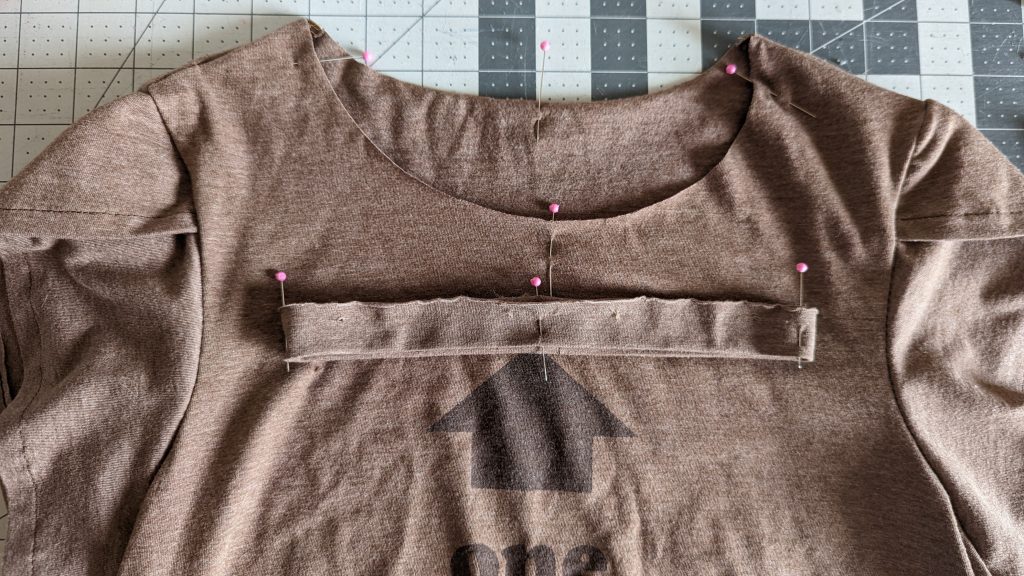
Once I hemmed the sleeves I matched up the marks to form the petal sleeves and this is how it looked. I did a “stay stitch” across the top where the pins are before I sewed them into the shirt. That way they stay in place and don’t shift. I would definitely advise NOT to skip that step. It makes your life so much easier to do a stay stitch.
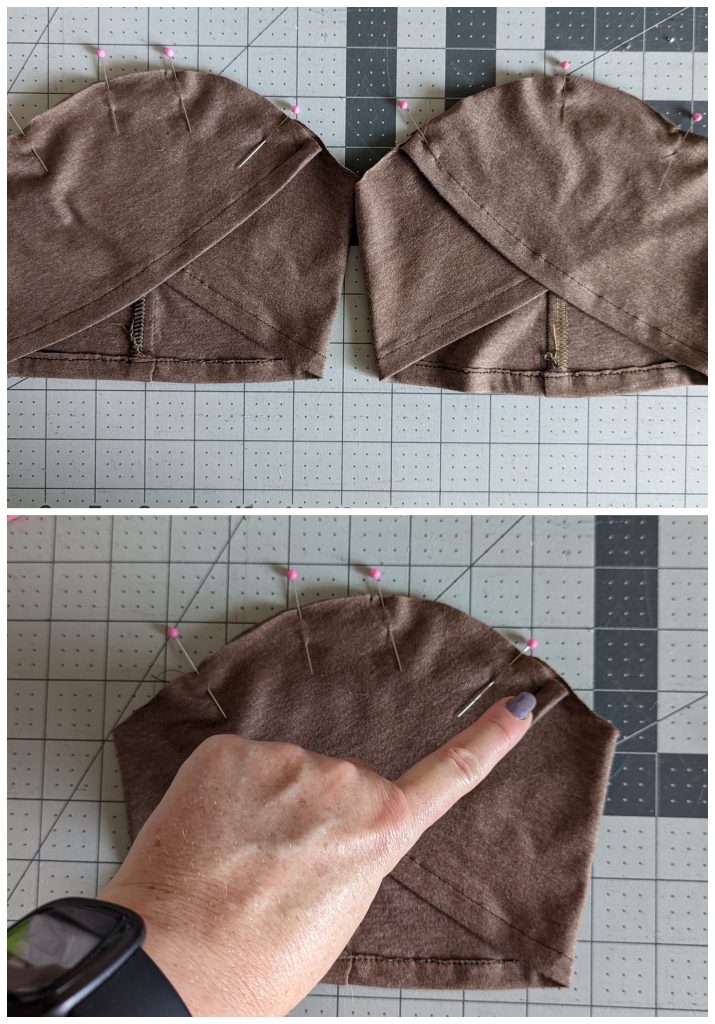
This is what it looked like right before I attached the sleeves and sewed on the neck band.
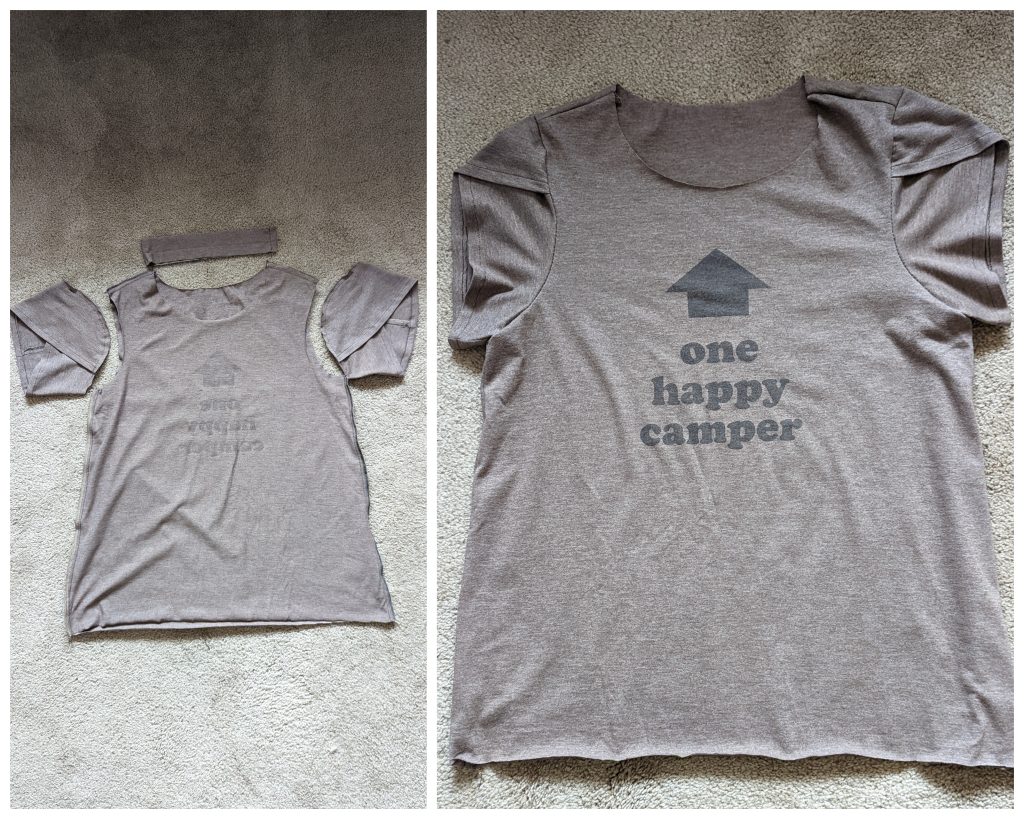
After sewing the short ends of the neckband together I used some pins to make the quarter points on the shirt and the band. Then I matched them up and sewed it on.
The last thing I did was change my needle to a twin needle and hem the shirt. I also finished the neckband with a twin needle top stitch. It just looks really nice and professional.
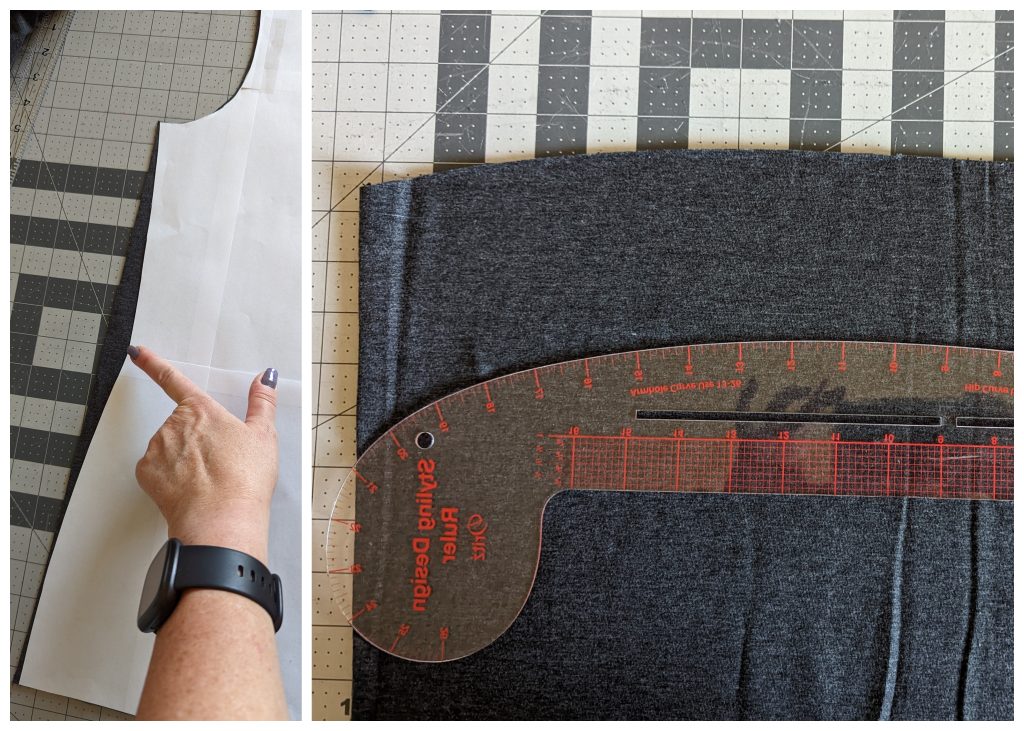
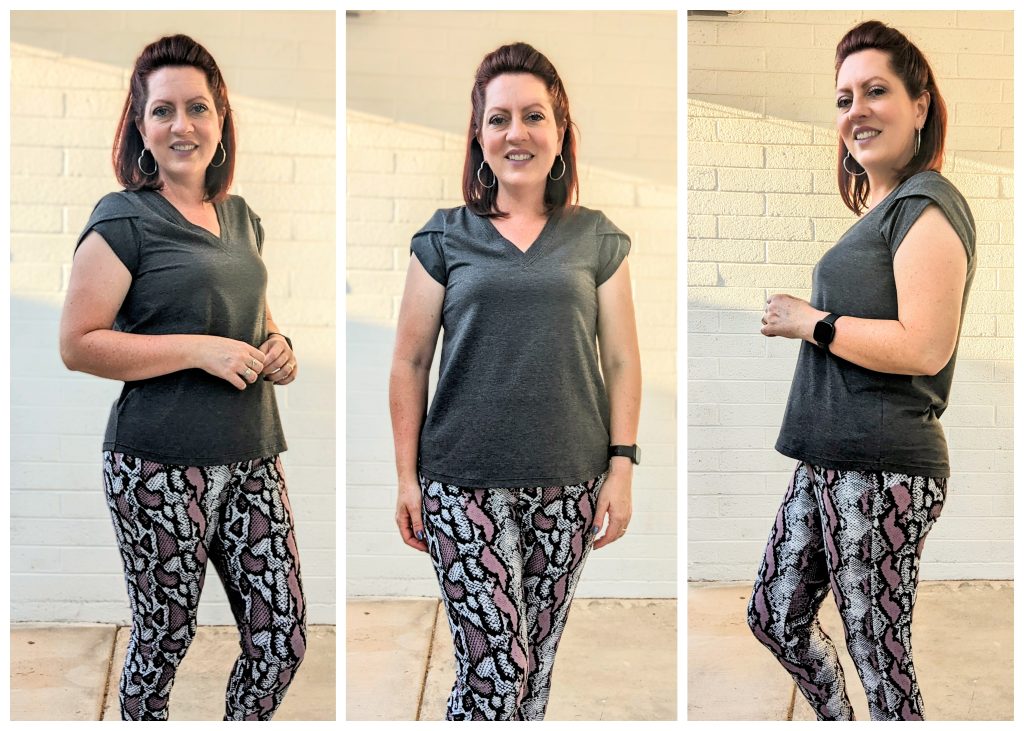
Just to make sure sizing the sleeve down one size woud work I made one more shirt! Ya know, for scientific reasons…. These are so other modifications I made. I took the curve out of the side and jut cut it straight from the armpit down. Then I used my French curve ruler and curved the hemline ever so slightly.
I sized down one size for the petal sleeve and just like the first shirt, it fit the shirt perfectly!!
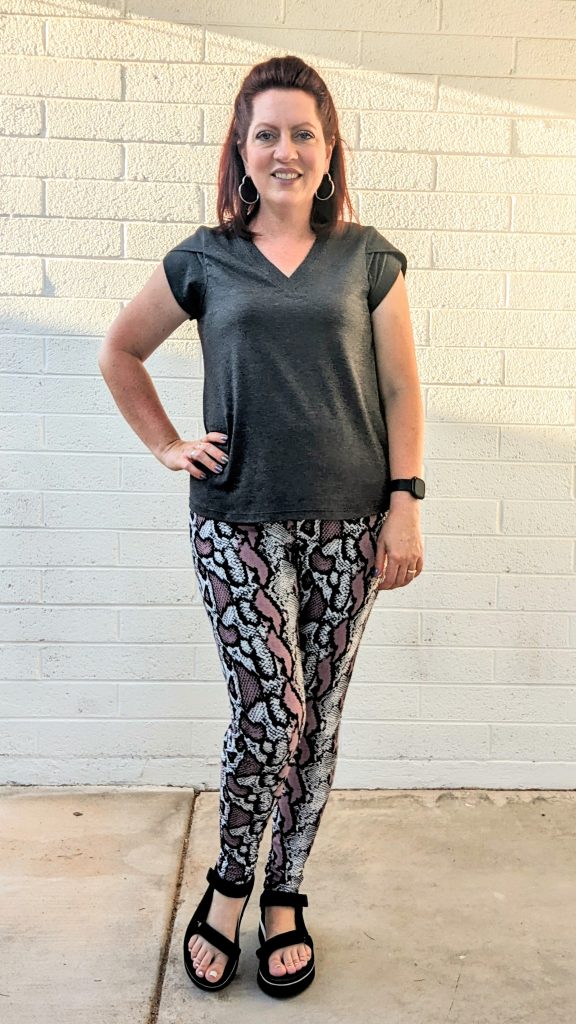
I absolutely love how it turned out! It goes with a lot of things and I can tell it’s going to be a fun shirt to wear. Have you ever used a woven pattern for a knit garment? It’s kind of a fun little experiment. Give it a go!
Want to see more creations? Follow me on Pinterest, Instagram, and Facebook!





4 COMMENTS
Thanks Koe for this tip . Love thiantoo
Can’t wait to see what you add this little sleeve to!!
Love this top!!!
Thanks Kikki!
Comments are closed.