Making a Swimsuit From Athletic Shirts!
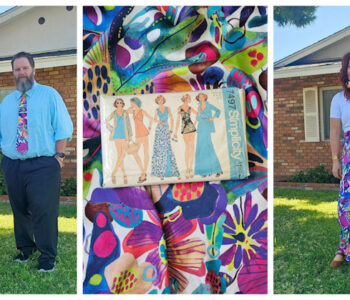
I love repurposing things into something completely different. There’s just something so satisfying about being able to completely remake something and give it a whole new life. Take these athletic polo shirts for example. These shirts were long ago discarded as undesirable. They are made with athletic fabric similar to swim suit fabric. Why not give them a new life as a swimsuit!
About the Shirts!

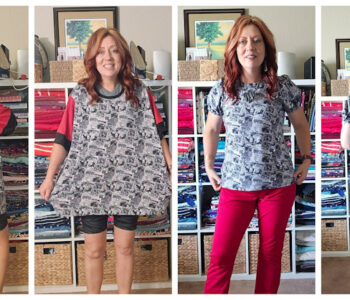
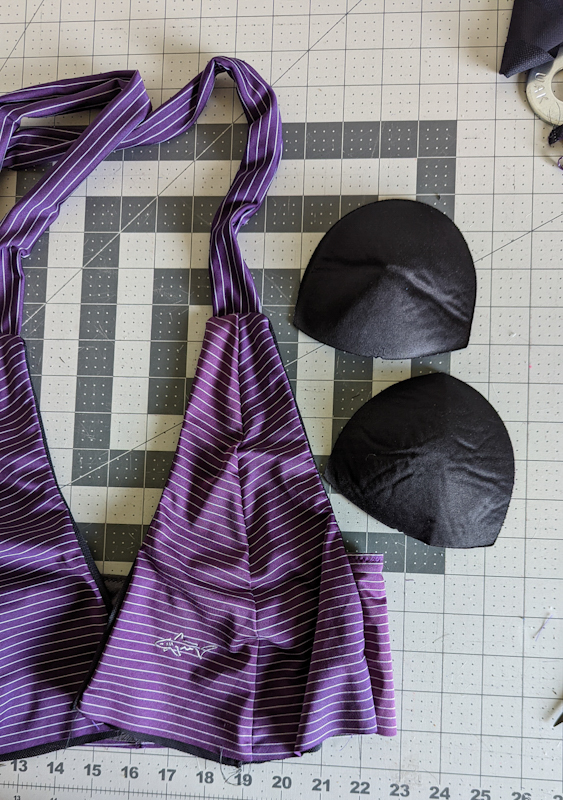
The gray shirt was an old coaching shirt from several years ago. The striped purple one was a golf shirt that had been worn so much the outside had faded from the sun. However, the inside of the purle shirt had not suffered any sun fading. Weird, I know.
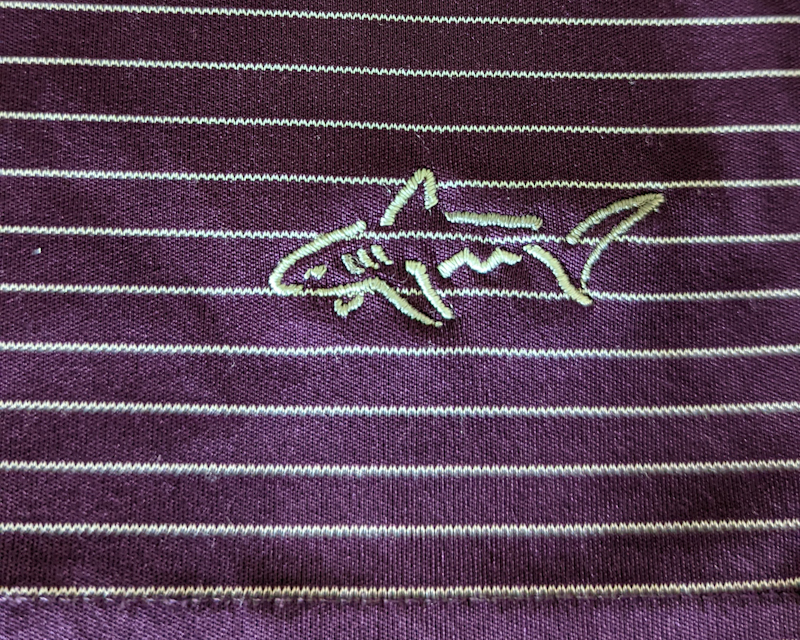
It also had this cute little shark decal near the hemline which I thought would be fun to incorporate. Both fabrics still had a lot of stretch and life left so I decided to go for it.
The Vision

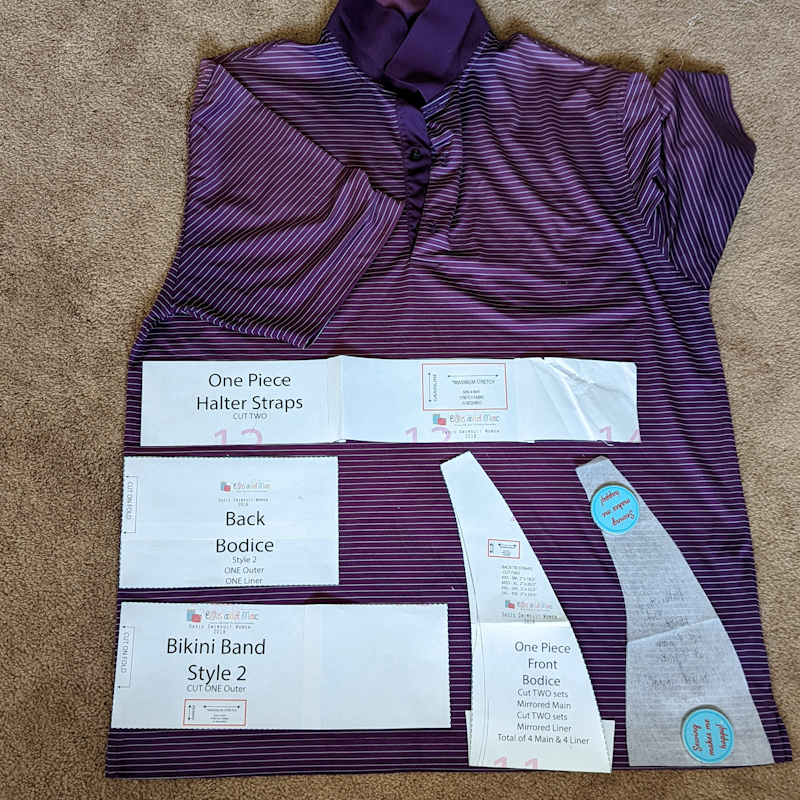
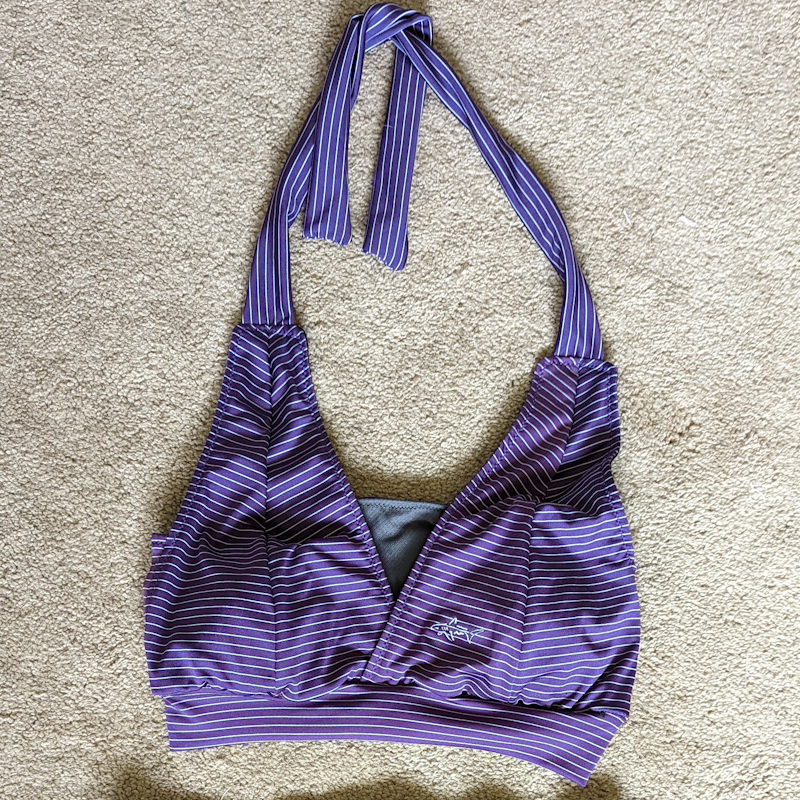
I was envisioning a two piece halter top style with a full coverage bottom. The top would be the striped purple and the bottoms would be the gray. I wanted to incorporate a little purple on the side of the bottoms to tie it all together. I would need to alter the pattern to do this.
The Pattern

The Oasis by Ellie and Mac Patterns looked like a pretty good match for what I had in mind. I had made it a few years ago so I knew what kind of alterations I would need to do to achieve the results I wanted.
**Note** I sewed the entire suit using a zig zag stitch and serger where needed. You don’t need to use a serger, it just makes it look nicer.
Pattern Adjustments- The Top
The halter style in the pattern is meant for a one-piece suit. To use the pattern for a two piece I would need to take two inches off the length of the front pattern piece. To do that I just measured and folded under two inches on the pattern piece. You can see that on the picture below. You will need to cut out a liner for the front and back bodice pieces.
I traced out a new pattern piece and labeled it so I would have it for future makes. This will be a lined top with bust cups so if you want to try this, make sure you have some lining fabric and bust cups. I just pulled some cups out of an old swimsuit of mine and found some scraps of black power mesh to line it with.
Pattern Adjustments- The Bottom
Now I needed to make the color blocked bottom pattern. This was only going to affect the front bottom pattern piece and is actually really simple. I think this took under 10 minutes to do.
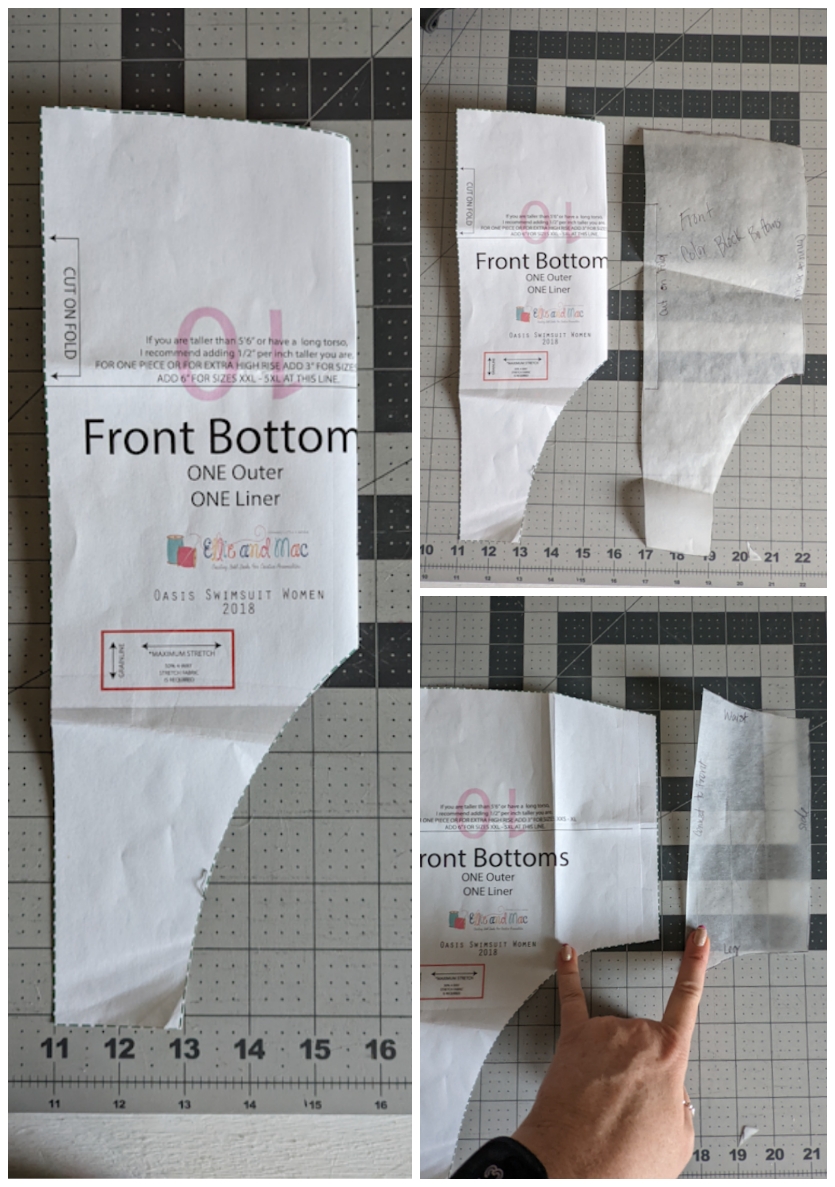
All I did was fold under the side of the front that would be the contrasting color. Then I traced that piece but added in seam allowance where it would be attached to the other piece. Then I traced the part of the pattern I folded under and added seam allowance where it would be attached as well. I made sure to label the pattern pieces so I wouldn’t be confused later.
Assembling the Halter Top
The Back Bodice
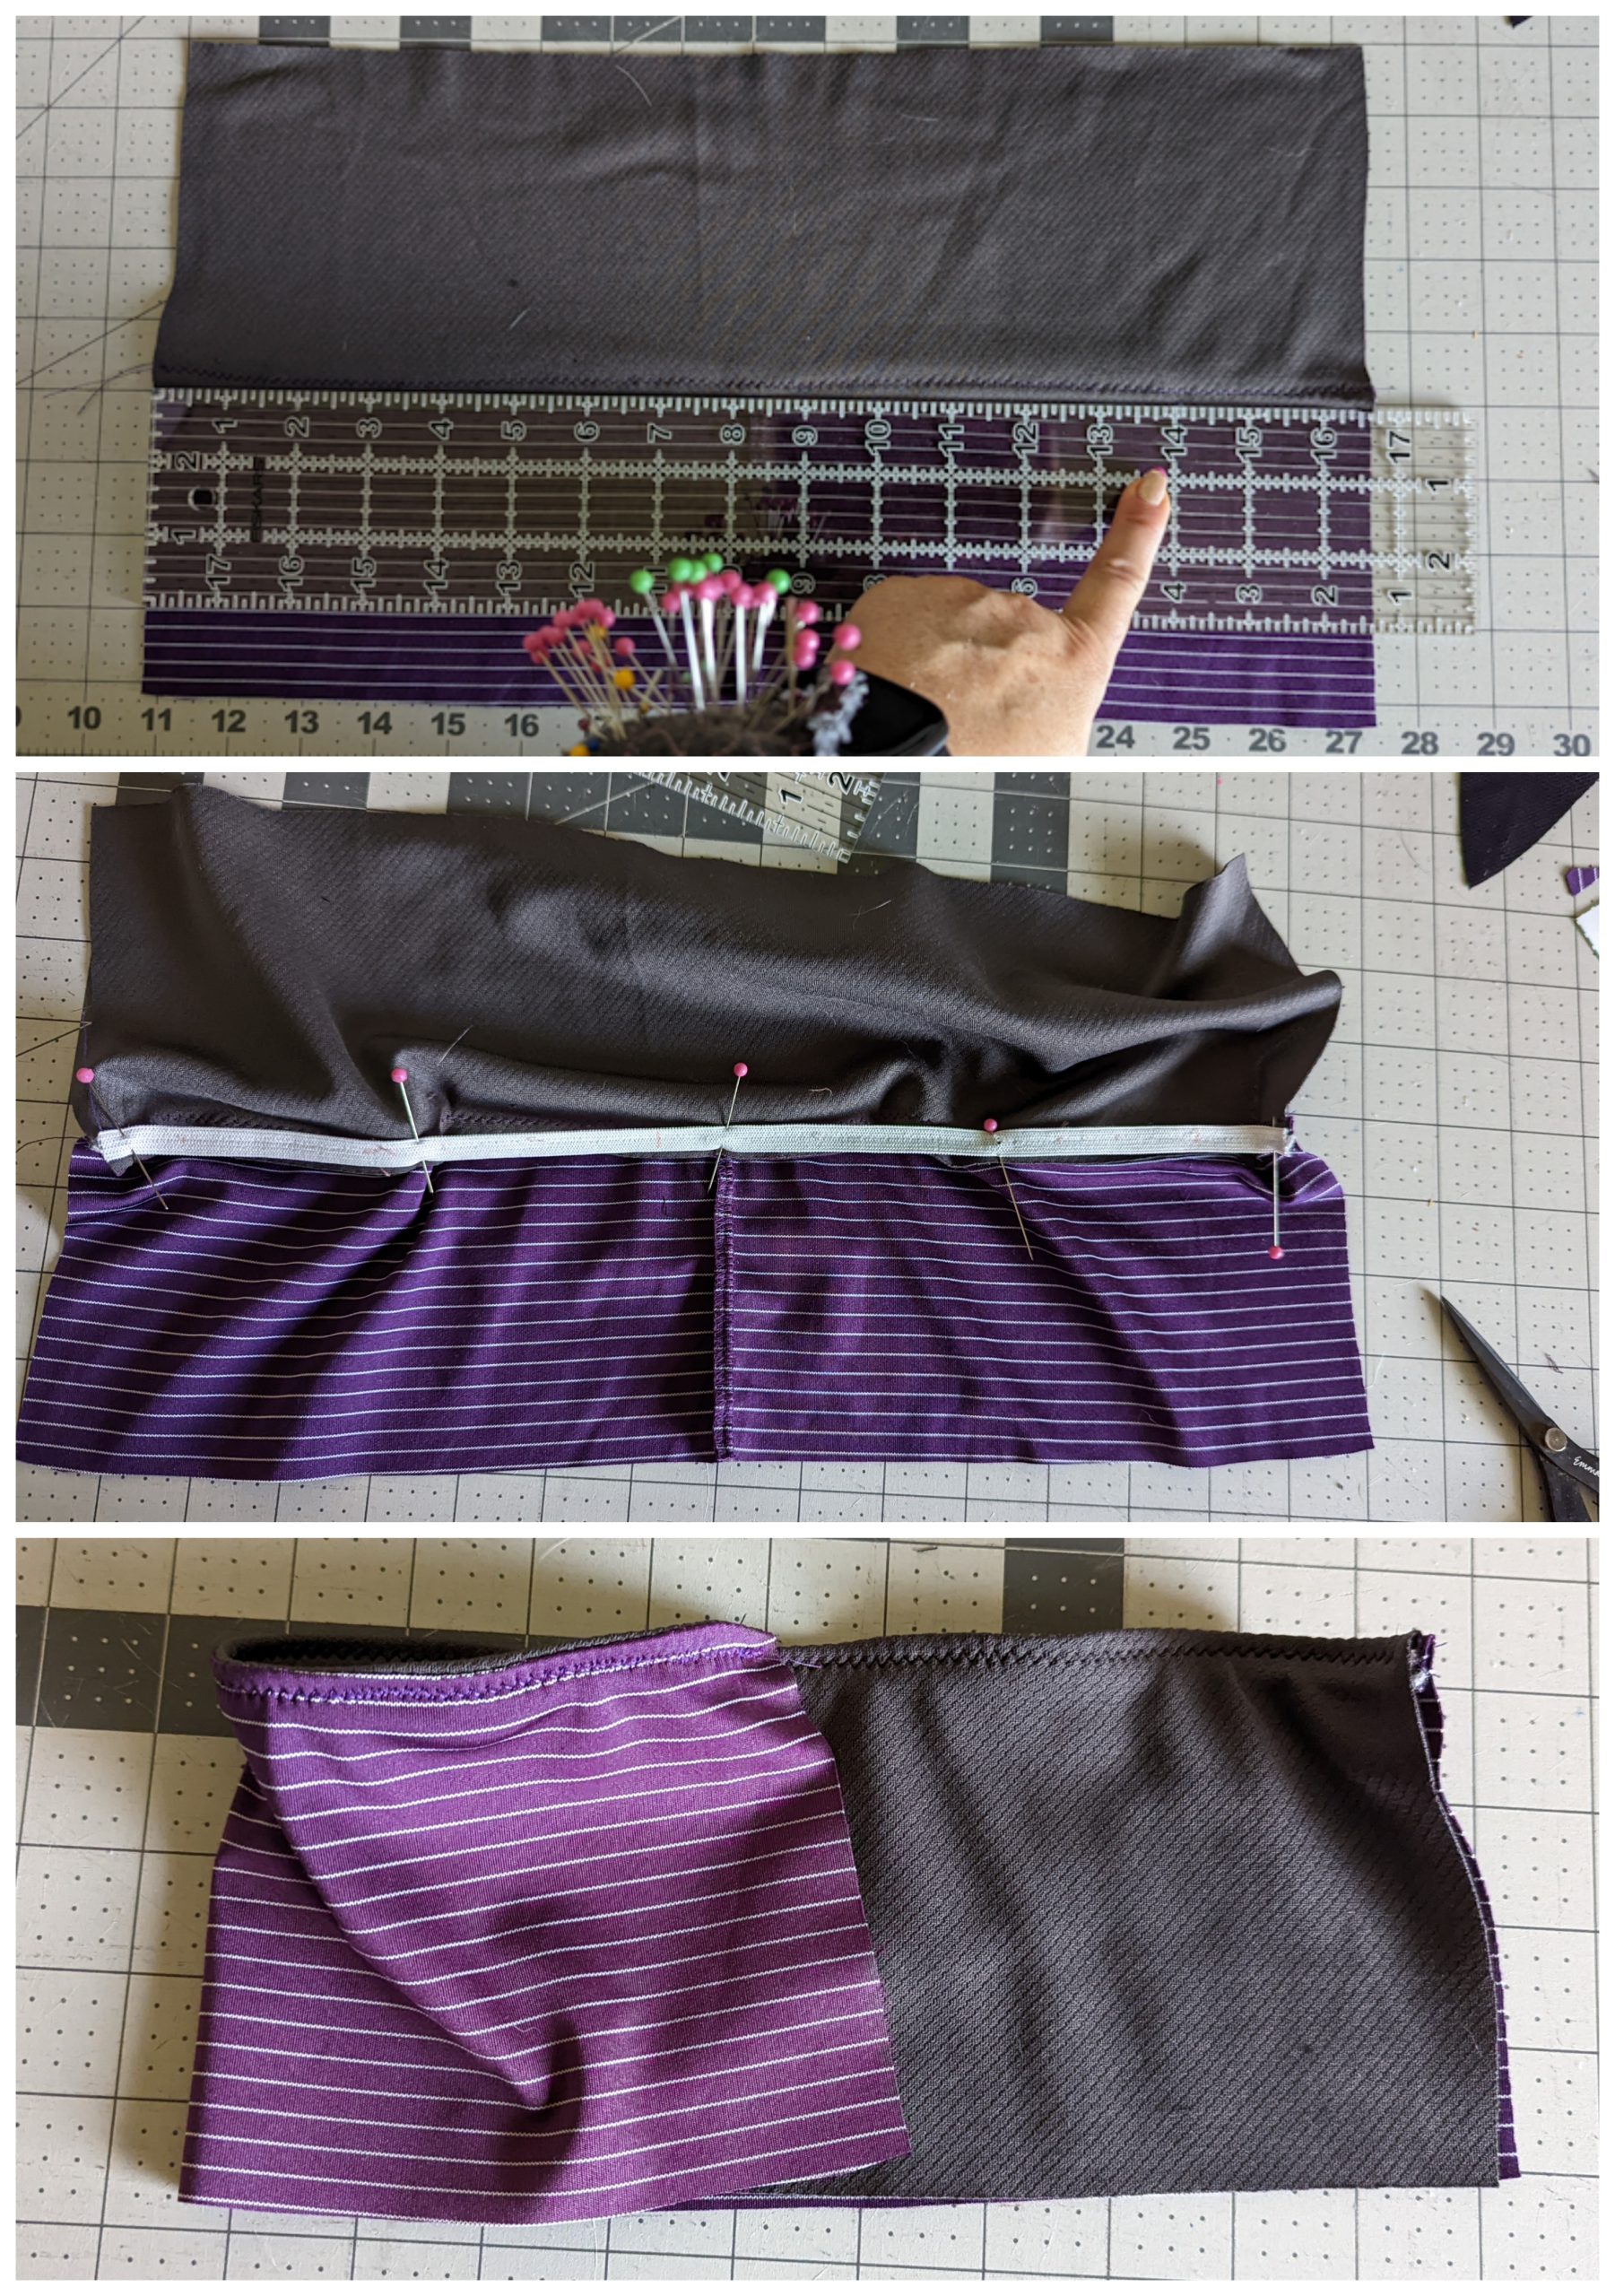
I cut out the back bodice with the purple for the outer fabric and the gray for the liner. I sewed them together using a zig zag stitch. Then for added support I attached some ¼ inch elastic to the inside seam. I made the elastic roughly 2 & ½ inches shorter than the bodice. I pinned the elastic to the inside and did a zig zag stitch on the outside, sewing through both layers of fabric. This can be tricky, but just got slow. The bottom of the bodice will be left raw for now so a band can be attached at the end.
Front Cups
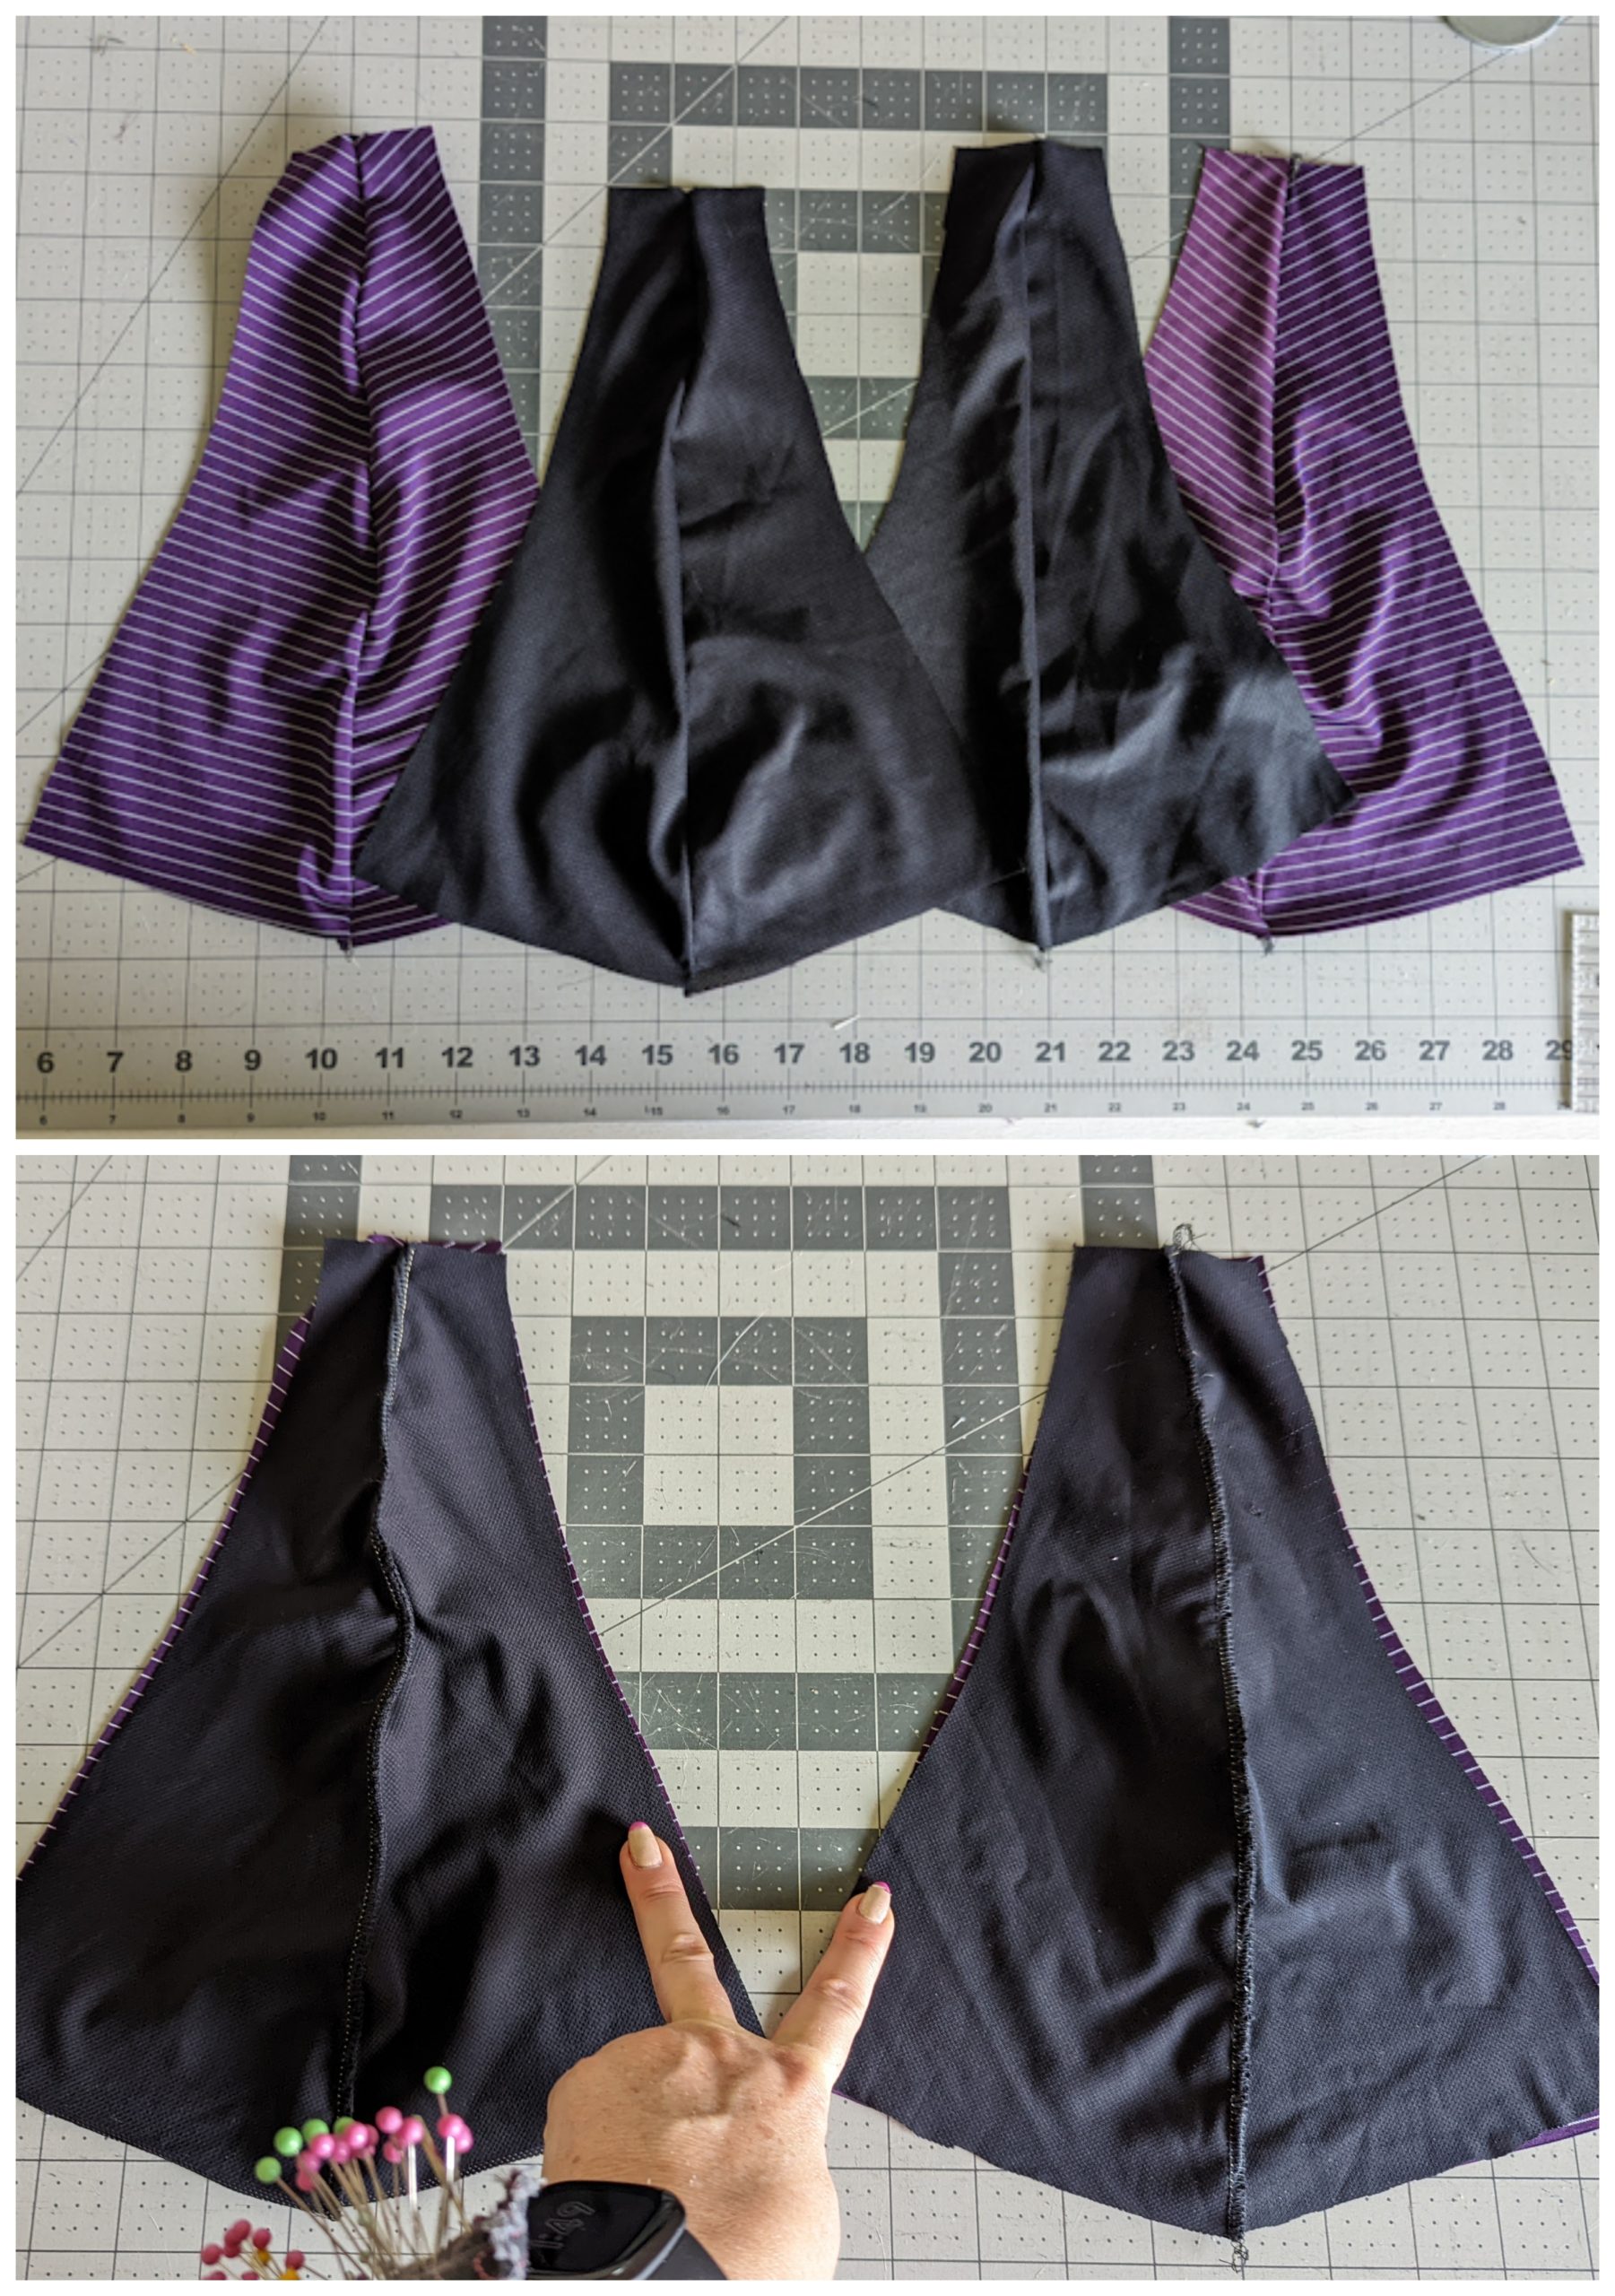
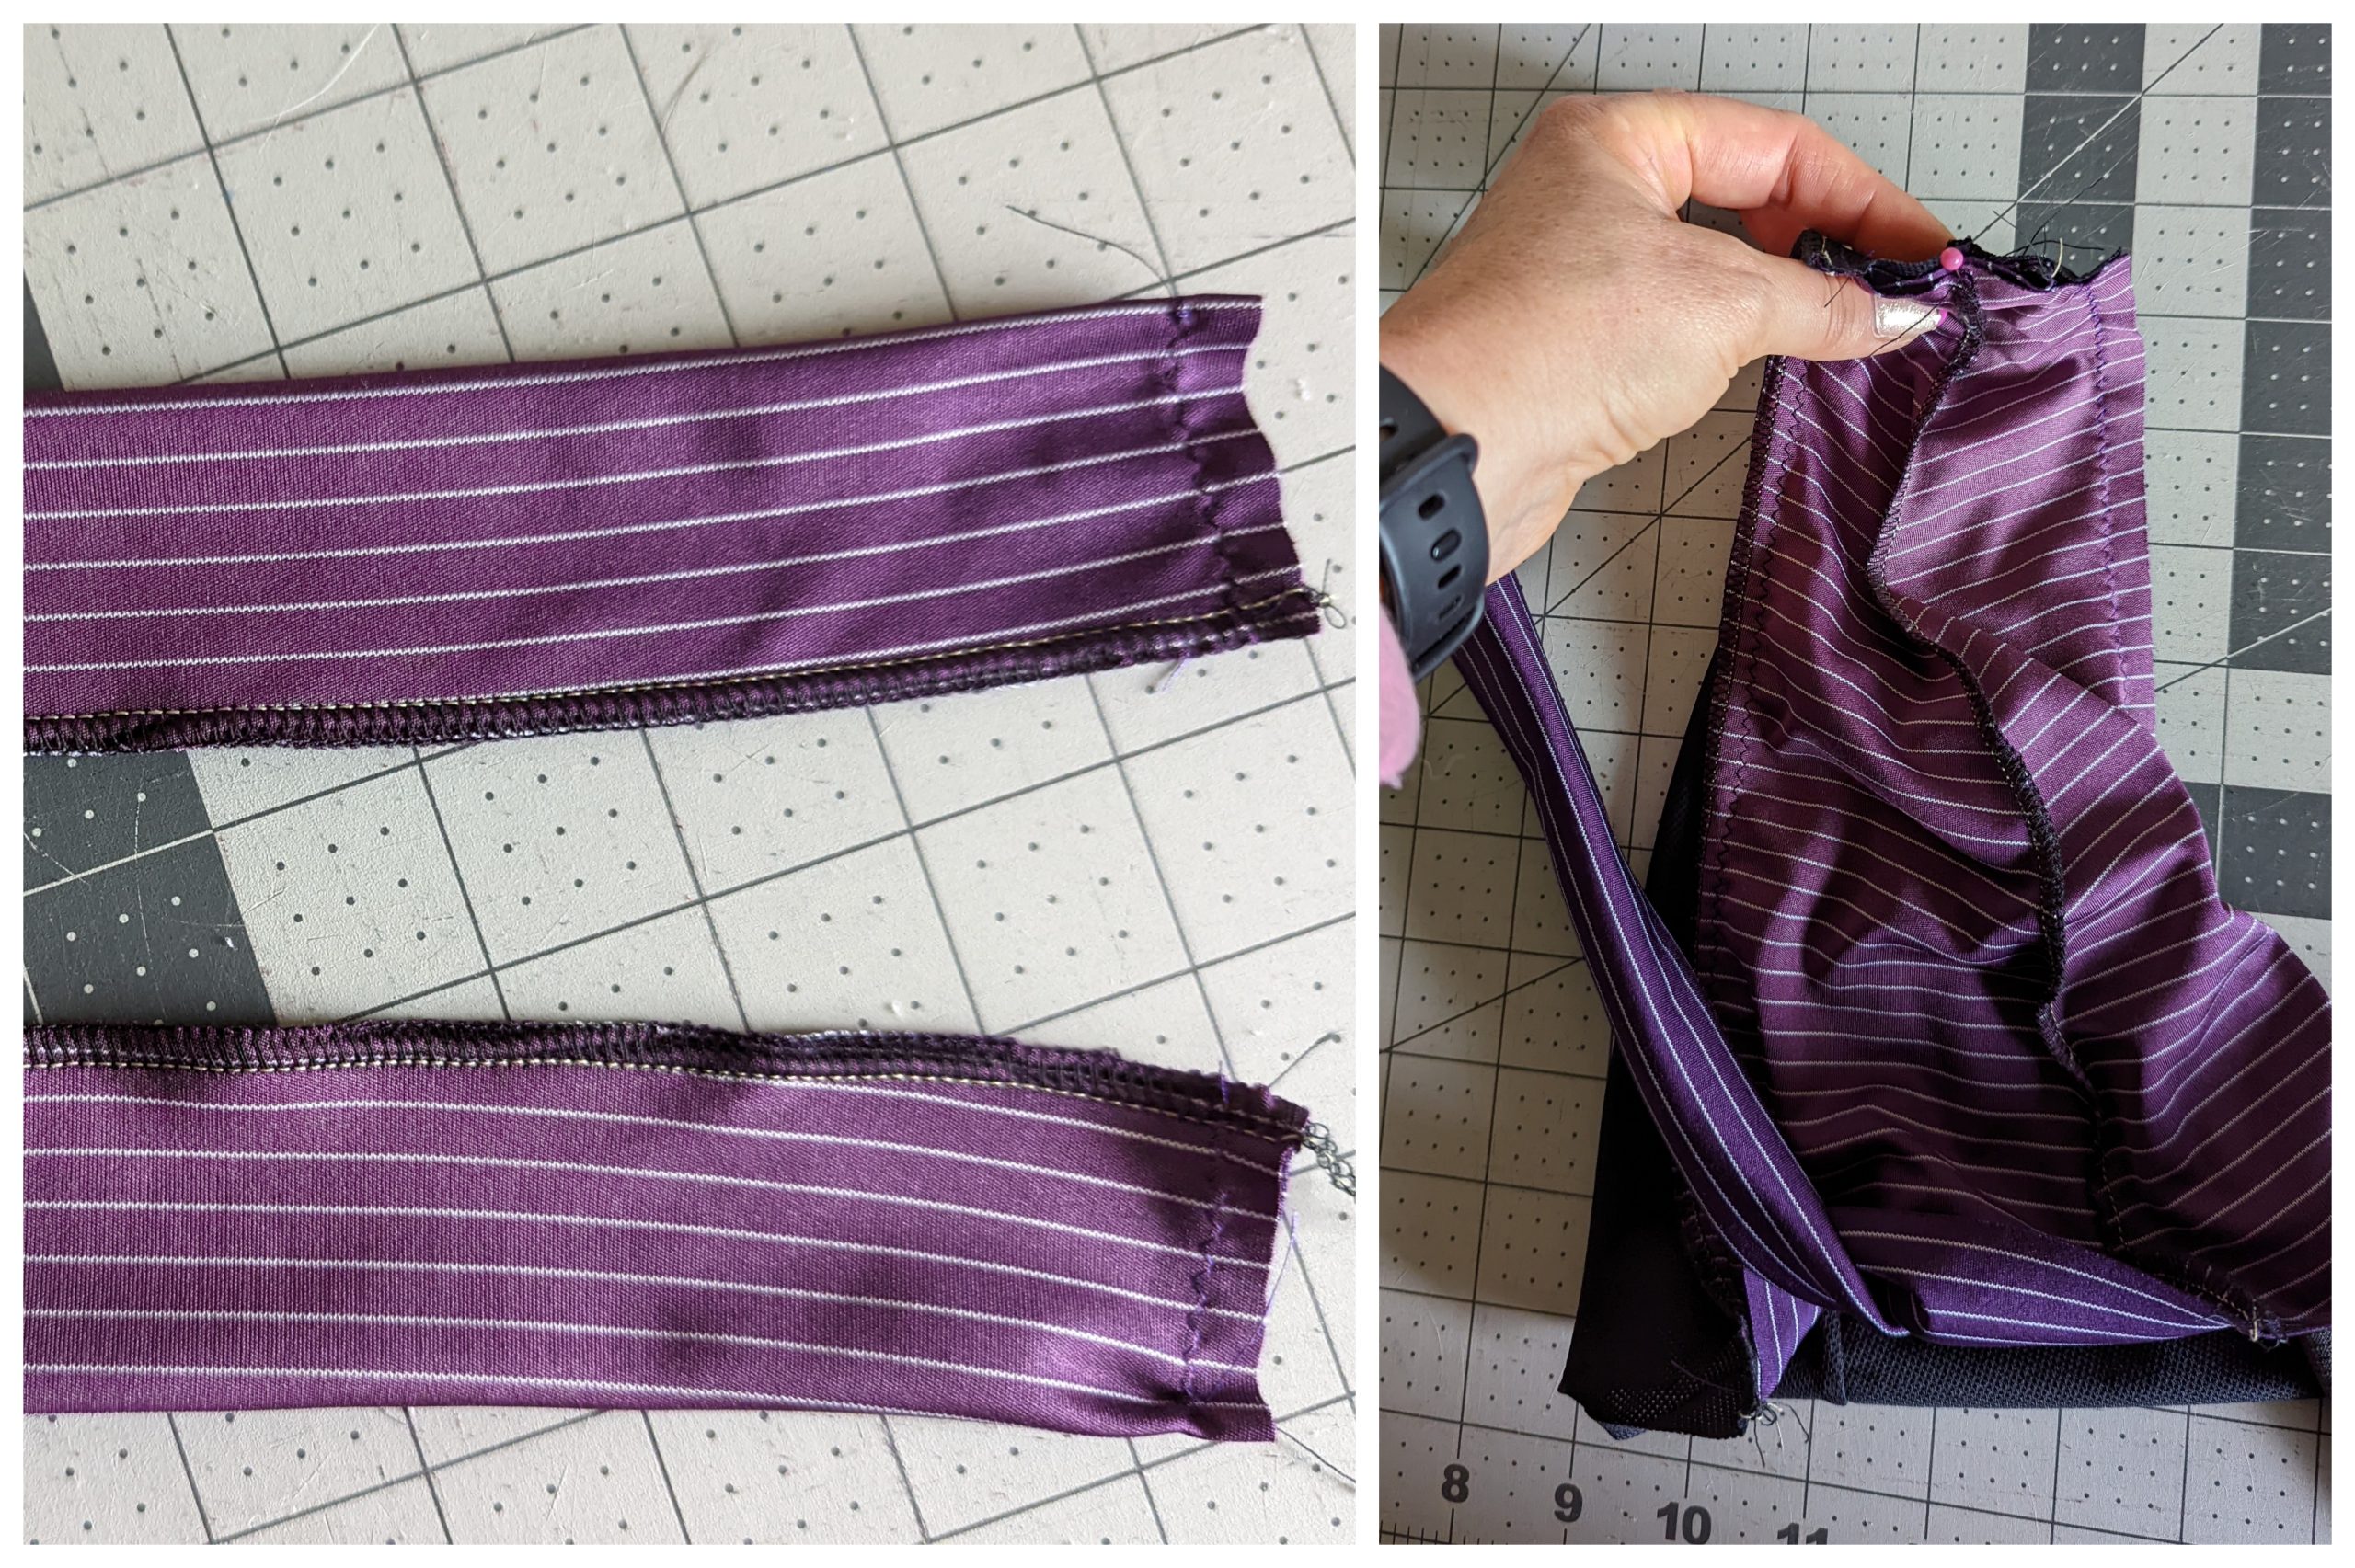
Something I’ve noticed when making my own swimsuit is that it’s good to try to enclose as many seams as you can. The halter top will have a back band and the side seams need to be enclosed so they don’t rub on my skin. To do that I sewed both the liner pieces and outer fabric pieces. Then I placed the liner and outer, right sides together and sewed down one side of each piece leaving the opposite side open. Below, I’m pointing to the two sides I left open. That’s where I will be attaching the back bodice piece.
Then I place the back bodice purple sides together making sure the finished elastic side is at the top, like pictured below. Sandwich the back bodice between the front bodice and liner. Pin it in place and sew down the open side of the front piece now.
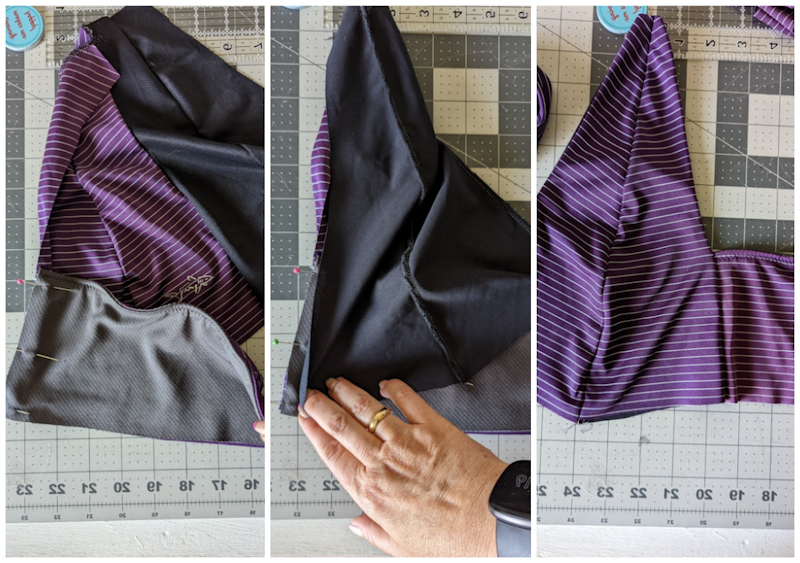
The bottom should be left open so you can put your cups in.
The Straps and Cups
Sew the straps together, stitching one end closed and leaving the other open for turning. Turn the straps right side out, then slide them up between the bodice lining and outer fabric, pin and stitch in place.
Once you have attached both straps, now would be a good time to try it on and see how much you want to overlap the front and where you want to place the cups. I overlapped my front pieces by 1 & ½ inches.
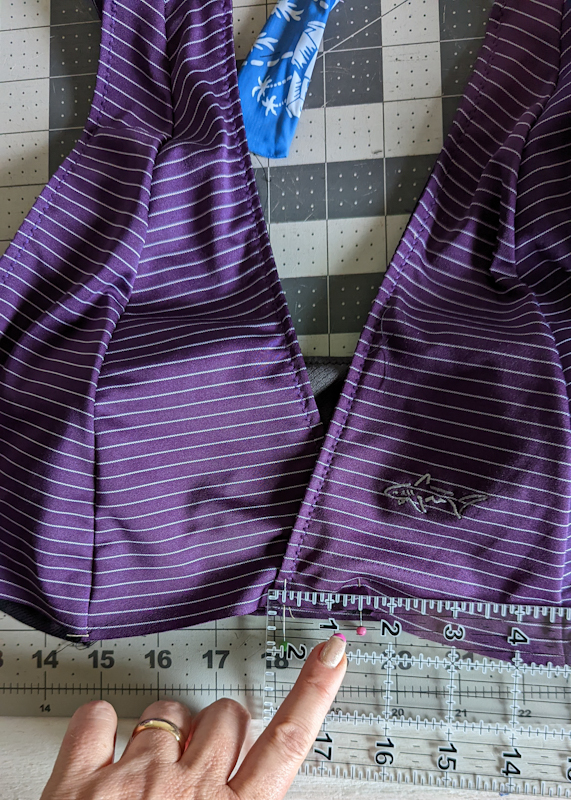
I hand stitched my cups to the liner fabric only just too keep them in place. I made sure they were placed at least 1 inch from the bottom raw edge. That way there would be room to attach the band. I did a zig zag top stitch around the edges of the top to keep the liner from showing. After I did all that, I attached the band to the bottom of the top.
Assembling the Bottom
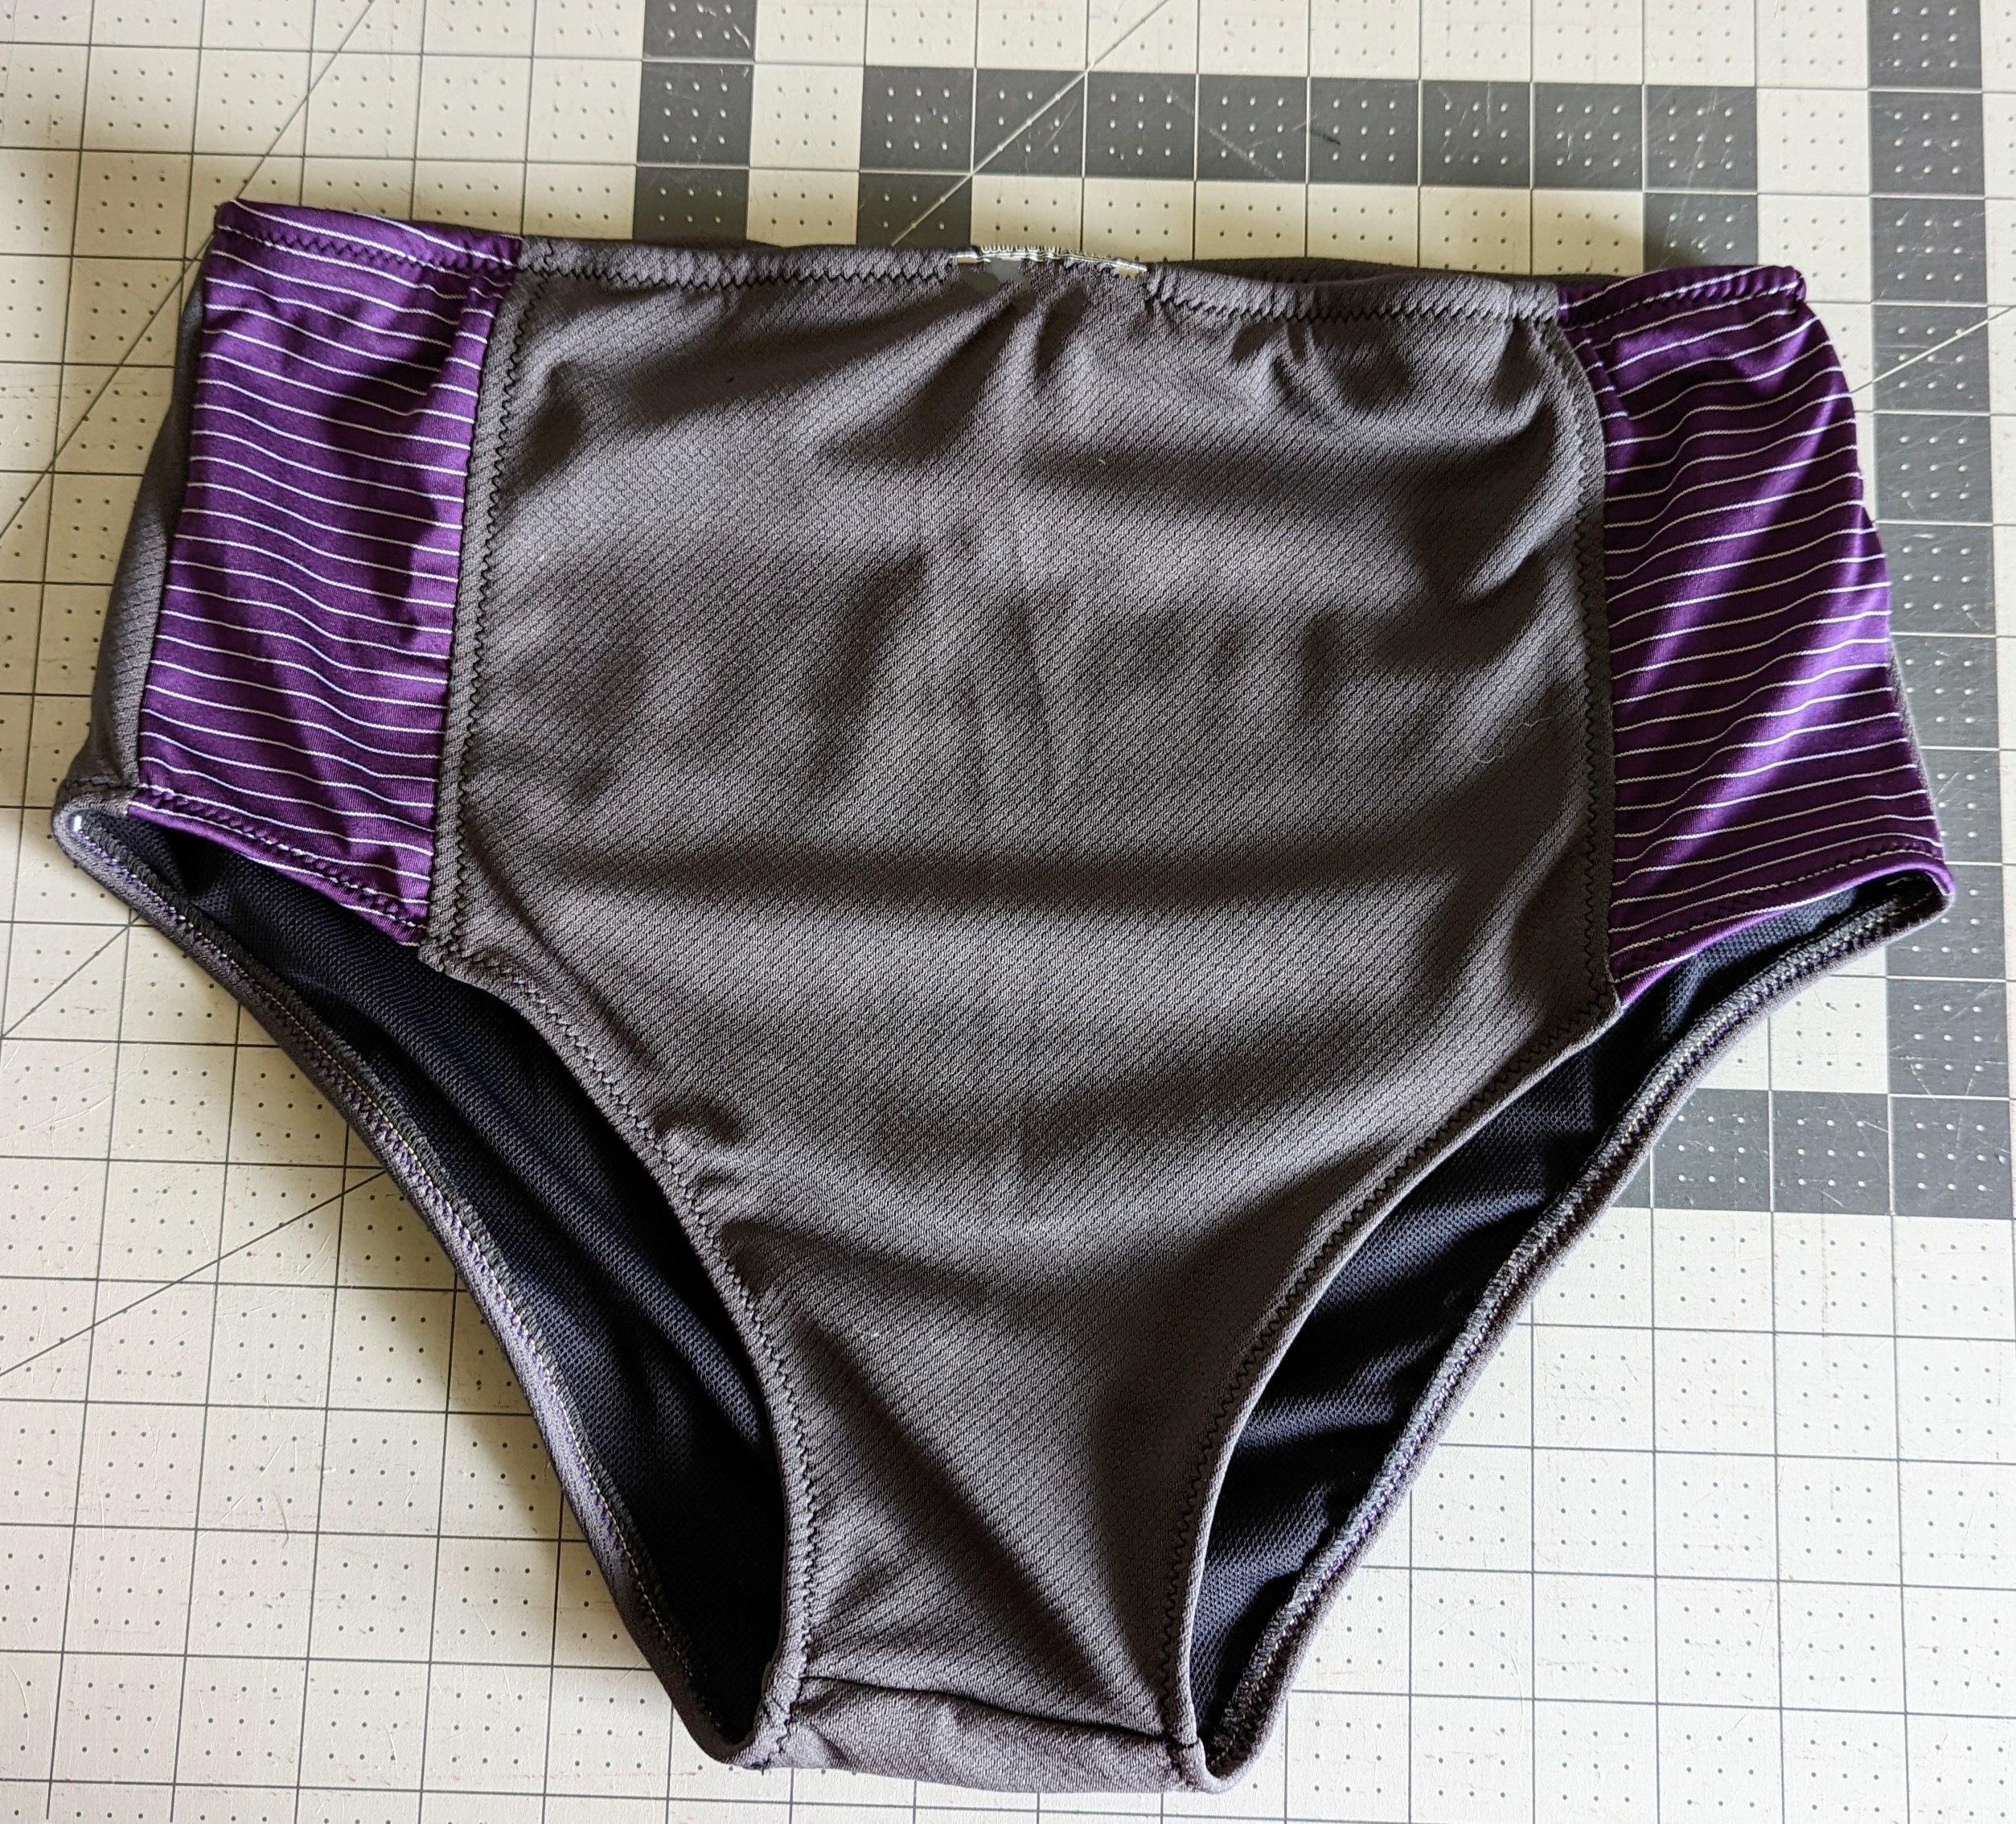
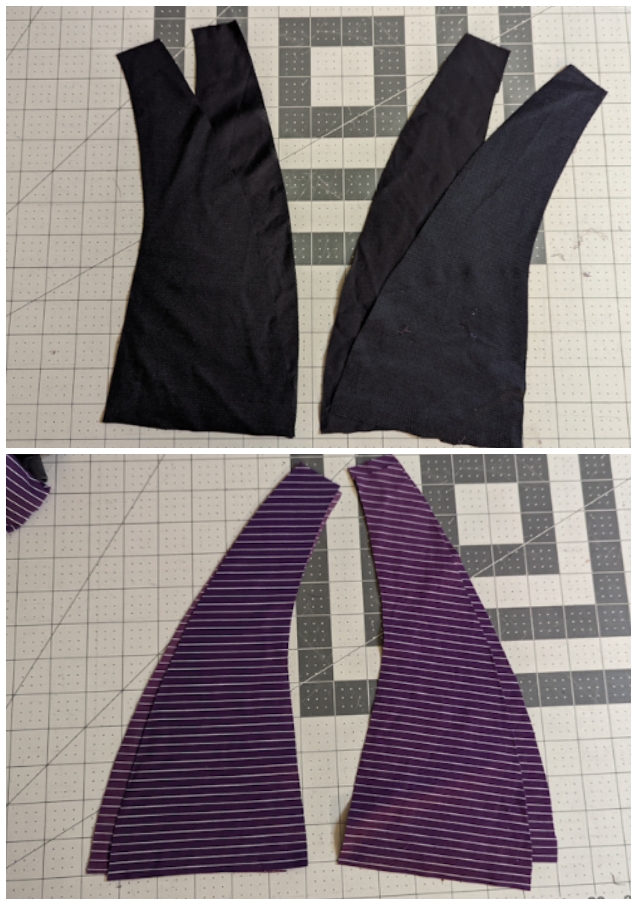
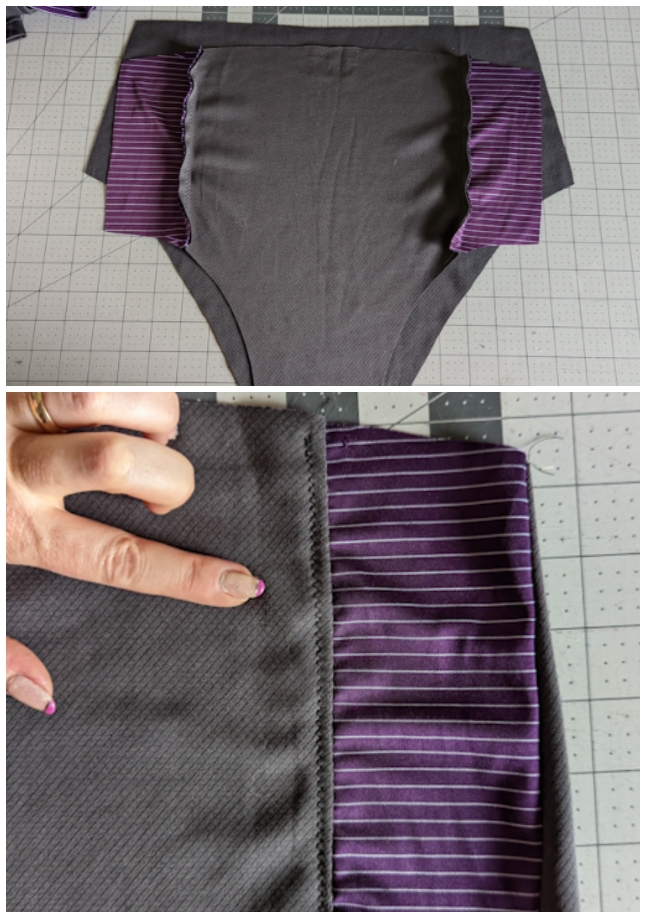
To assemble the bottom you first need to attach the little side pieces to the front. Pictured below is what it should look like once they are attached.
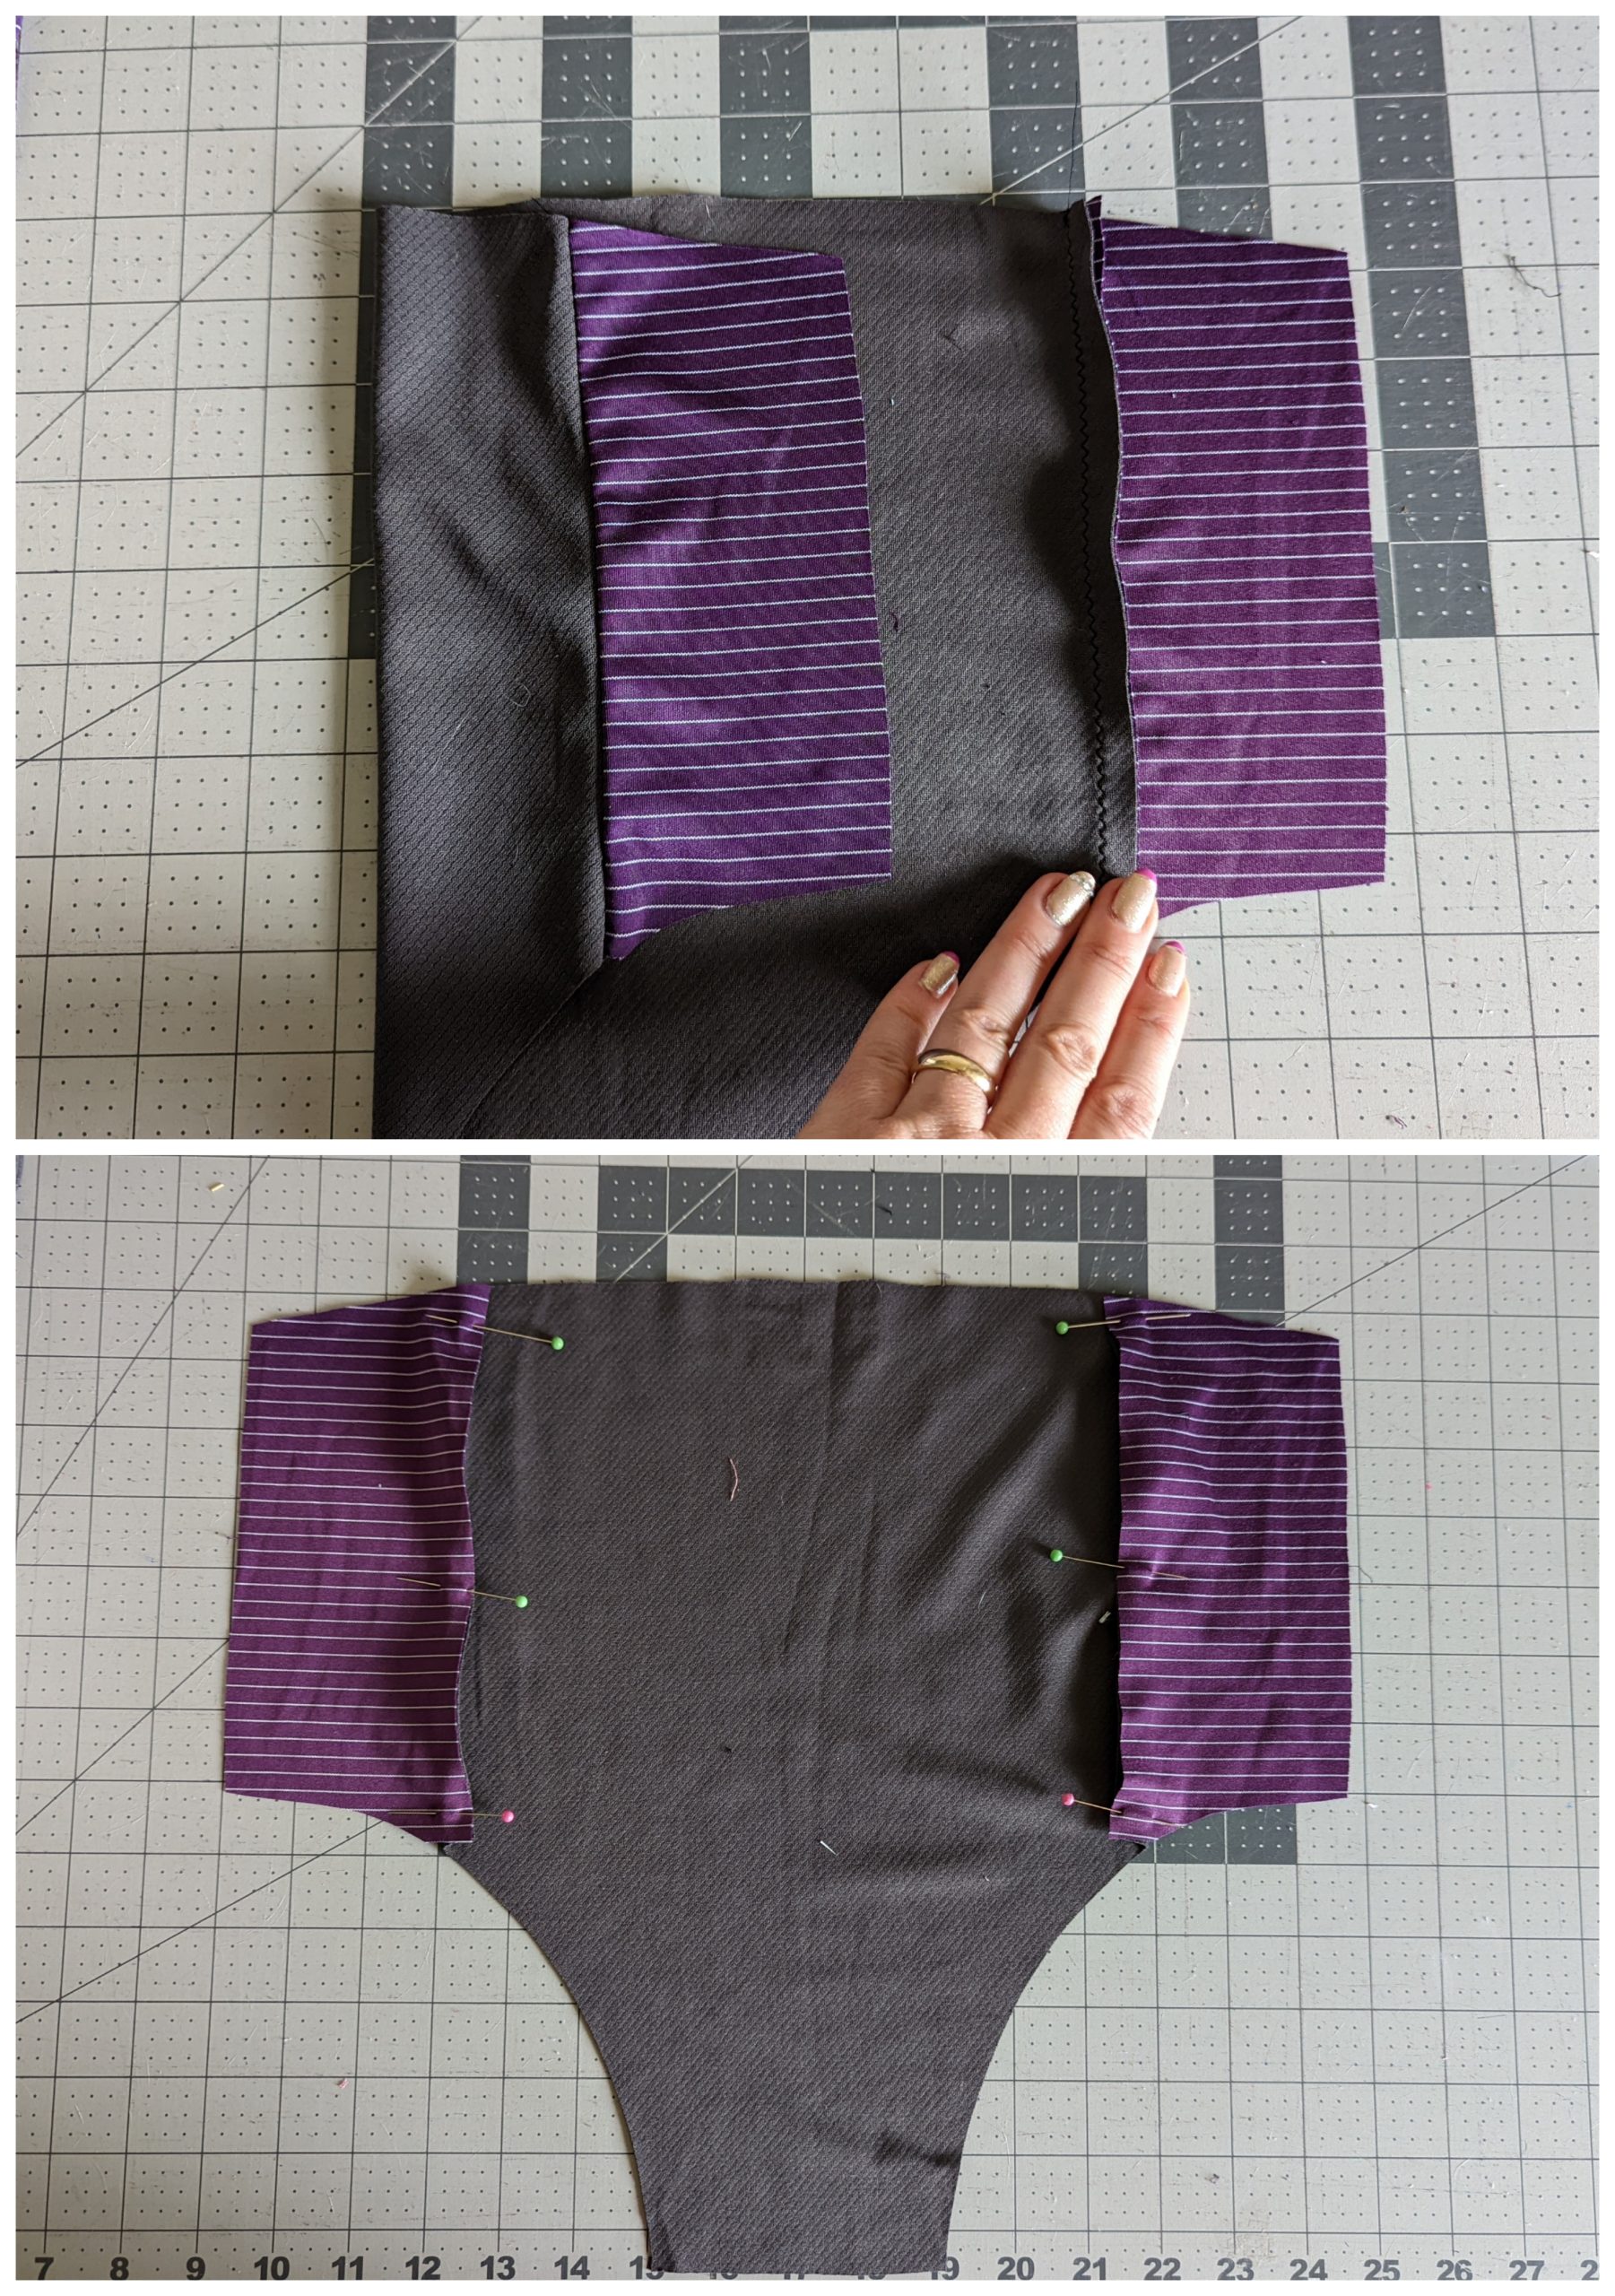
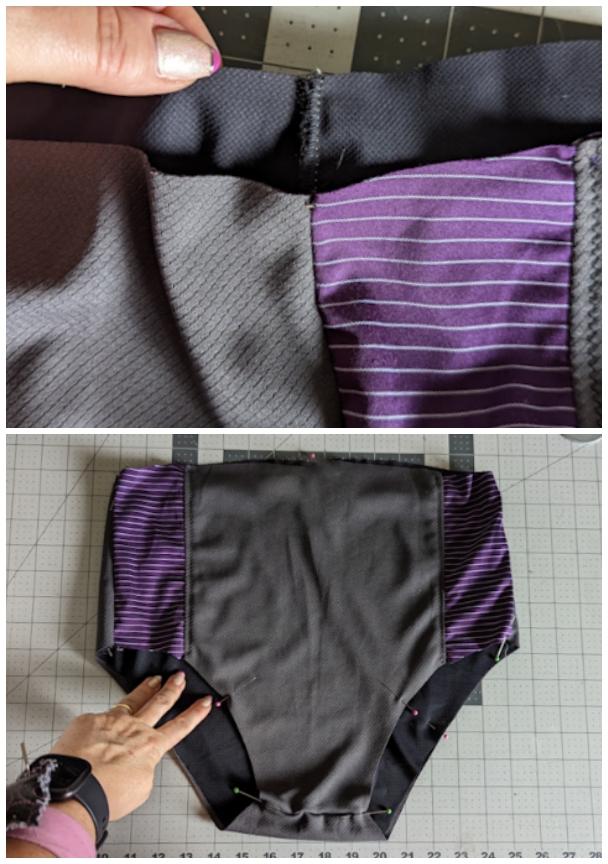
You may want to do a zig zag top stitch to keep the seam allowance in place. It’s not necessary but it looks nice. Once you have done that you can sew it to the back piece at the sides and crotch.
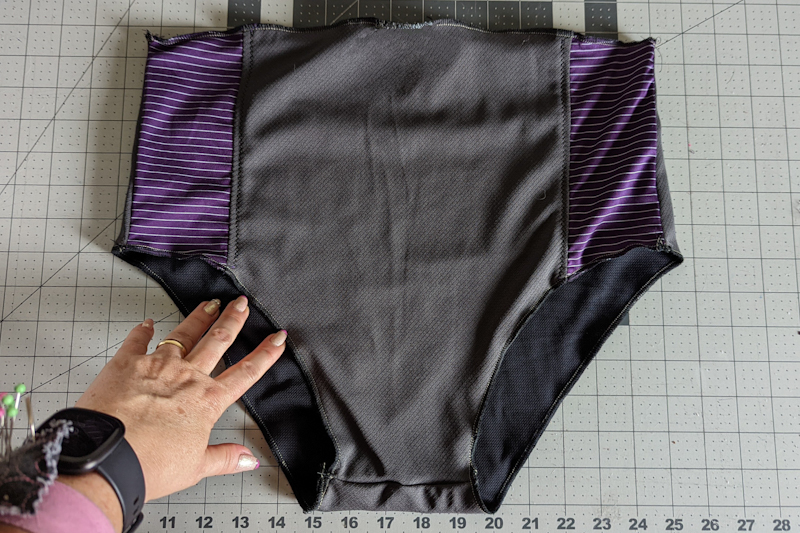
Next sew the liner together. Then, attach the liner to the outer layer with the wrong sides facing each other. This makes it so the seams are enclosed and not rubbing your skin. .
You can use either a zig zag stitch or a serger to stitch around the waist and legs to attach the liner.
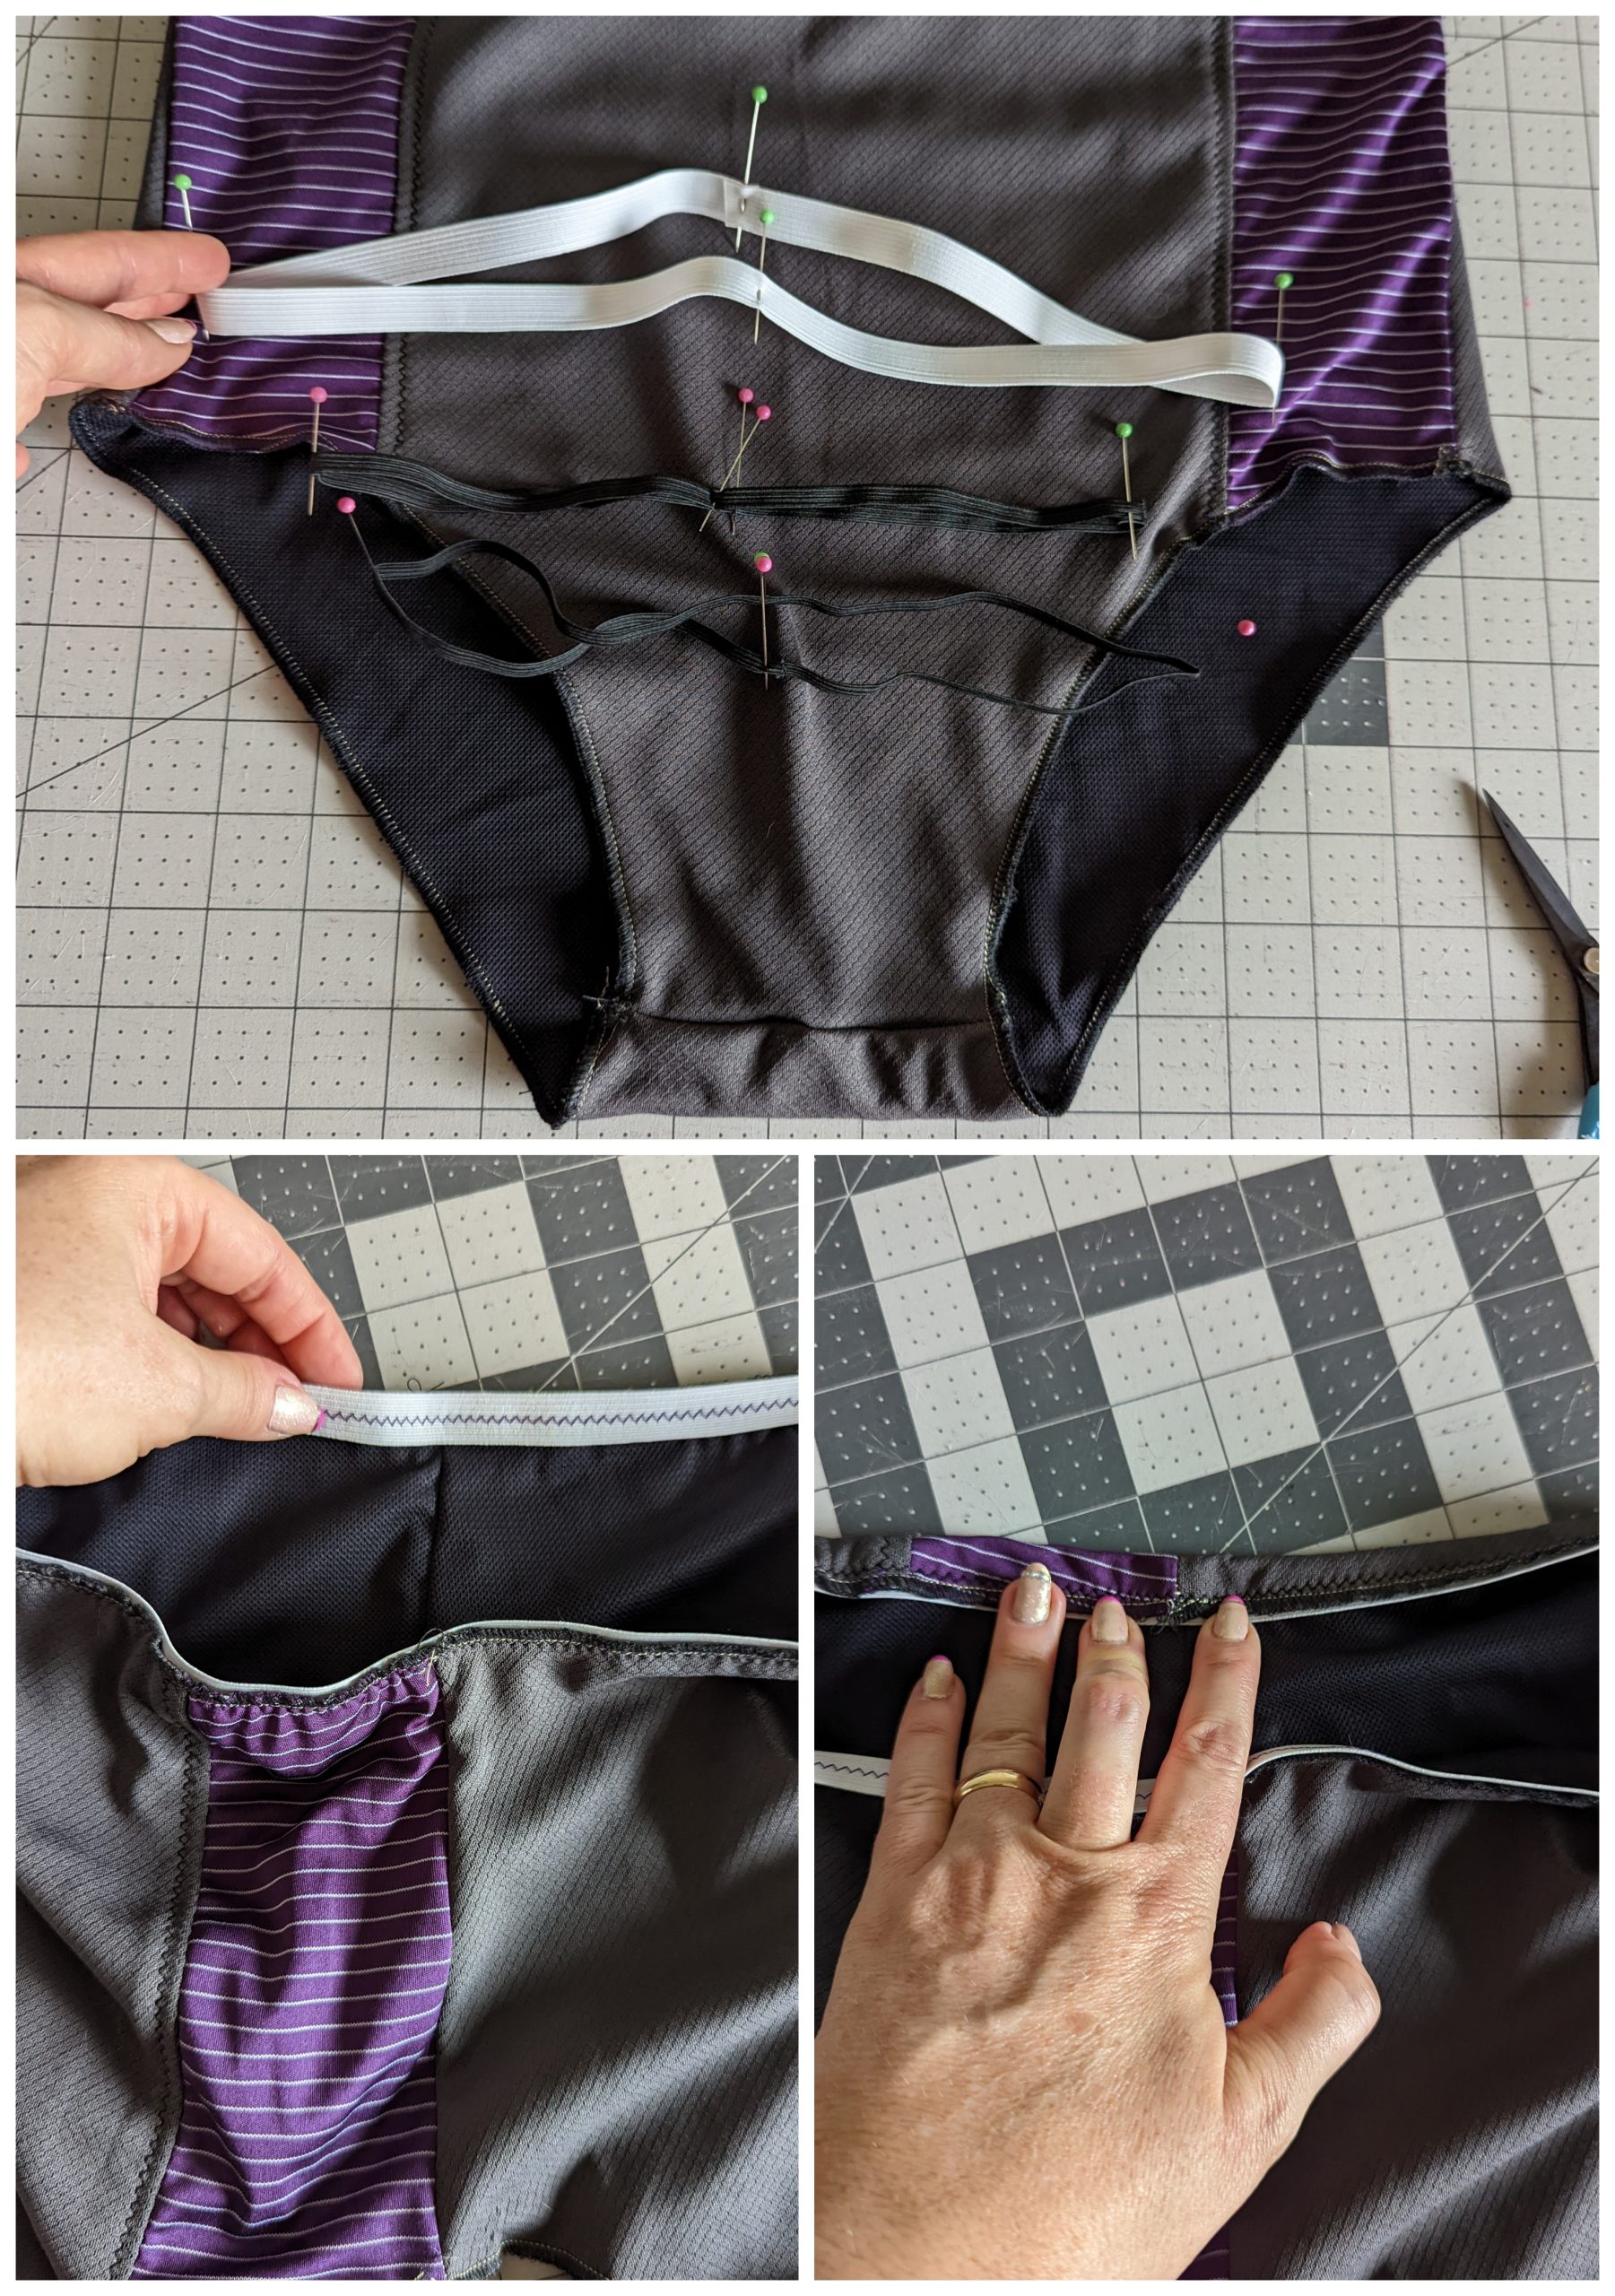
Once the liner is attached, you need to attach the elastic. I used ½ inch elastic for the waist and ¼ inch elastic for the legs. I found the quarter points on the elastic as well on the areas the elastic was attaching to. Then I match them up and zig zag stitched it on. After the elastic was attached I turned the edges under one more time and did another zig zag stitch to fully enclose the elastic.
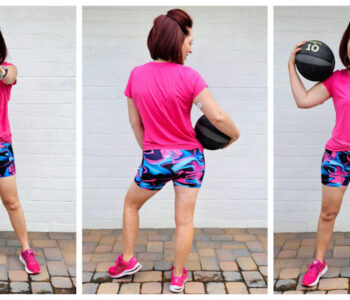
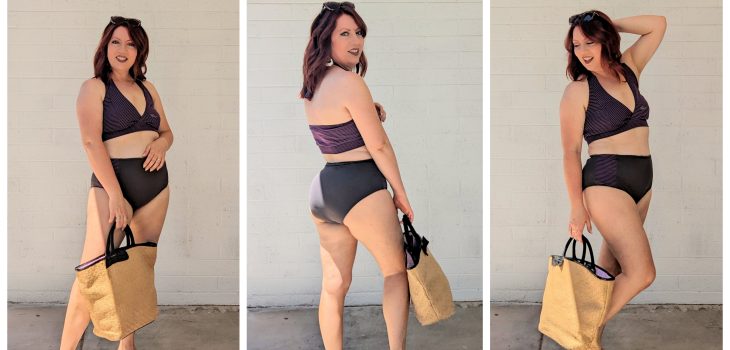
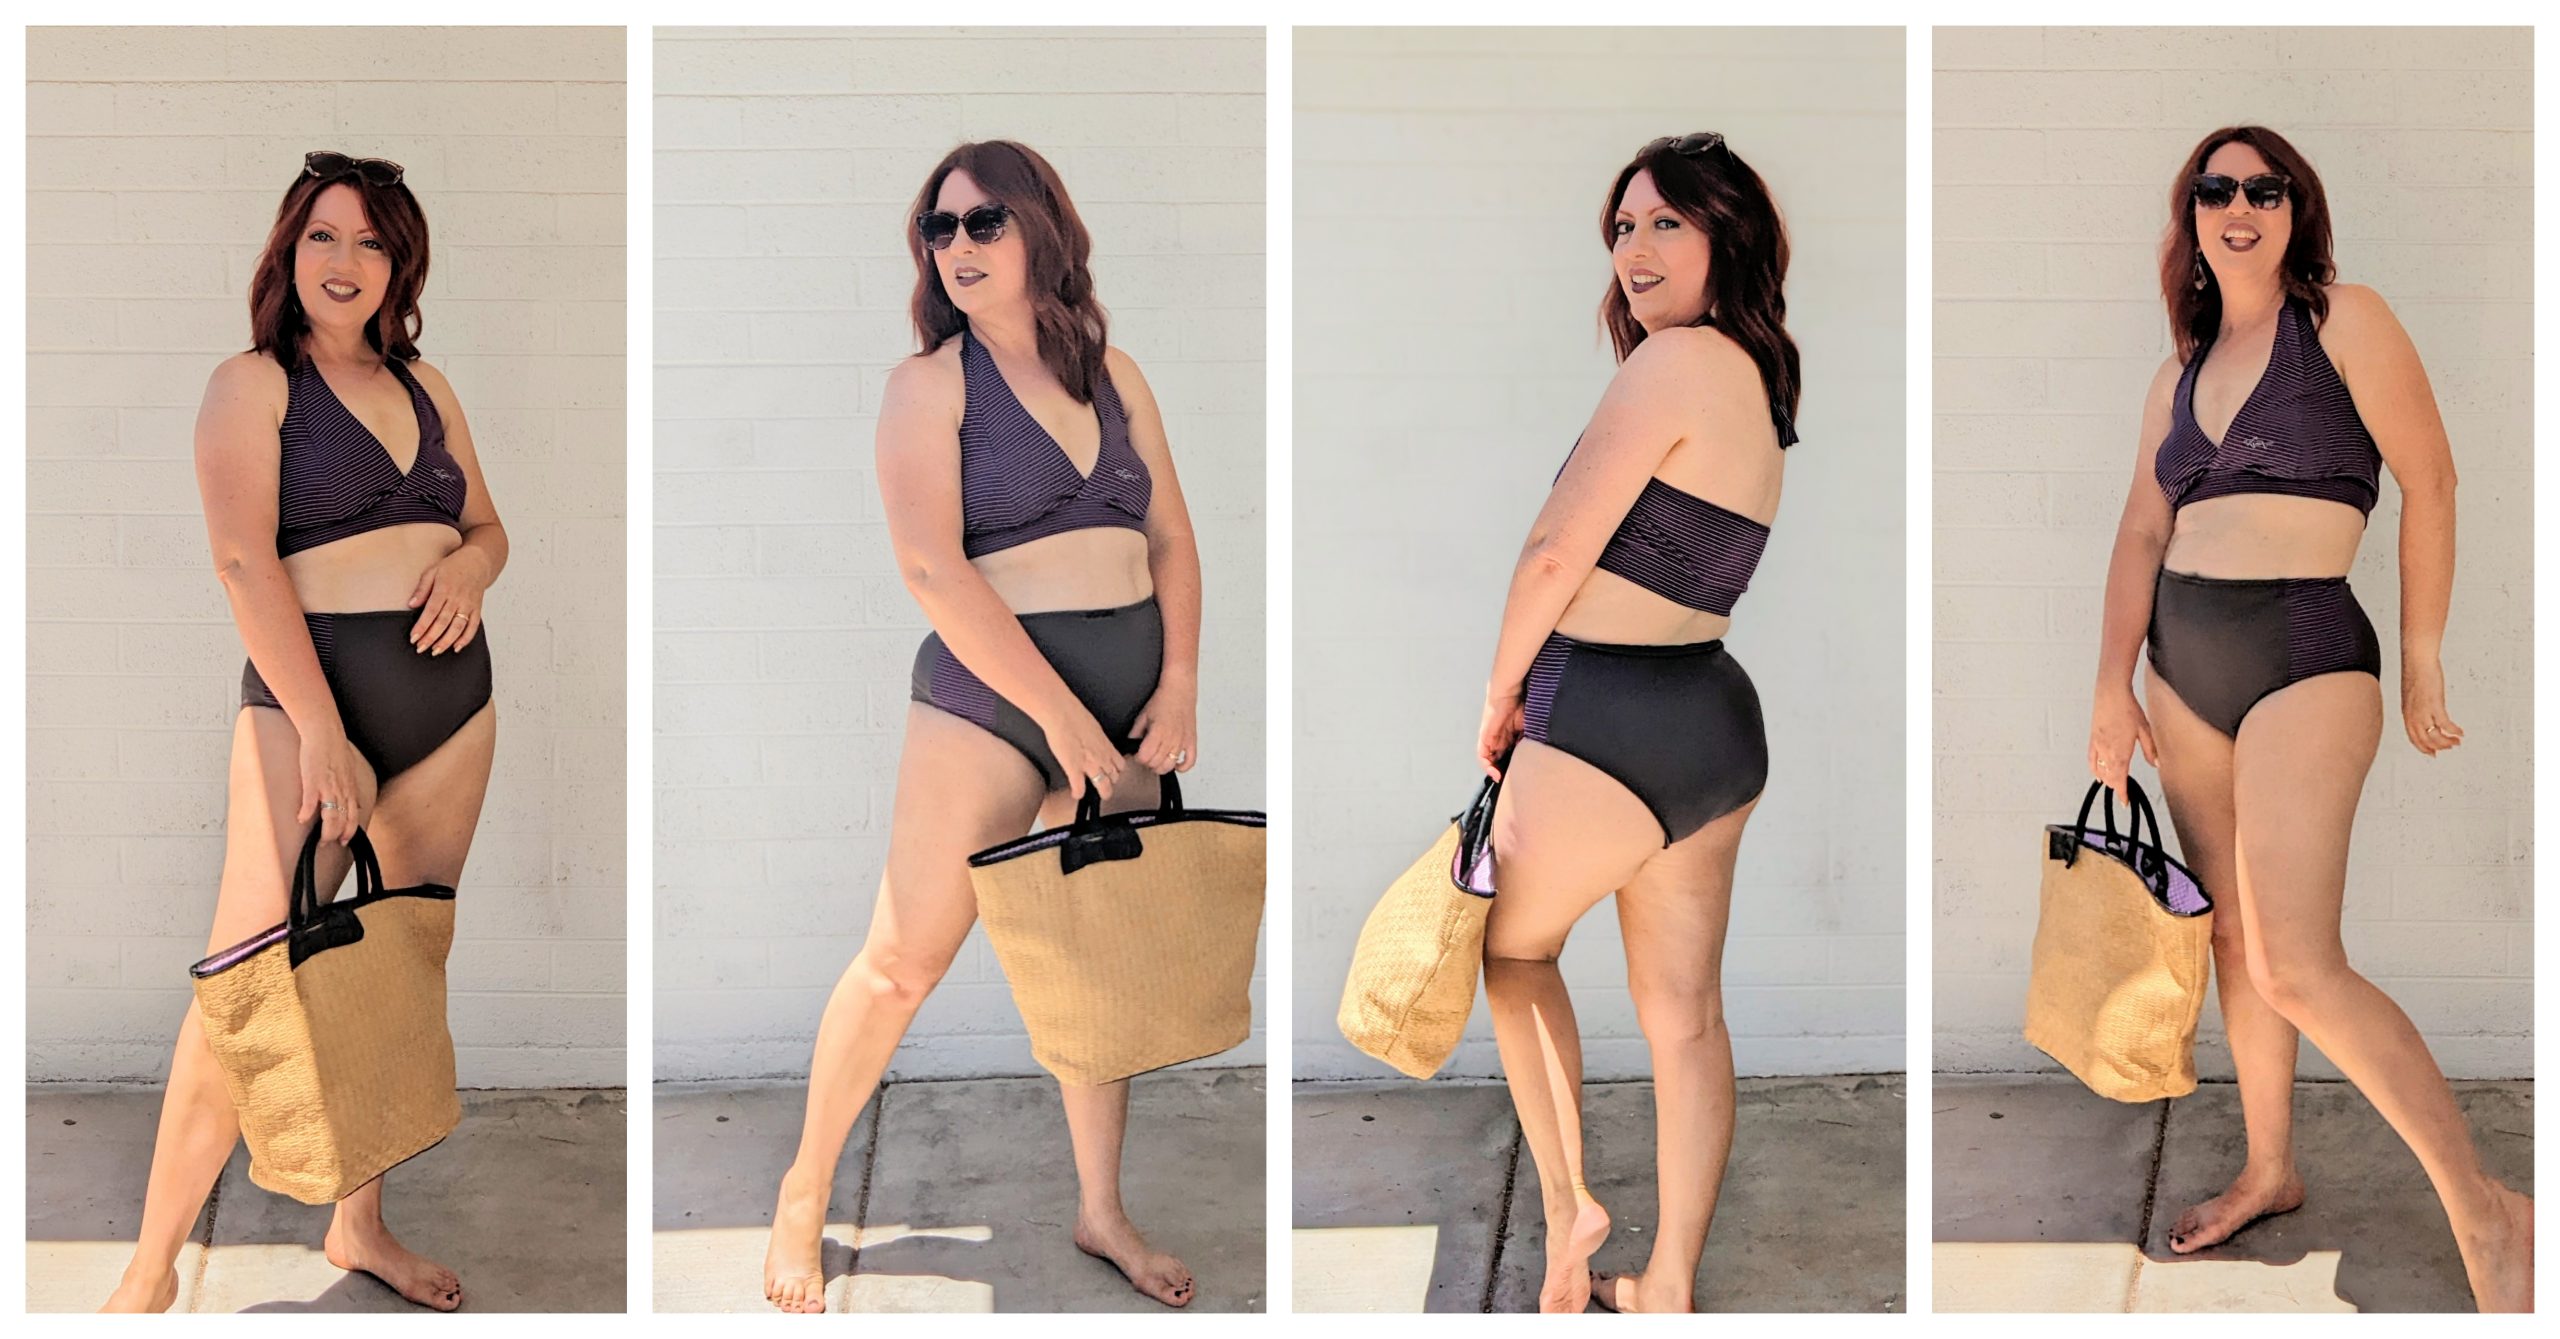
It’s all done!!
I really loved how it turned out too. Using athletic fabric like this was much easier to work with that swim fabric. So if you are new to sewing and swim fabric scares you, I would highly recommend trying this. It’s much cheaper and won’t stress you out if you mess up.
Have you ever used something other than swim fabric to make a swim suit? I’d be super interested to know what did or didn’t work for you. Let me know in the comments.
Happy Sewing!
Koe