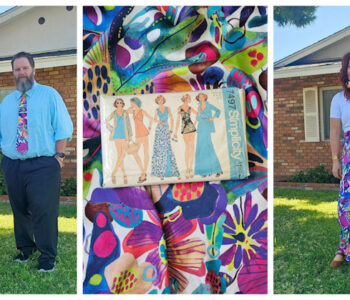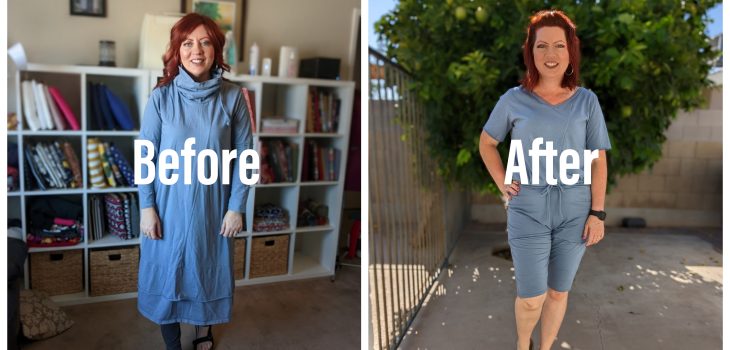
From Awkward Dress to Comfy Jumpsuit!
I found this dress at my local thrift store for $4. It was quite awkward with an off center, curved seam down the front with a horrible drawstring turtleneck design. I love flounce ruffles but the one on this dress was sewn into the side seam which made it not flounce at all. Blue is my favorite color and this particular color of blue was hard for me to find at the time. I would never wear this dress but I knew I could use the fabric and make something I would wear all the time. Here’s how I refashioned this dress.
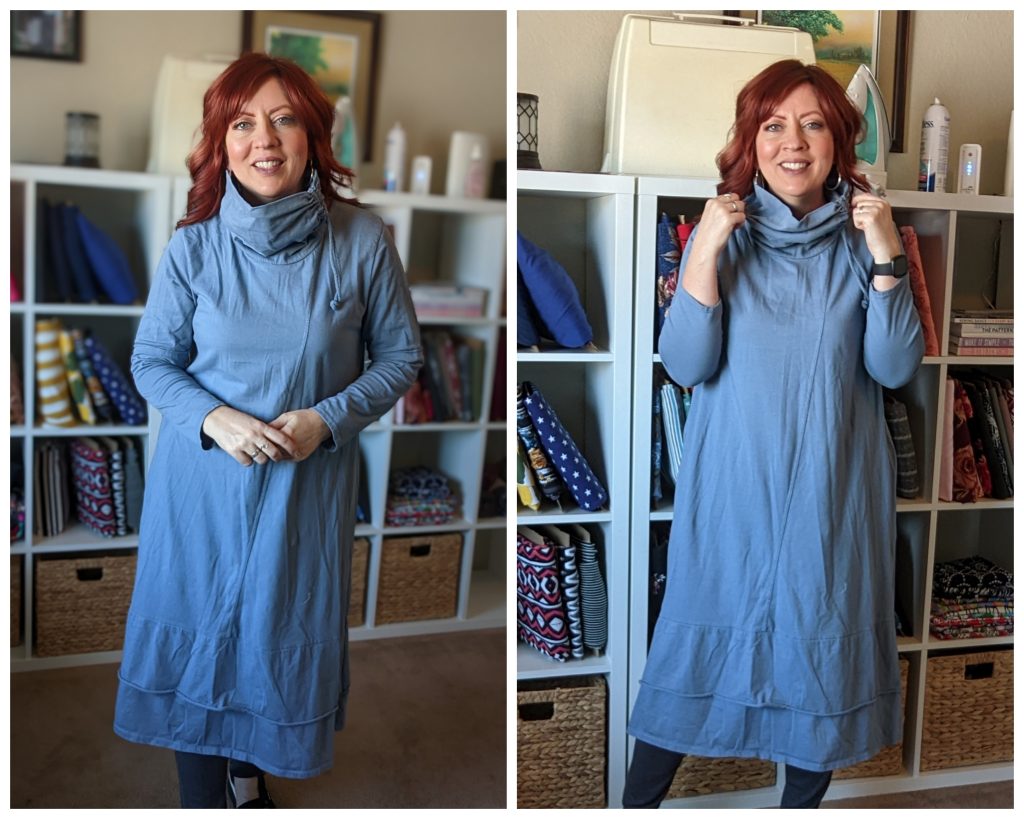
Deciding What to do….
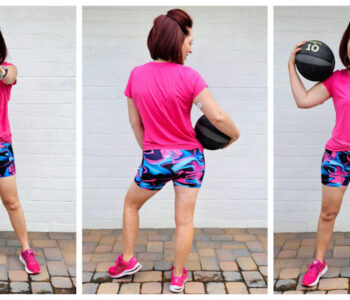
I made this camo, v-neck jumpsuit a while back by mashing two patterns together. You can find that tutorial here. So I decided to use this jumpsuit to turn this dress into a comfy jumpsuit to lounge in.
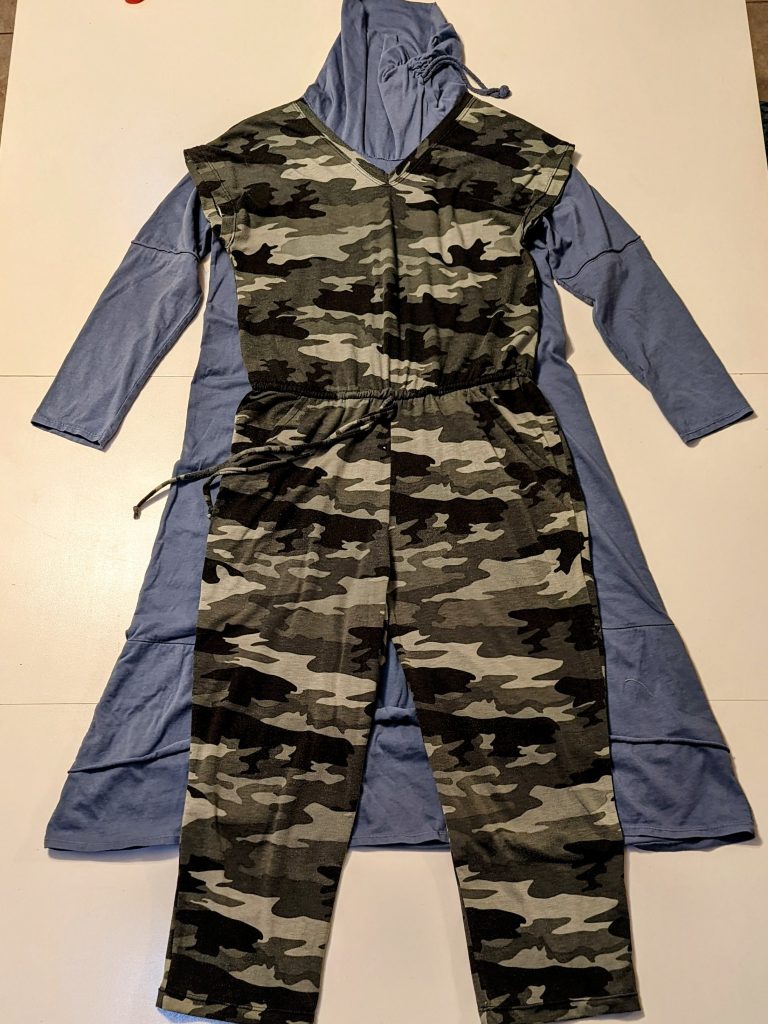
As you can see, the new jumpsuit’s legs will be a shorter length than the camo one and that’s totally fine. I will probably use this jumpsuit for lazy days, sleeping or running errands. First, I had to get rid of the awful turtle neck.
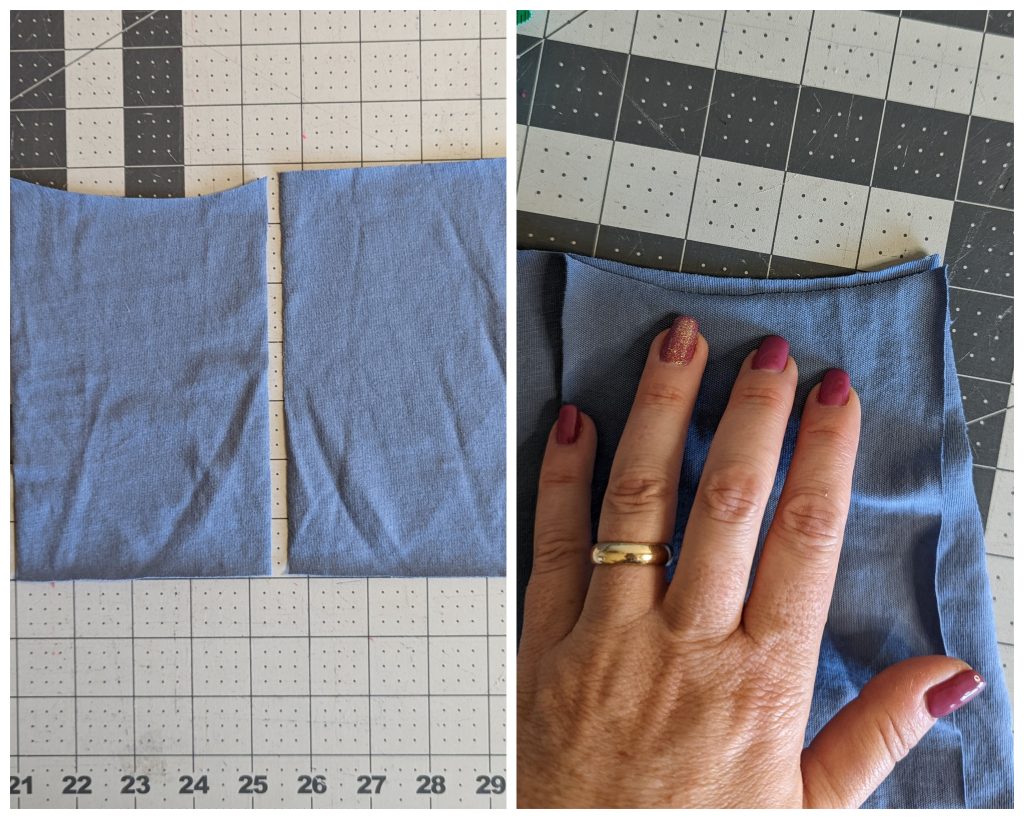
Cutting the Top….
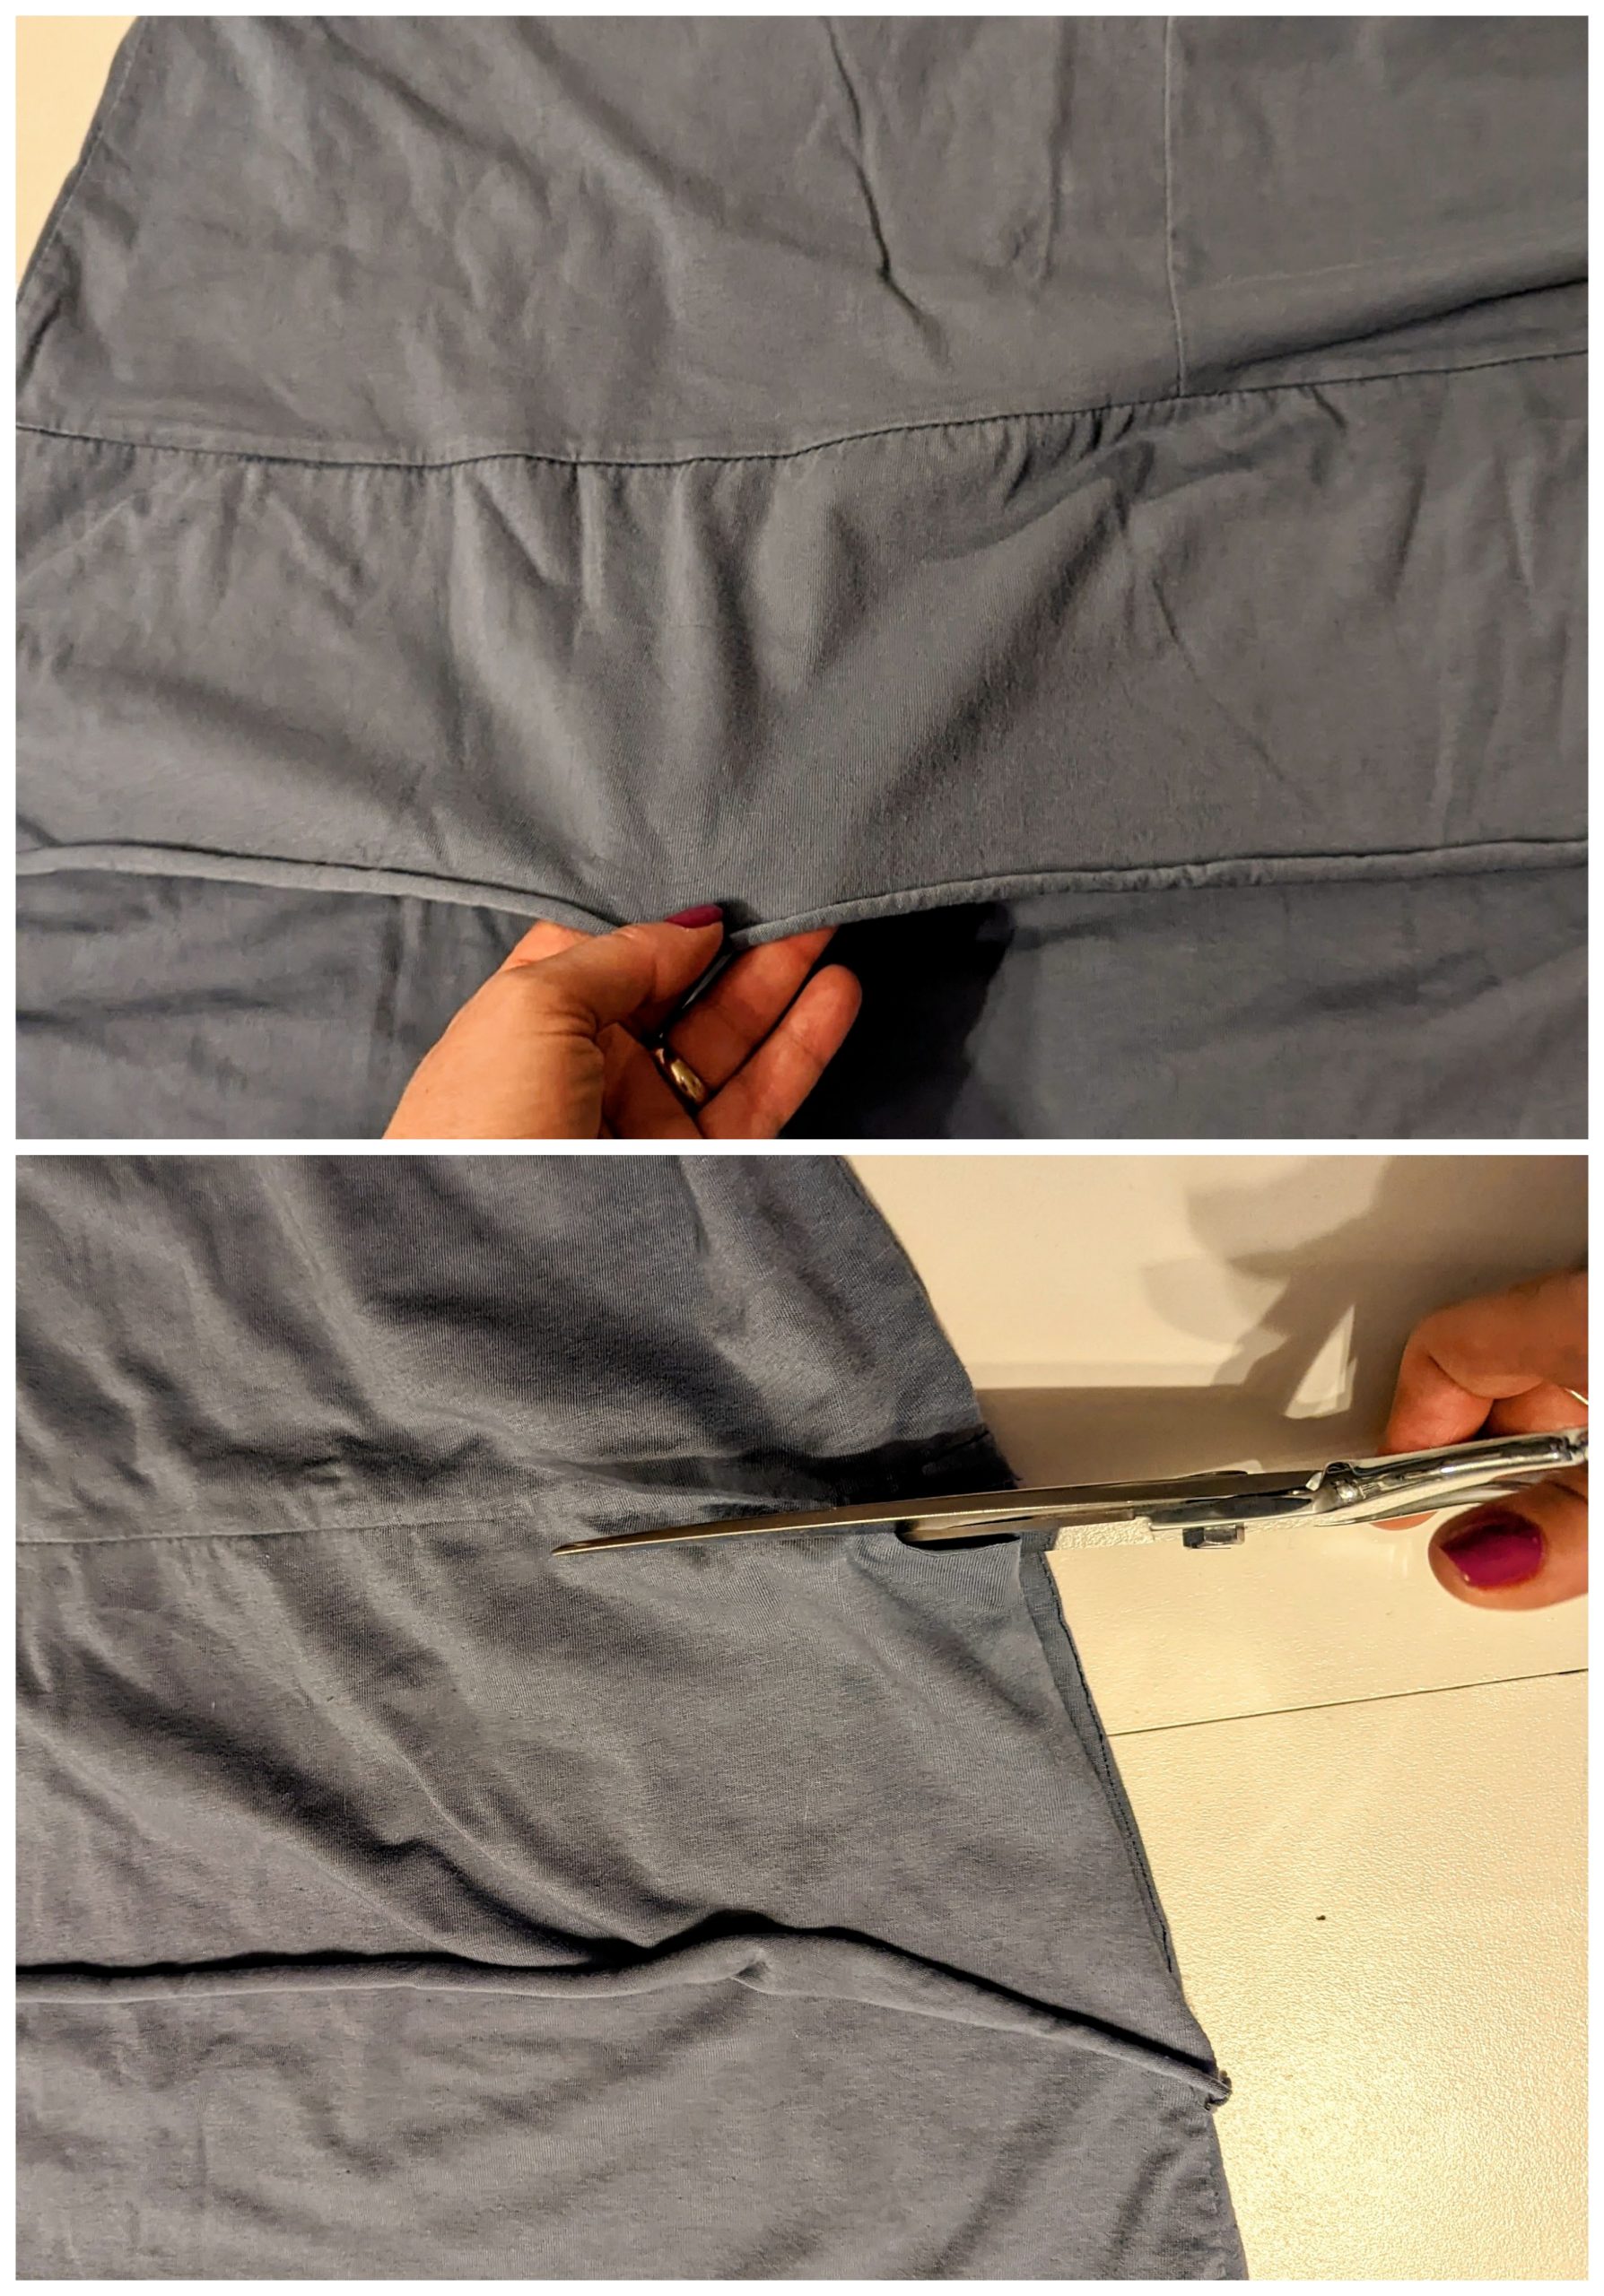
I folded the dress in half, figured out where the waist should be and added enough room for a drawstring casing. The I traced the v-neck shape on. You’ll notice this has a v-neck front and back so that I have enough room to pull the jumpsuit on over my hips. Then I cut them both out, separating the top from the bottom.
That Weird Ruffle….
Now I had the weird ruffle to contend with. Honestly I just wanted it gone so I couldn’t think of anything creative to do with it. So, I simply cut it off as close to the seam as I could. I liked the different design detail the seam with the raw edge would add to this jumpsuit.
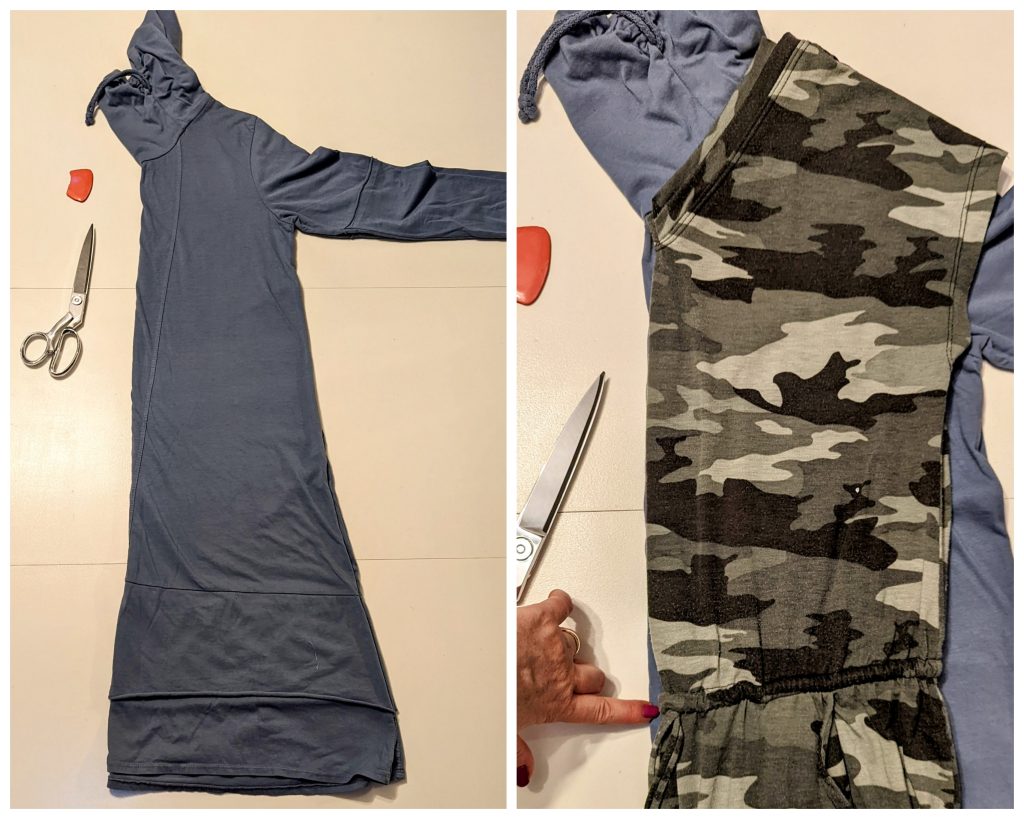
It’s all Cut Out….
Then I cut out the bottom half of the jumpsuit by using the bottom of the camo jumpsuit as a guide. The ruffle pieces of fabric I was going to use for the drawstring and a hidden waistband pocket.
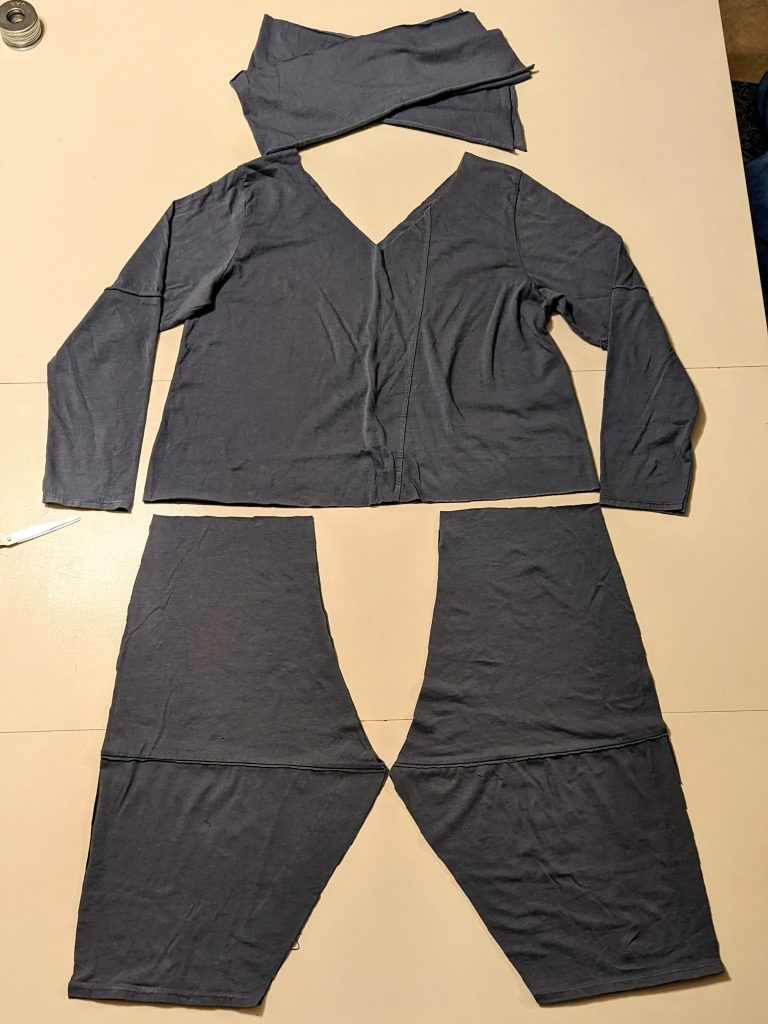
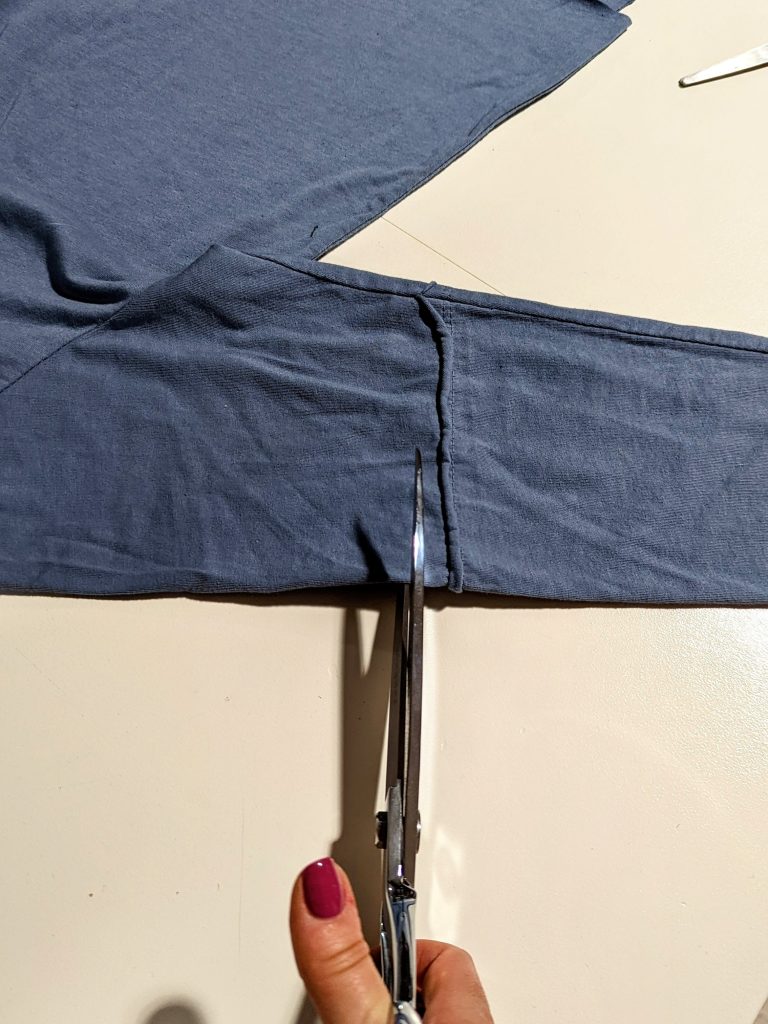
I also cut the sleeves off because I prefer them to be shorter.
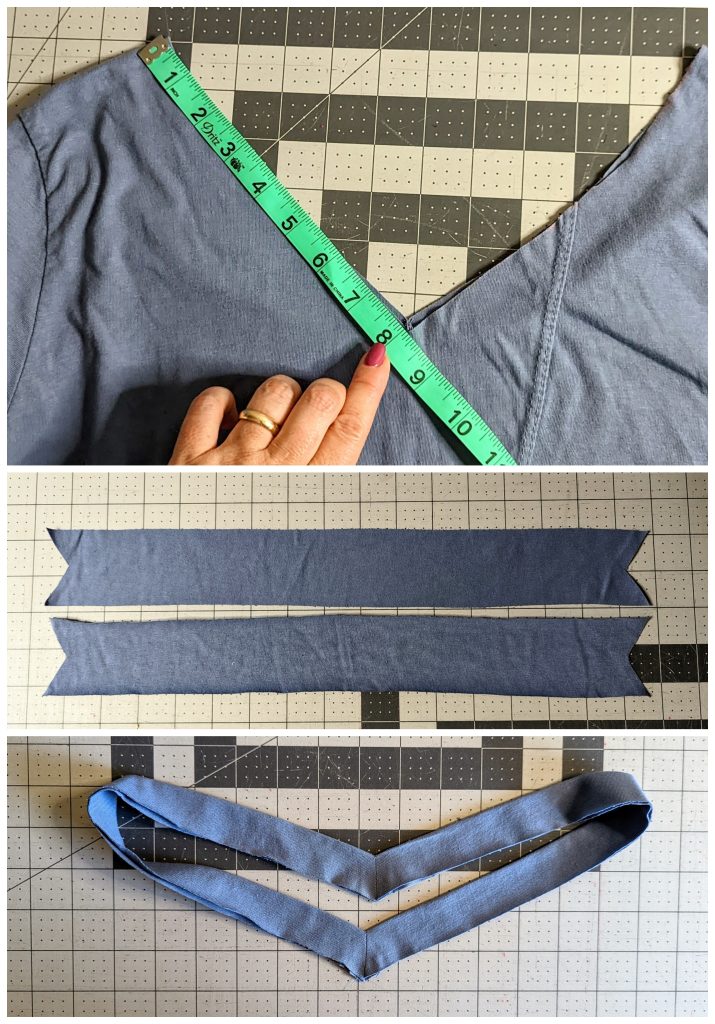
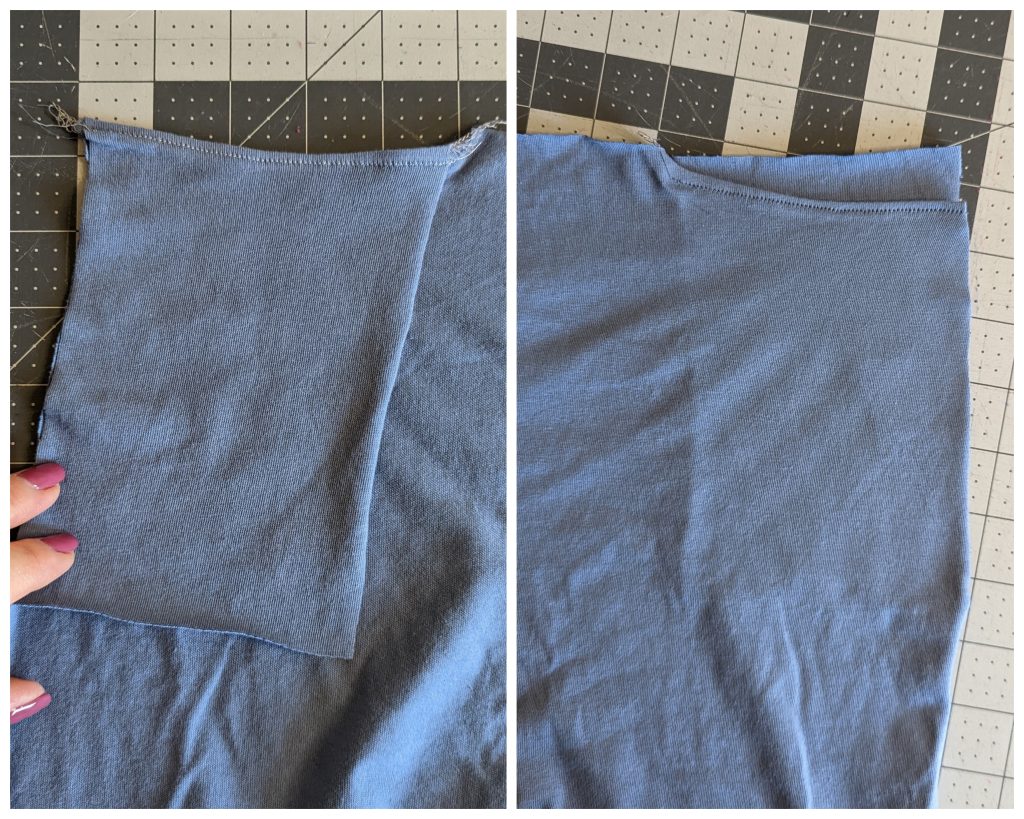
The Neckband….
I measured the v-neck so I could make the neck band. I subtracted 15% from that measurement and that’s how big I made my neckband. I sewed the neck band together and ironed it before I attached it. V-necks can be tricky so here is a video to help you.
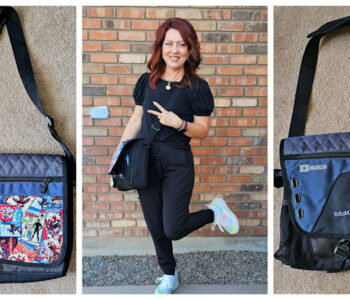
The Hidden Pocket….
Next I did the hidden pocket. I just cut out two rectangular pieces of fabric big enough to fit my cell phone. I slightly curved one of the pieces. Then I slightly curved the bottoms at the waist on the side where I wanted to hidden pocket to be.
I matched the curves and attached the pocket piece right sides together, then flipped it to the wrong side and top stitched it in place. Then I layed the other rectangular pocket piece on and attached it.
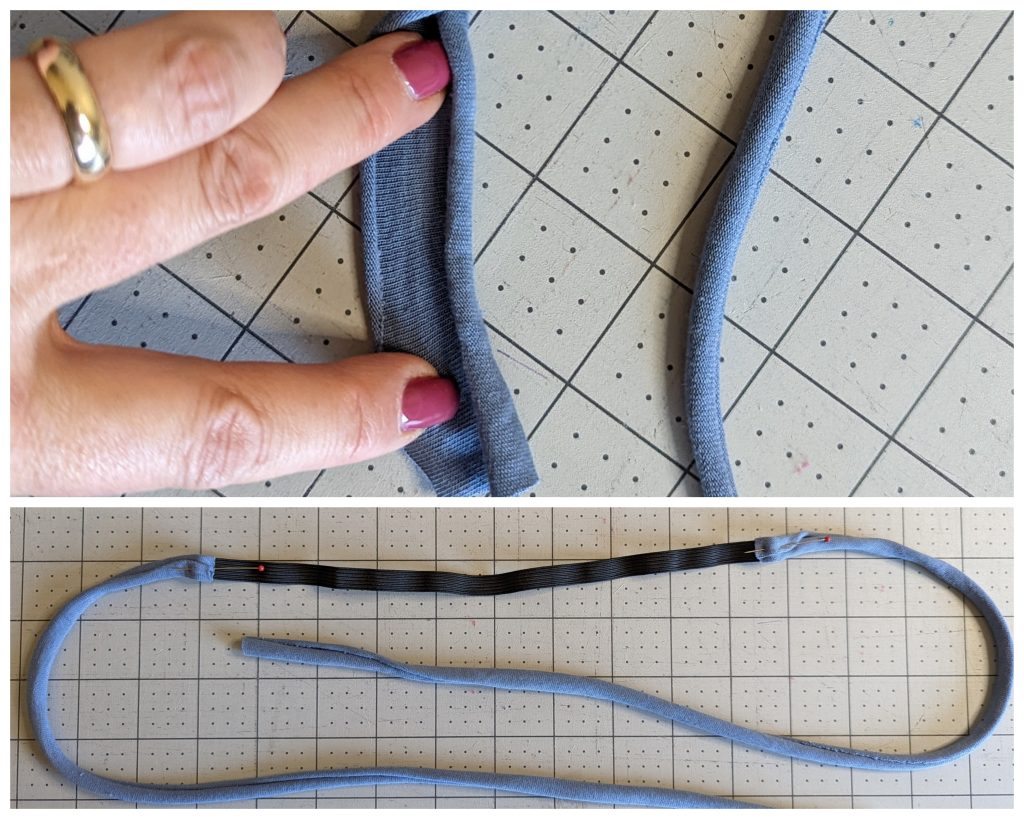
The Drawstring….
To make the drawstring, I cut two one inch wide strips from the ruffle I removed from the bottom of the dress. Then I attached the two pieces with ¼ inch elastic. This fabric rolls so I took advantage of that and didn’t need to do any additional sewing for the drawstring other than attaching elastic.
The bottoms were ready to be sewed together and attached to the top. I just had to make sure to leave a small opening in the front for the drawstring to go through.
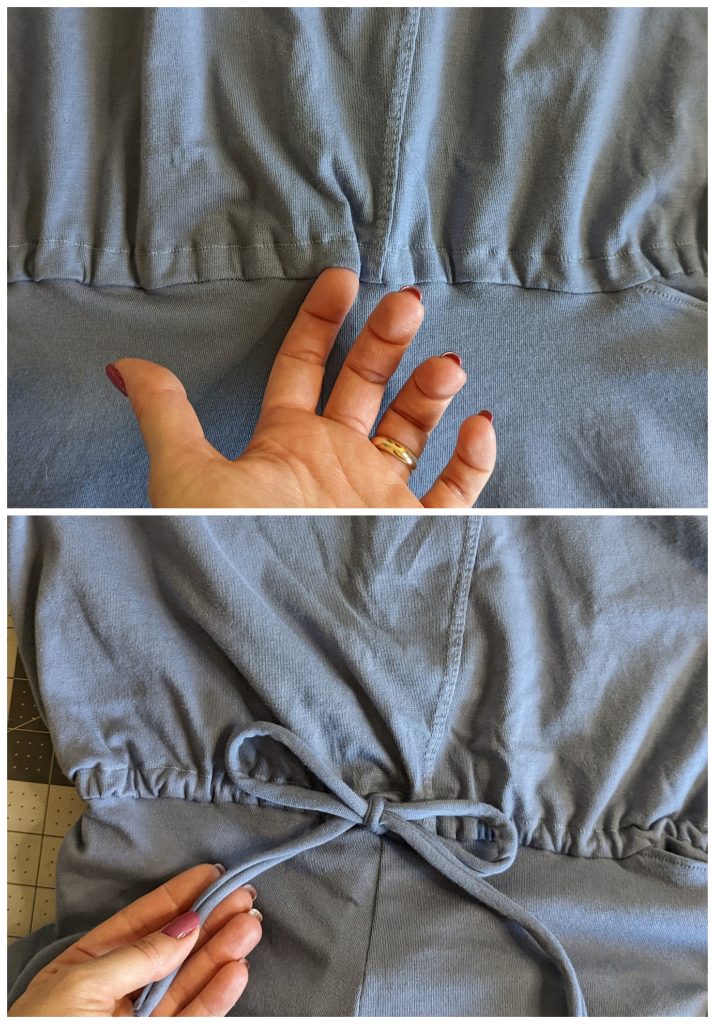
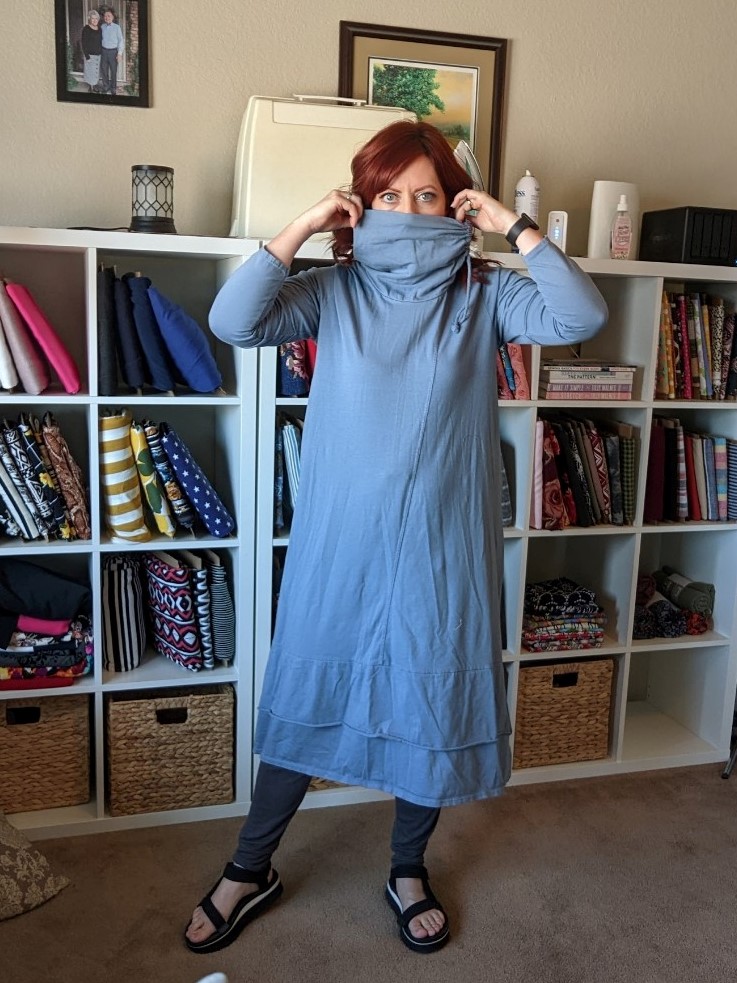
All Done!!
I used the original hem on the bottom of the dress so I didn’t need to hem the shorts and I didn’t hem the sleeves. I liked the way the fabric was rolling the sleeves up so I just left them alone. I also really like the hidden pocket.
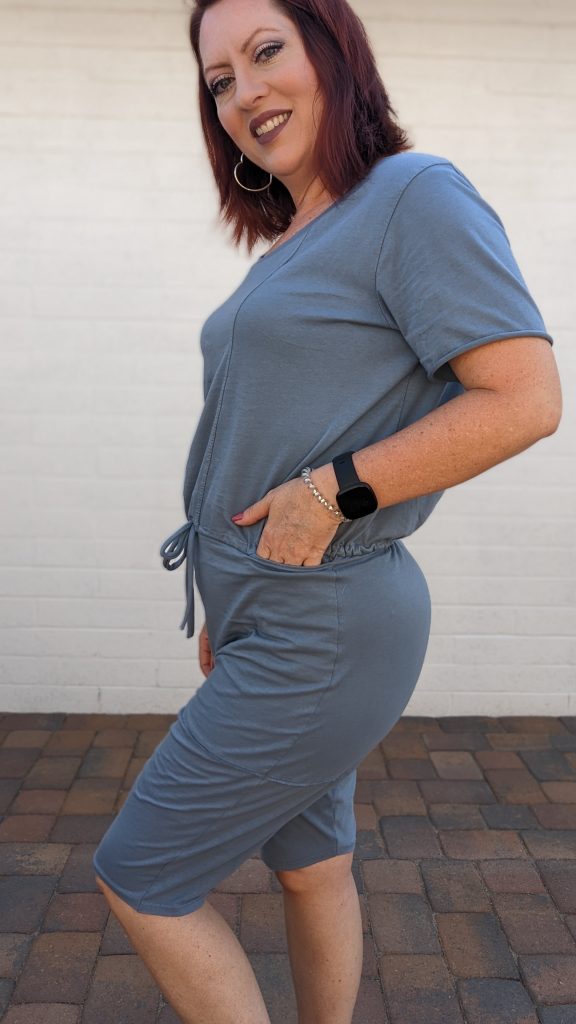
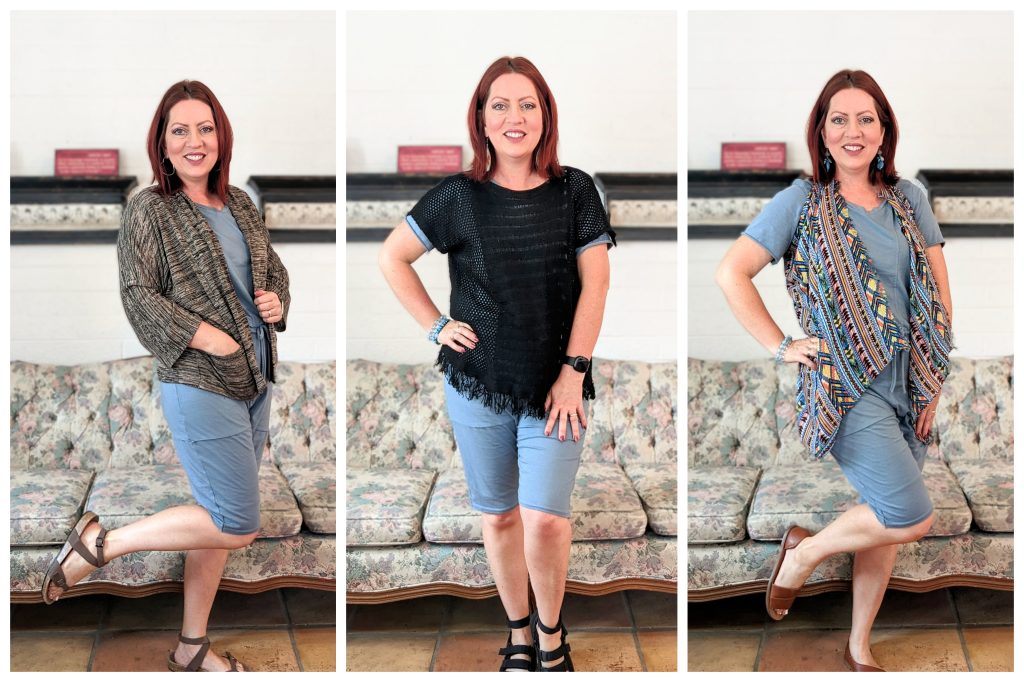
This was such a fun little make. I have already worn it a lot. There’s so many different options for wearing this little jumpsuit. It ended up being way more versatile than I originally thought it would be.
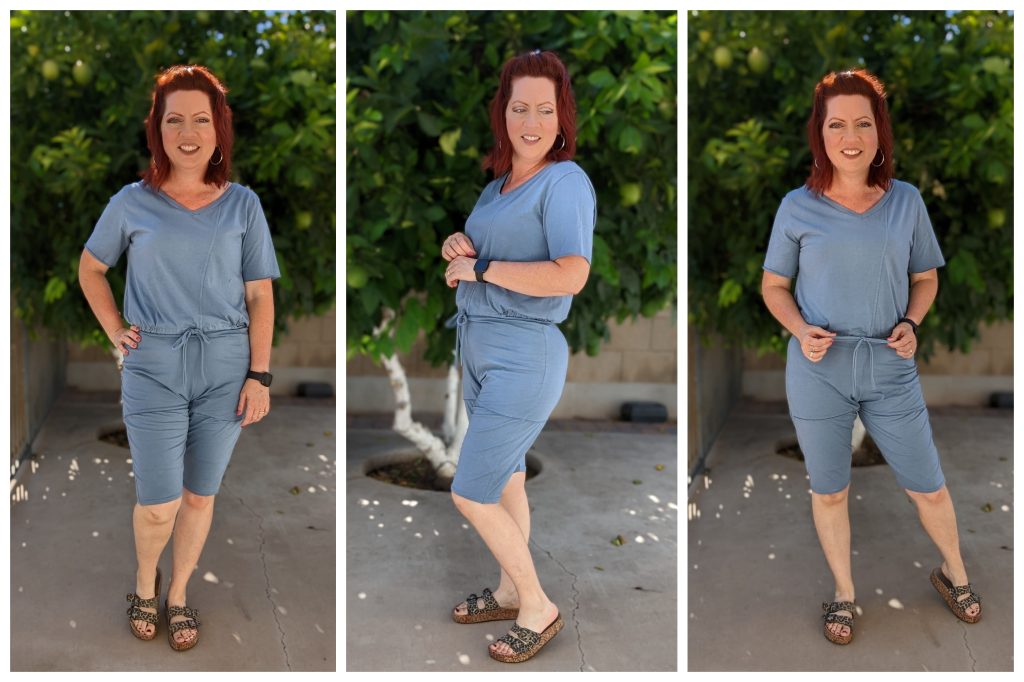
I like that I can dress it up or down. This is definitely a wardrobe essential for me and will get worn all the time.