Comfy T-shirt Refashion
Living in a house with all males has left me with NO shortage of comfy t-shirts. This is a quick and fun refashion for those comfy and loved tees in your wardrobe.
Let’s Get Started!
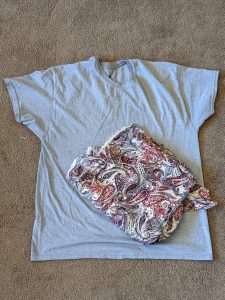
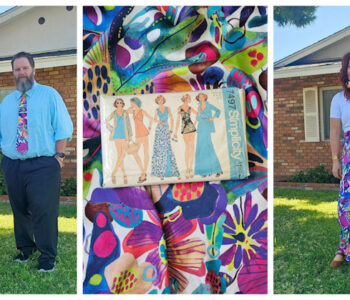
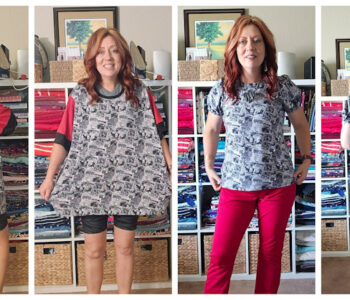
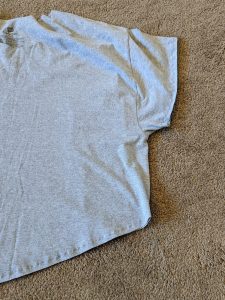
I had this men’s size large comfort tee for a while. It’s super soft and drapey with zero stains or holes. I wanted to be able to wear it for more than just around the house. So I looked in my fabric scraps bin and found some long forgotten fabric that was just enough to make some adjustments to this shirt.

Here’s what I was thinking of doing:
- Add gather ruffle sleeves
- Do an asymmetric gathered ruffle; short on left, longer on right.
- Get rid of neck ribbing and do a facing.
Measure and Cut Your Shirt
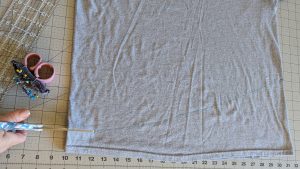
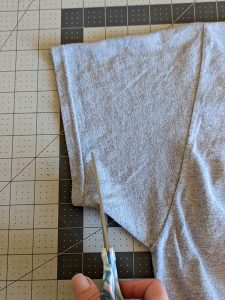
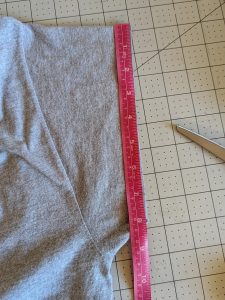
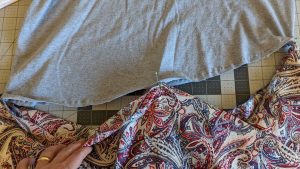
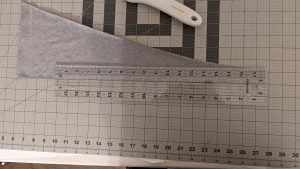
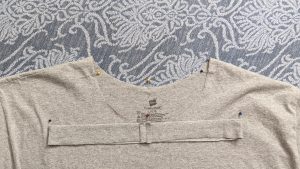
To do this I first needed to try the shirt on and decide where the asymetric ruffle should sit. I marked those spots with pin. Then I used a French curve ruler to connect the two points and make the transition smooth. I used a fabric pen that disappears with heat to make a line to cut on.
I looked at the sleeves and decided to only remove an inch in length. I still wanted an over sized look.
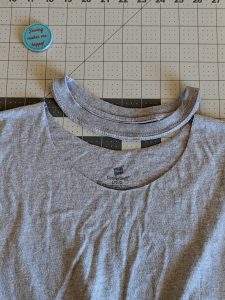
To change the neck to a facing I just cut the ribbing off with my fabric scissors. I’ll show you how I made the facing a little later.
Make the Ruffles
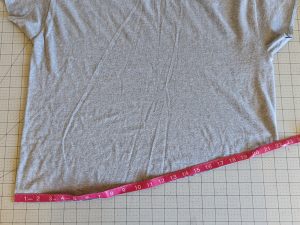
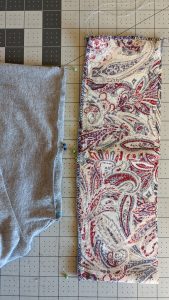
To figure the size of the asymmetric ruffle I laid the shirt flat and measured the front side. Then I multiplied that measurement by 3. So mine was 22in x 3= 66in. Because it’s an asymmetric ruffle I made the whole thing as long as the shortest side of the shirt. So my ruffle was 66in x 8in. That meant that I would just need to cut the longer side once I had the ruffle attached to the shirt.
Then I did the sleeves. I marked a 1in. Line first and then cut it off. It would be a good idea to try the shirt on to make sure you like where it’s sitting. You might need to take more off. If you do, just follow the same steps and mark it before you cut it.
To make the sleeve ruffle you do the same thing as was done for the shirt ruffle. Lay the shirt flat and measure the front side of the sleeve. Then multiply that number by 3. My shirt ruffle was
8in x 3= 24. I wanted those ruffles to be 4 inches long so I cut two strips of fabric that were
24in x 4in.
Attach the Ruffles
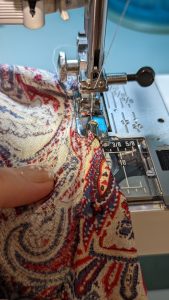
To attach ruffles first I did a stay stitch around both the sleeves and the bottom of the shirt. I did this because the shirt is stretchy and the ruffle isn’t. I didn’t want the shirt to stretch out where I was attaching the ruffles. Then I did a basting stitch around the top of all the ruffles.
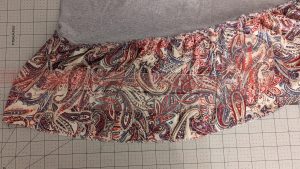
I marked the quarter points on the shirt and ruffles. You can see that I finished the top edge of my ruffles with my serger. I wanted to attach the ruffle to the outside of the shirt so the gathers would be more visible. I just really like the way that looks.
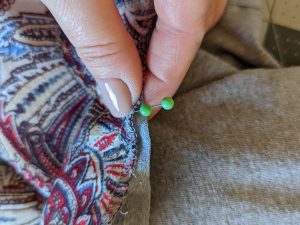
I matched up the quarter markings on the both the ruffle and the shirt and pinned them WRONG sides together. Because I want the ruffle to be attached to the outside.
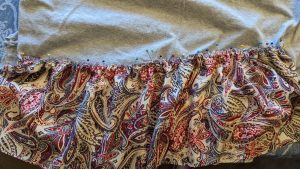
Then I gathered the loose fabric in between those points and used a ton of pins to keep it in place. Once it was all pinned on evenly I used a zig zag stitch to attach it securely. The sleeve ruffles are attached the same way.
Try it On to Check the Length

Before I hemmed the shirt ruffle I tried it on to see if I wanted to cut any off. I wanted a more asymetric look so I needed to cut some of the ruffle off the longer side of the shirt.
Cutting the Asymetric Ruffle
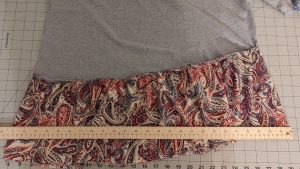
To figure how much to cut I put my yard stick on one end and measured straight across to the other side. It looked to be about 3 inches that I needed to remove.
With a rotary cutter and French curve ruler, I did my best to eyeball it. I really wanted the ruffle to be shorter on one side. This is absolutely optional. You may decide that you like it just how it is and just hem it after attaching the ruffle.
Finishing the Ruffles
To finish the ruffled edges I used a rolled hem. It was really quick and I love the way a tiny rolled hem looks.
Now… Finishing the Neck
To make the facing I measured the opening and subtracted 3 inches. Then, using the fabric I removed from the bottom of the shirt, I cut out a piece of fabric that was 25in x 1.5in.
I sewed the short ends together to make a circle. Then I marked the quarter points on both the shirt neck and the circle facing.
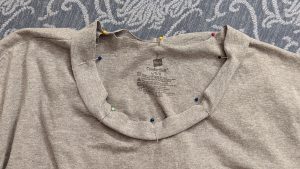
I matched up those markings and pinned it in place right sides together. I attached the facing to the shirt using a zig zag stitch.
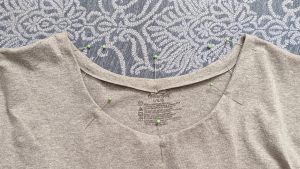
Once it was attached I folded the facing to the wrong side of the shirt, ironed it in place and pinned it.
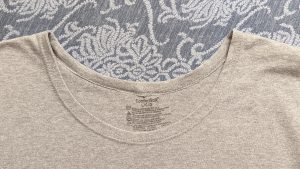
Then I used a twin needle on my sewing machine and stitched it all the way around the neck. I like using a twin needle because it has stretch and looks nice and professional.

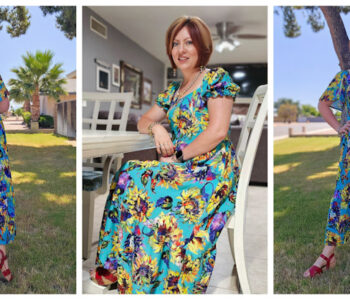
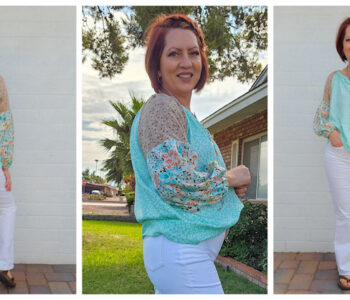
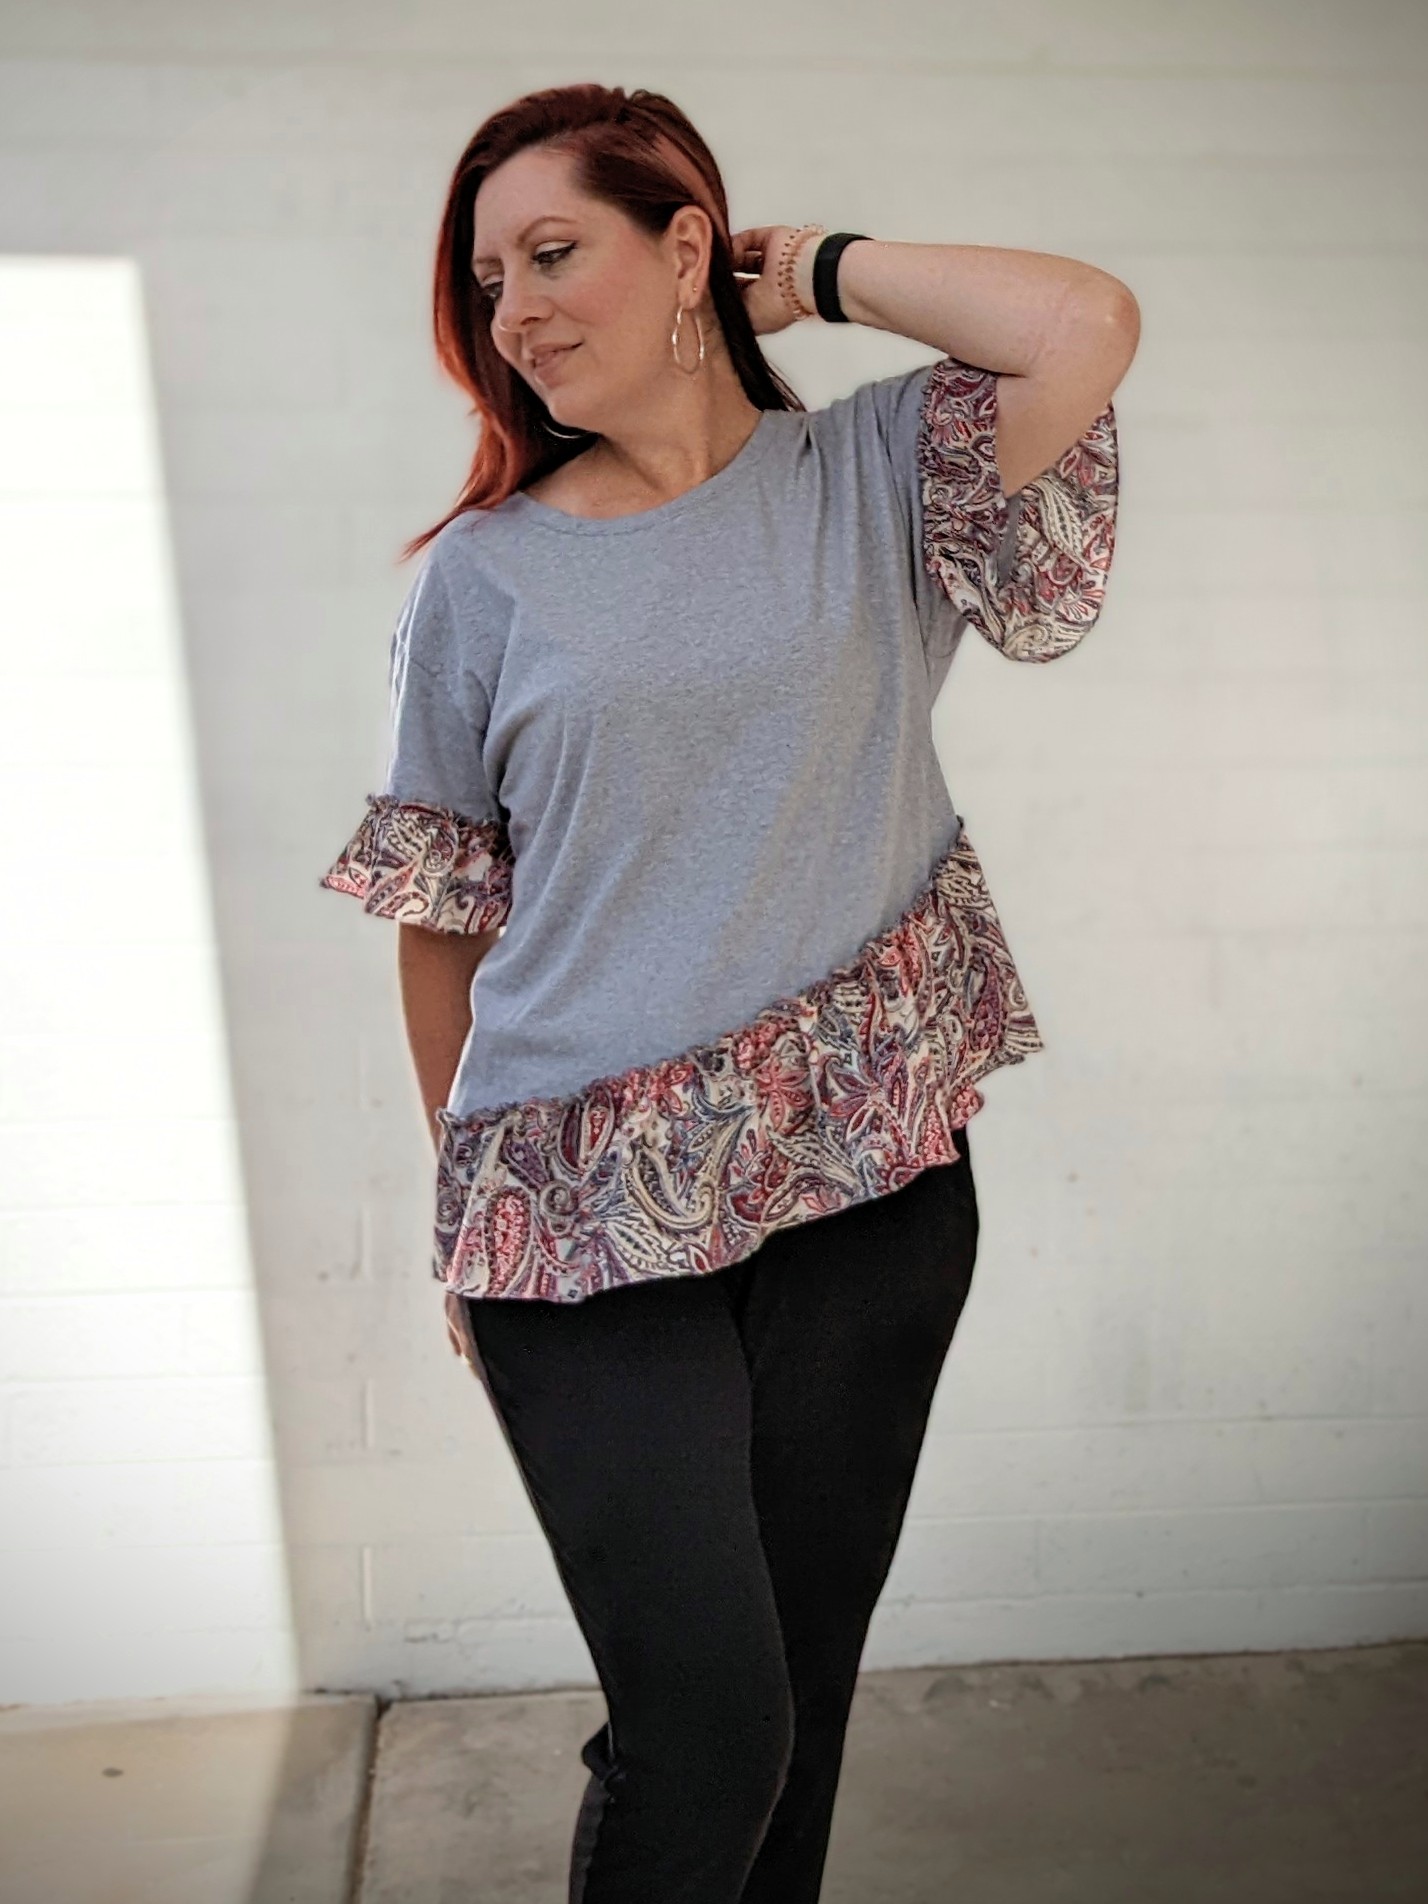
And there you have it, a comfy t-shirt refashion! I can wear it and look nice but still feel like I’m wearing a t-shirt. I love the asymmetric ruffle. It’s a fun and unique look that makes it stand out a bit.

I hope you enjoyed this t-shirt refashion. Maybe it helped you think of ways you can refashion some of your favorite t-shirts.
Happy sewing my Friends!
Koe