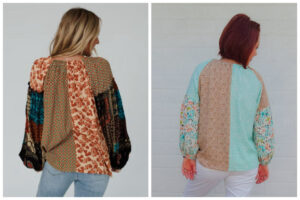
Let’s make a Color Blocked Peasant Blouse!
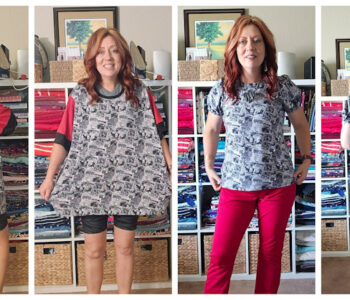
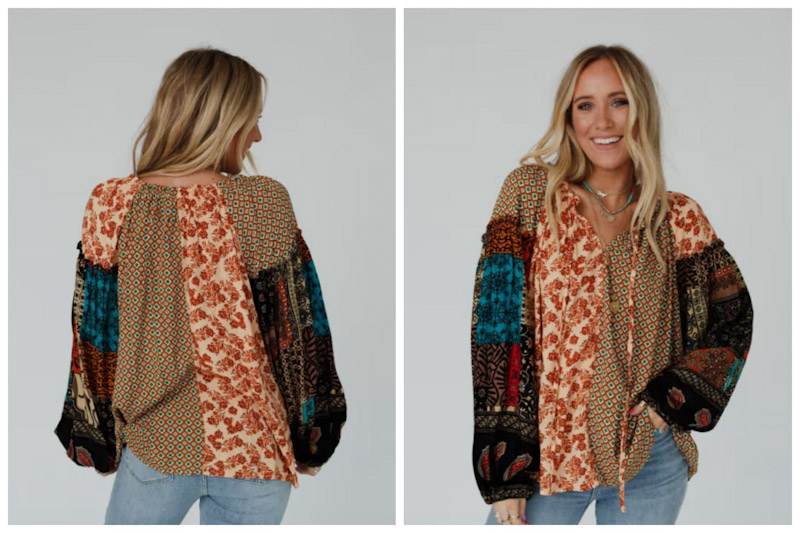
I happened upon this cute Boho, color blocked shirt one night while scrolling on my phone. Although I wasn’t crazy about the color of the fabric on the shirt, I absolutely loved the idea of mixing prints! It seemed like a great way to scrap bust. So, it was decided that I would make my own rendition of the shirt in colors that I loved!
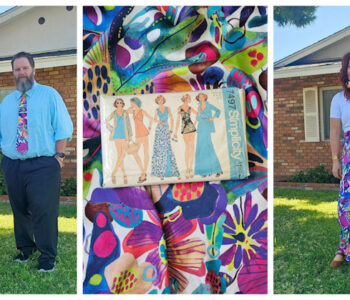
The pattern!
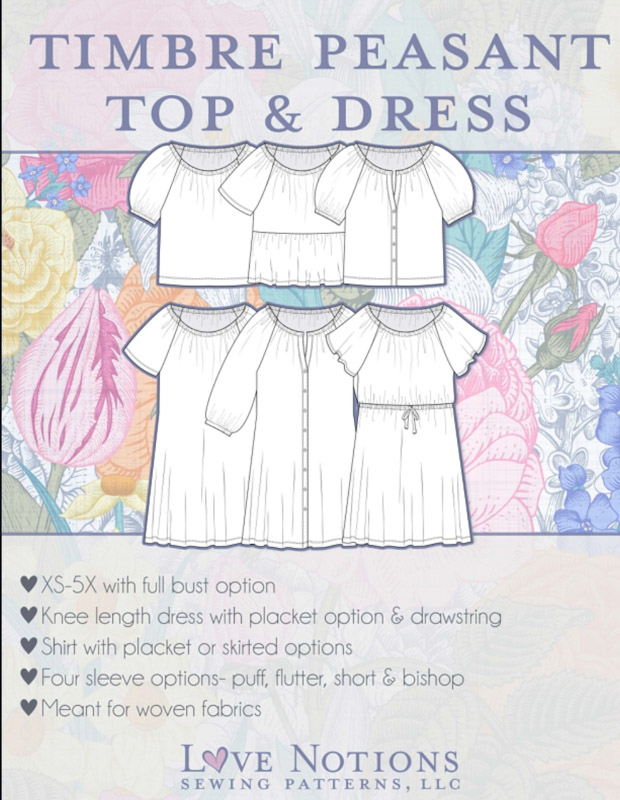
The pattern I chose to use is a raglan sleeve pattern called Timbre Peasant top and Dress. It’s a Love Notions pattern meant for woven fabric in sizes XS-5X. If you would like to purchase this pattern you can use code LOVEKOE at check out to save 10%.
Let’s Pick Some Fabric!
First thing I had to do was pick out some fabric. I needed three different prints of fabric to achieve the look I wanted. Luckily my friend Heather had given me two cuts of rayon fabric in colors I loved. Those are the fabrics with the teal colors. Then I found a light brownish, small floral print rayon in some of the fabric I inherited from my mother.
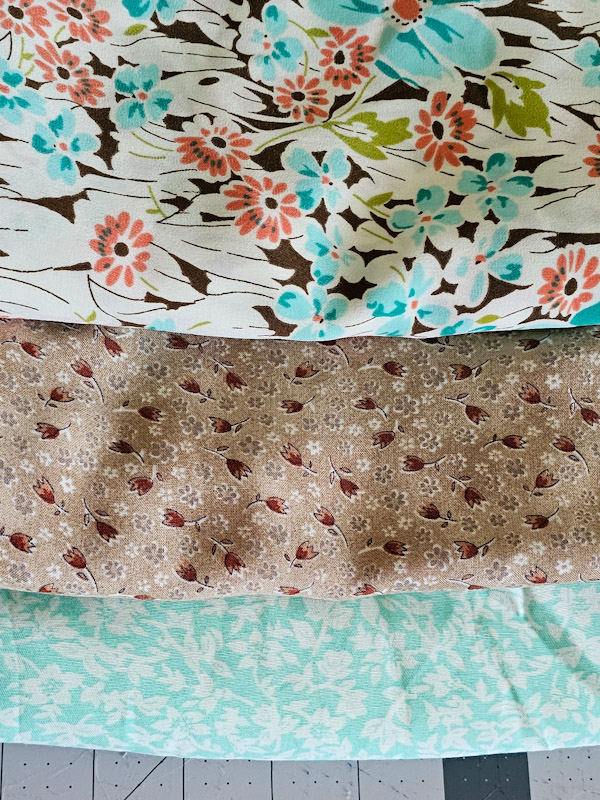
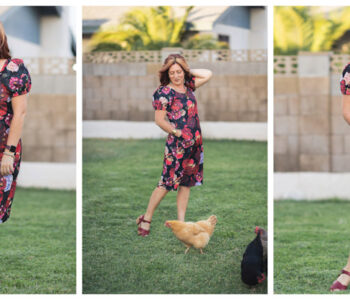
I absolutely loved the way they all went together. But I have to admit, I was a little concerned it would look a little clownish, so I almost chickened out. The thought of the completed shirt was what made me press forward and really commit. I couldn’t wait to wear this!
It’s Time to Alter the Pattern!
Next I needed to change the pattern pieces a bit. You can color block in so many different ways. This design I’m doing is so simple and can be done to nearly any pattern. The front and the back were both going to be split in half and then the top part of the sleeve needed to be separated from the longer part. The longer part was going to be gathered where it attached to the upper part of the sleeve.
The Bodice…
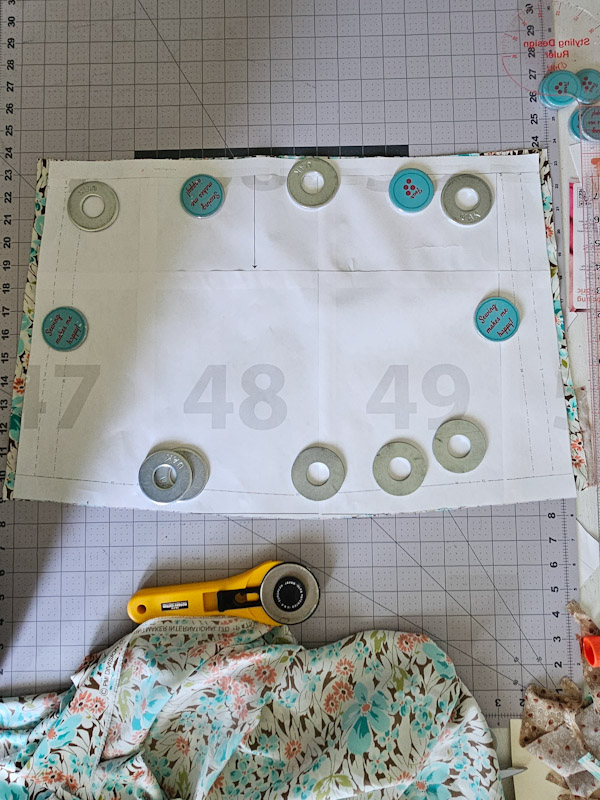
Since the front and the back pattern pieces were drafted to be cut on the fold I needed to add seam allowance. That measurement is entirely up to you. For me, I chose to add ½ inch to the front and back.
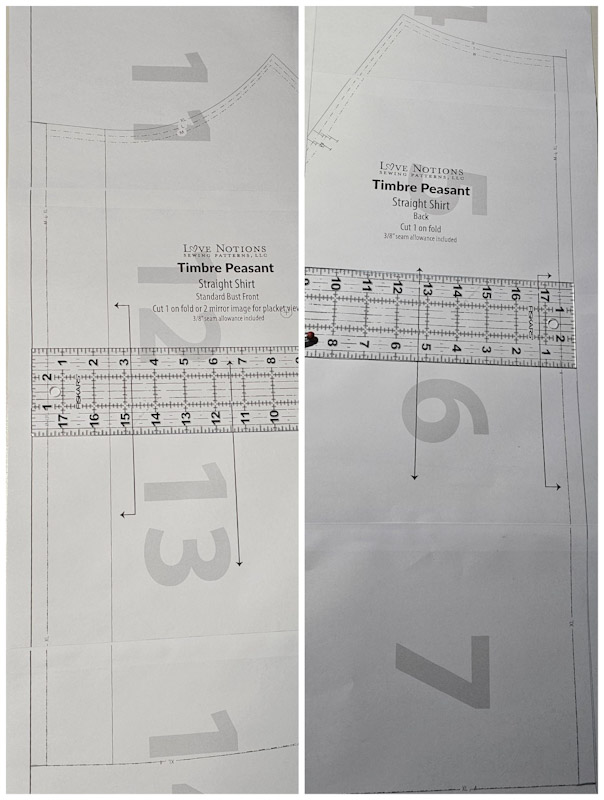
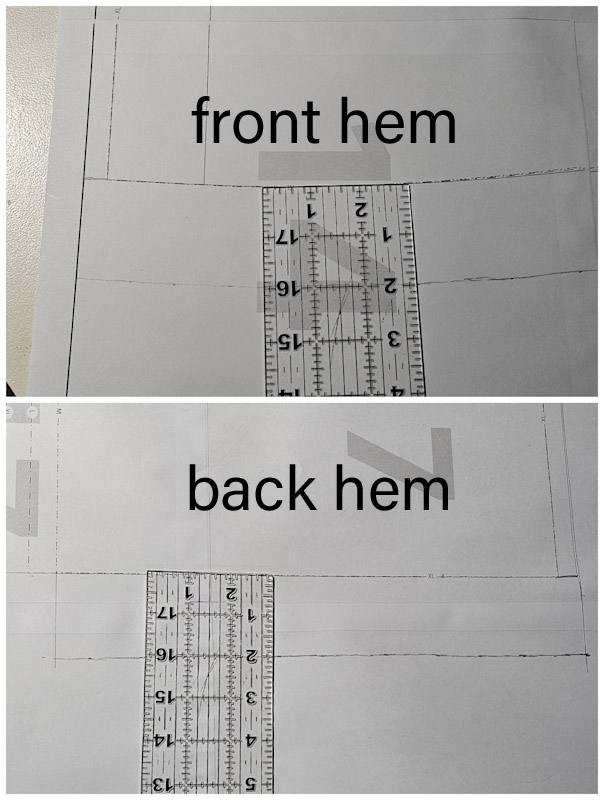
From pattern tester photos I knew I wanted my shirt to be longer so I also added two inches to the front and back. I added it at the hem, making sure to follow the original hem curve to keep the same shape.
The Sleeve Part One…
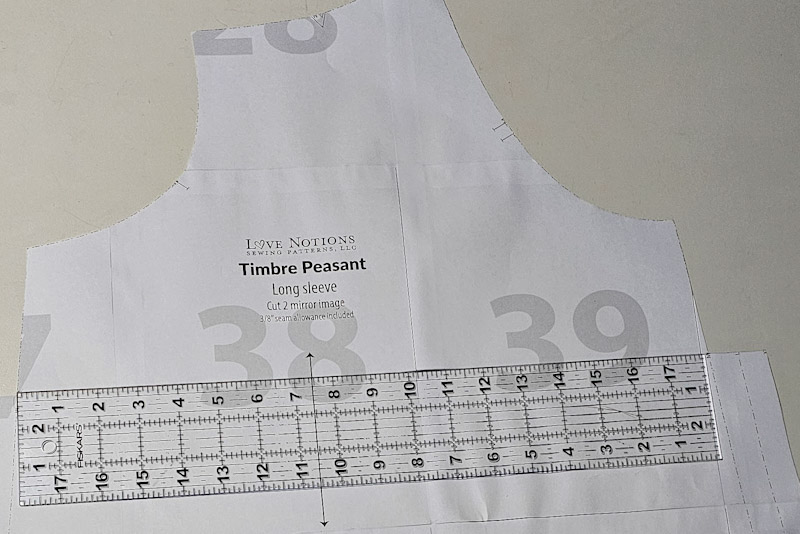
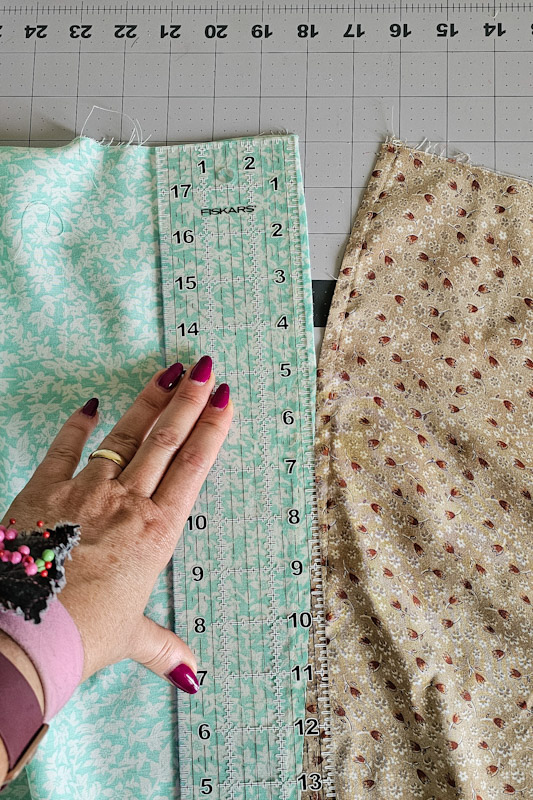
Then I needed to decide how big the top of the sleeve would be. I decided to measure 4 inches down from the sleeve armscye on each side. The 4 inches also accounted for the seam allowance of the top part of the sleeve. Then I drew a line straight across. I also cut the sleeve top at a size medium but I cut and the longer part at XL so I could gather it.
The Sleeve Part Two…
Now for the longer portion I cut off. Along with it being two sizes bigger than the upper part I wanted the sleeves to be all the way to my wrists. I knew from looking at tester photos I would need to add some length. I added ⅝ inch to the top part I cut off and then 1 inch to the hem, making sure to follow the curve of the hem to keep the same shape.
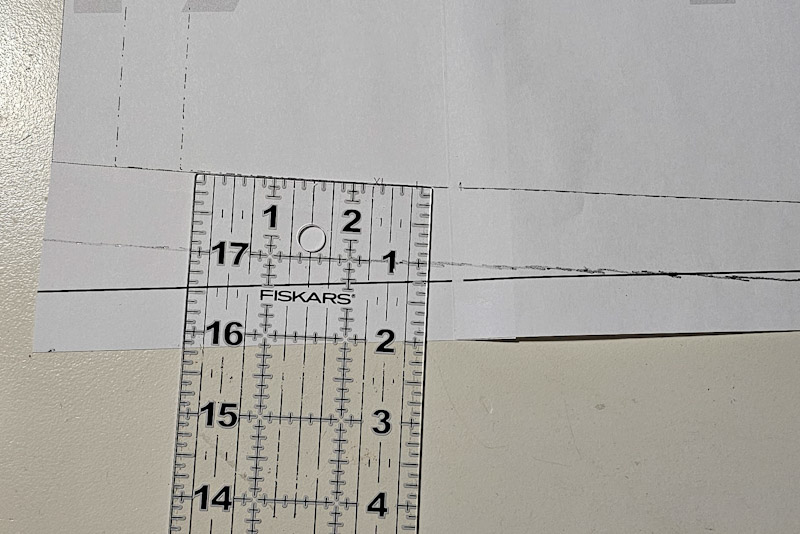
I should have made this piece a little wider too since I planned on gathering it, but I ended up just cutting it a little wider than the pattern on both sides.
Cut. It. Out.
Once I had the pattern pieces changed the way I needed them to be, I could cut everything out. For me that took some concentration. I wanted the front right top sleeve portion to match the front left bodice and vice versa. That seemed like a step I could mess up pretty easily so I was constantly checking after each piece was cut out. Luckily I didn’t mess it up.
Split Front Neck…
When sewing the two front pieces together I stopped 5 inches from the neckline so that it would be a split, drawstring front like the shirt in the picture. I then ironed the seam allowance open and top stitched down both sides of the center front to keep the seam allowance in place. I didn’t do this to the back because I didn’t think it mattered as much.
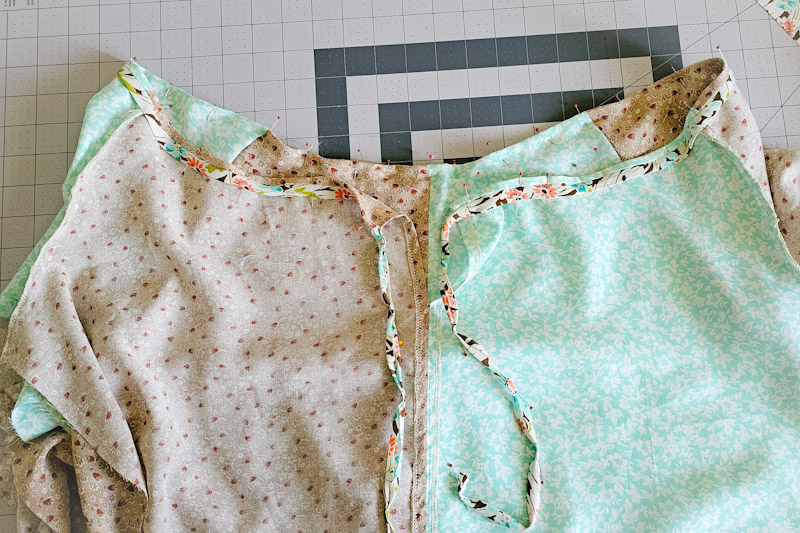
Attaching the Sleeves…
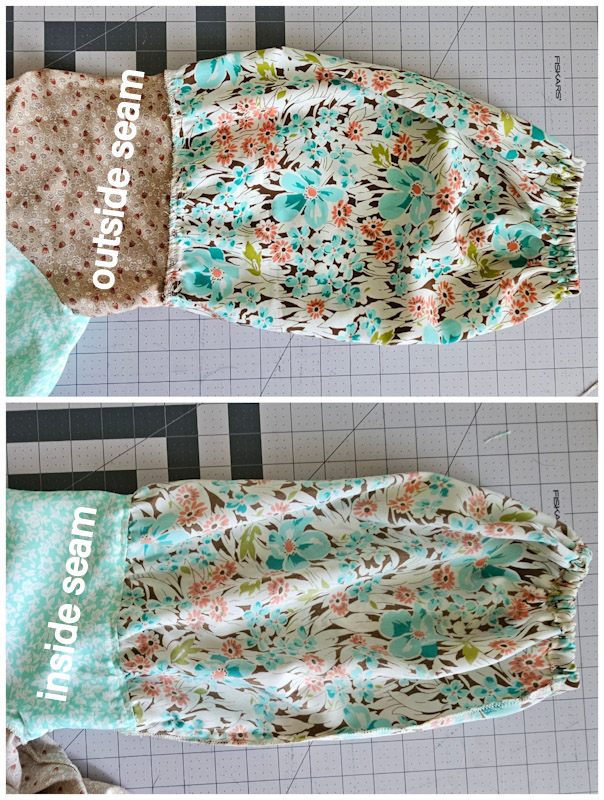
For the sleeves, I attached the upper part of the sleeve to the front and back of the shirt. But I didn’t sew the sides yet. I then did a basting stitch along the top part of the long portion of the sleeve and gathered it. I wanted the sleeve to be attached to the outside so I pinned both upper and lower pieces right sides together and sewed them. Once attached I finished the edges with my serger and then ironed the seams upward and did a top stitch to hold it in place. Then I sewed the sides from the sleeve hem down to the shirt hem. After that I used 11 inches of ½ inch elastic to finish the sleeve hem.
Sometimes You Just Have to do Your Own Thing…
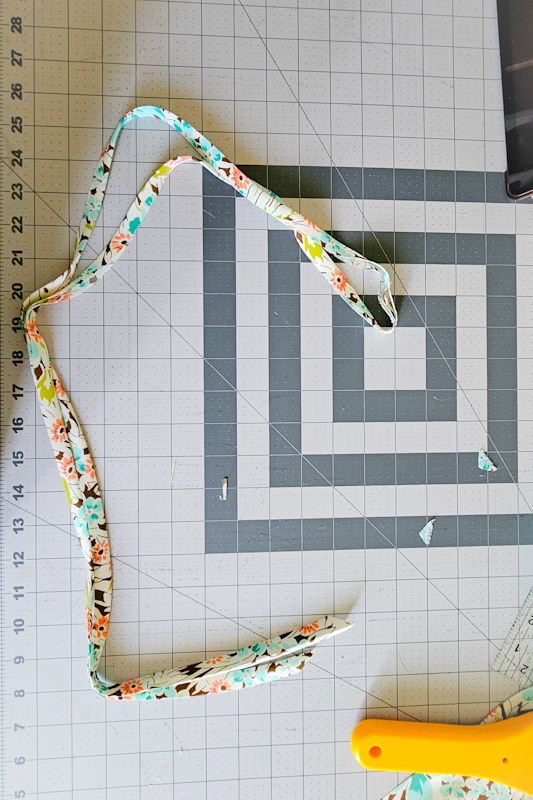
I made my own bias binding that was 2 yards long. But I pretty much did my own thing to finish the neckline and make it a faux drawstring. I forgot to take progress pics so I will try to explain what I did.
I attached the binding to the neckline leaving equal portions extended off the edge at the split front. Then I measured and folded the binding to the inside of the shirt, making a big enough channel to fit ½ inch elastic through. You can see a bit of the neckline of the shirt was folded to the inside too.
I also folded ¼ inch of the raw edge of the binding under to be enclosed in the channel but it could have also been finished with a serger as well.

For the faux drawstring, I simply folded the raw edges of the bias binding to the inside and stitched in place. Then I ran 23 inches of ½ inch elastic through the channel I made and secured it in place on both openings.
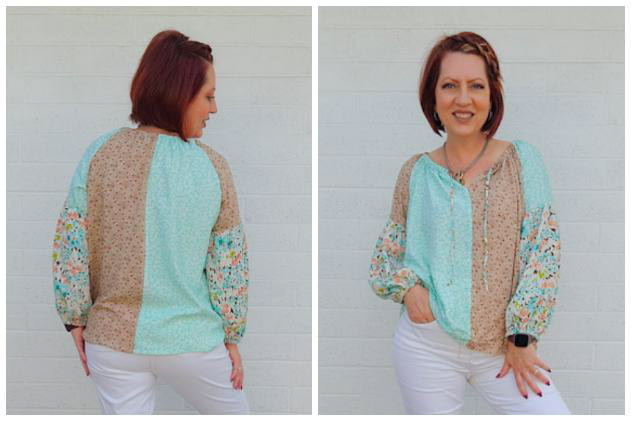
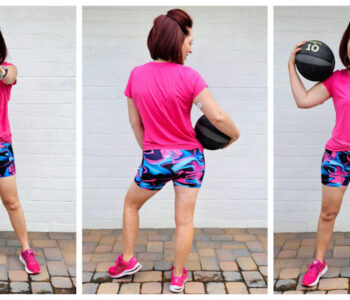
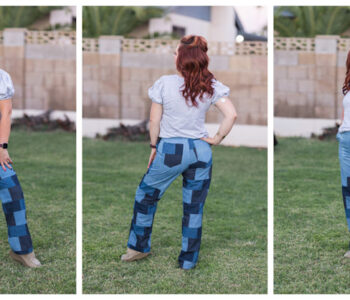
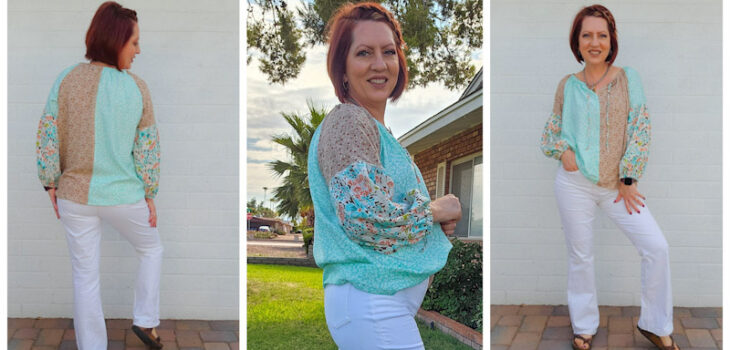
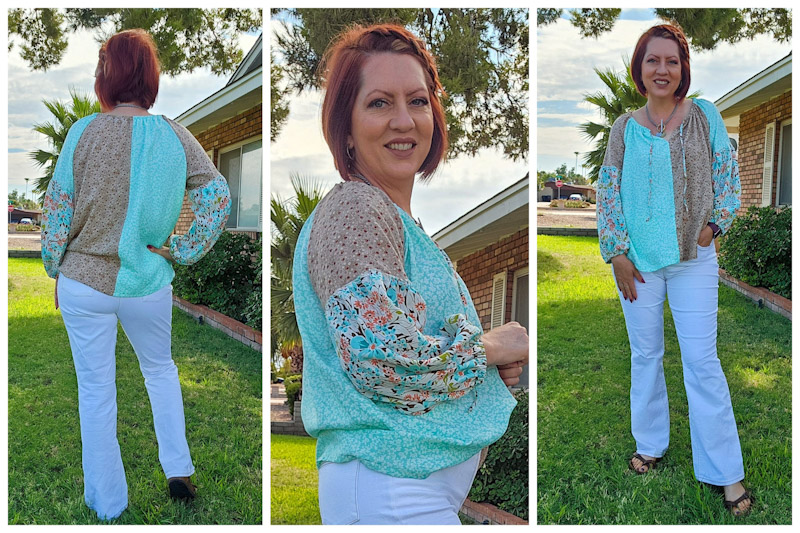
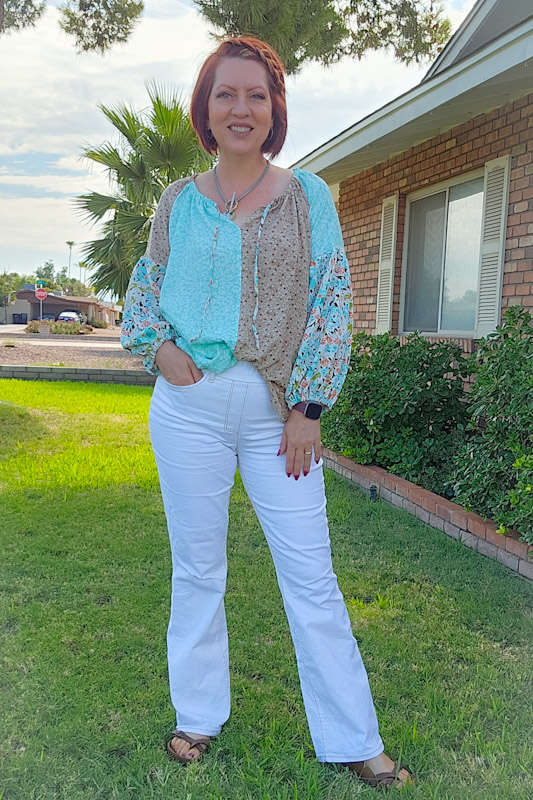
I LOVE this shirt so much! It’s such an original, fun addition to my wardrobe. It looks great with my Crescendo Flares too!
Let’s be friends!
If you are looking for a pattern that’s not just fun to make but also fun to hack, hopefully this post helps you figure out what will work best with your wardrobe needs. Let’s be friends on all the socials! Come follow along on Pinterest, Instagram, TikTok and Facebook so we can chat about all our sewing projects!