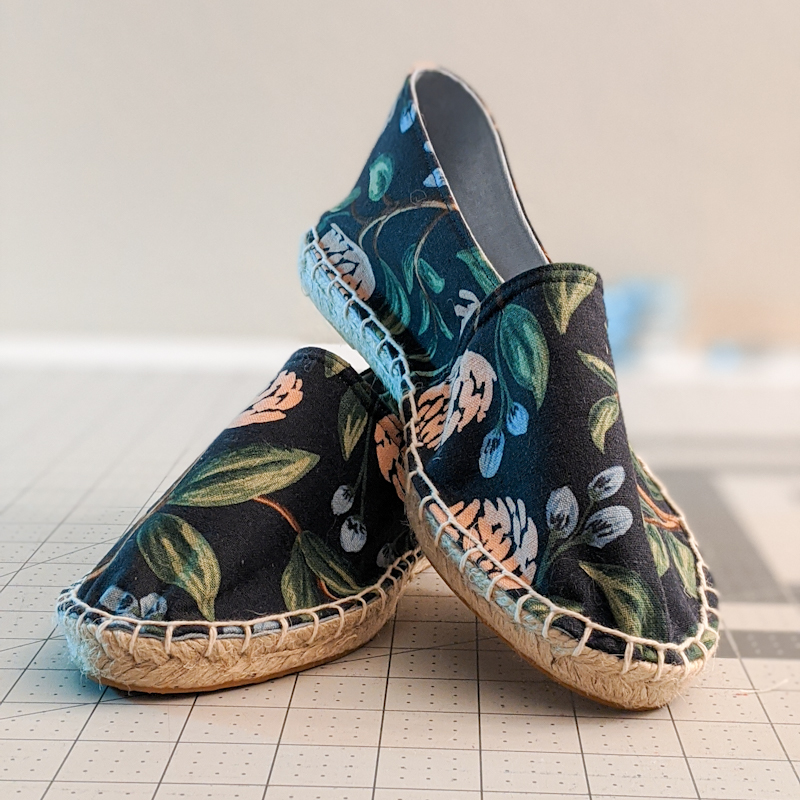
I Made Shoes!!
Earlier this year I attended a The Arizona Sewcial. What is the Arizona Sewcial? Well, it’s where other sewists from the surrounding area gather at a venue, eat yummy food and talk all things sewing related. Of course a ticket must be purchased in order to attend the event. There is a fabric and pattern swap which is ALWAYS super fun. We also got lovely “Swag” bags to take home. Lots of wonderful sponsors donated items to put in the bags for us. One of the things I was most excited for was a discount coupon from A Happy Stitch for her Espadrille Kit. It comes with everything you need to make your own shoes. I ordered it a few days after the Sewcial and it arrived about 3 days later. You would think that as excited as I was to order it, I would have made those shoes as soon as they arrived. Nope. They arrived and I immediately became intimidated by the thought of making shoes. So I put the kit in the corner of the room, under my sewing table where it became buried under endless scraps of mask fabric. Well, just this week I decided to clean up that corner of my sewing room and low and behold, I found that cute little Espadrille kit. The poor thing had no idea what had transpired in the world outside my house since its arrival! I took it as a sign that I needed to make those shoes ASAP. It was just thing I needed to boost my spirits and give me a fun challenge.
The Espadrille Starter Kit from A Happy Stitch includes the following
+ your choice of fabric
+ organic cotton lining fabric
+ shoe soles (check the size chart compared to your foot measurements to get a good fit)
+ medium weight interfacing
+ specific espadrille needles and pins
+ espadrille thread (let her know if you want to substitute black thread)
+ espadrille wax
+ needle pullers
+ an instruction booklet
+ shoe pattern
Now the lining fabric that came was a nice neutral color which is fine. But I love the color blue so I pulled some fabric from my own stash to use instead. It was a pale blue and it suited me much better. I had seen other people switch out the lining fabric too and I loved how it made their shoes even more unique.
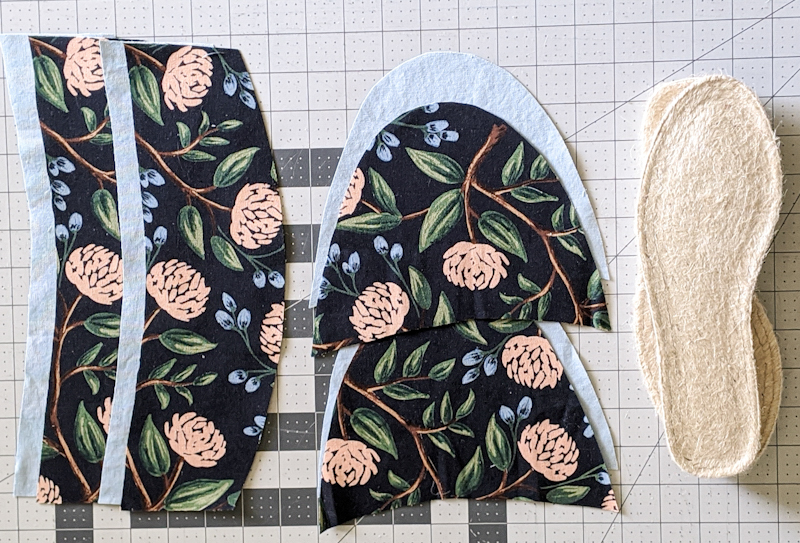
This project can easily be done in one afternoon . You only need a sewing machine to sew the lining and outer fabric together, but you could do that by hand too if you choose.You have to iron on interfacing to both the outer and the lining fabric. Then you sew them right sides together. Even though the instructions explain it all very well, there were still a few things I forgot so I’ll mention them here. For one it says to make sure to leave an opening big enough to pull your pieces right side out after they’re sewn together. Well, I didn’t do that on two of my pieces and I was super bugged with myself. It’s a lot of layers so it can be a little difficult to turn them. I also forgot to leave a little tab at the opening when I was cutting my seam allowance down. It turned out fine but it would have been easier had I paid attention.
Once I had the pieces turned right side out and ironed, I went ahead and made a seam all the way around each piece just to give it a cleaner look. Then I pinned the toe part to the back part of the shoe at the measurements suggested in the directions and fit them to each of my feet. I had to adjust due to my foot sizes being different from each other. I did a little basting stitch and checked on my feet again just to make sure it was good before I connected the pieces completely.
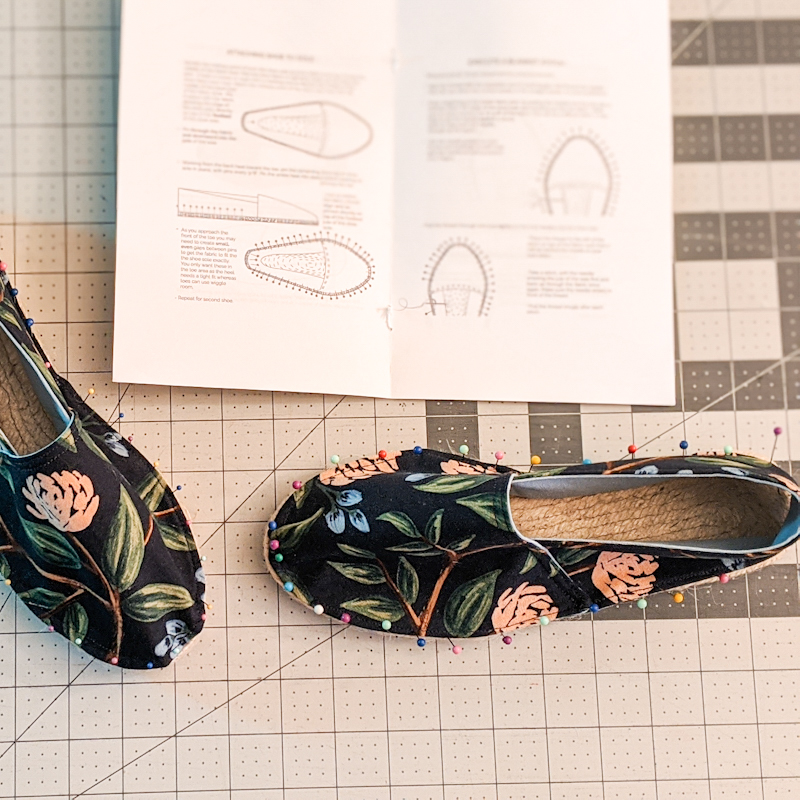
Because you have to pin the shoe part to the soles, I wasn’t quite sure the best way to hold it in order to do the blanket stitch. It’s a lot of pins an I didn’t want to get poked a bazillion times. I’m super visual so I often have to see a person do something a few times before I feel confident enough to attempt it myself. I found this video on YouTube that really helped me with attaching the upper fabric to the soles. It also shows you how to hide the beginning and ending knots and thread tails. Once I watch that a couple times I felt ready to start my blanket stitch. The hardest part was starting it out, because you have to go through so many layers of fabric. The needle pullers that come in the kit really come in handy here. They help you to grip the needle really well and ease it through the layers of fabric.
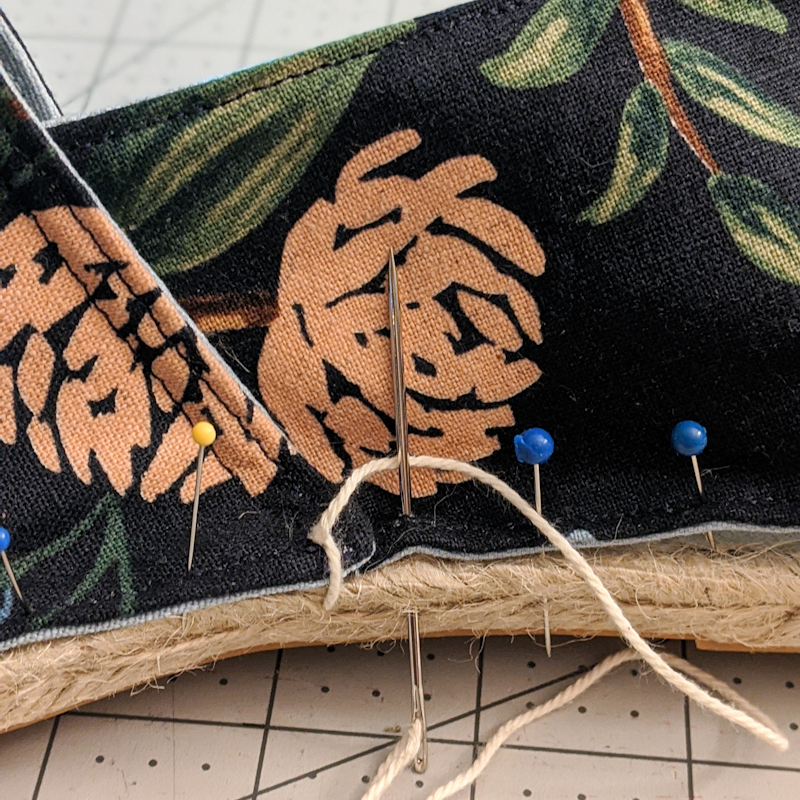
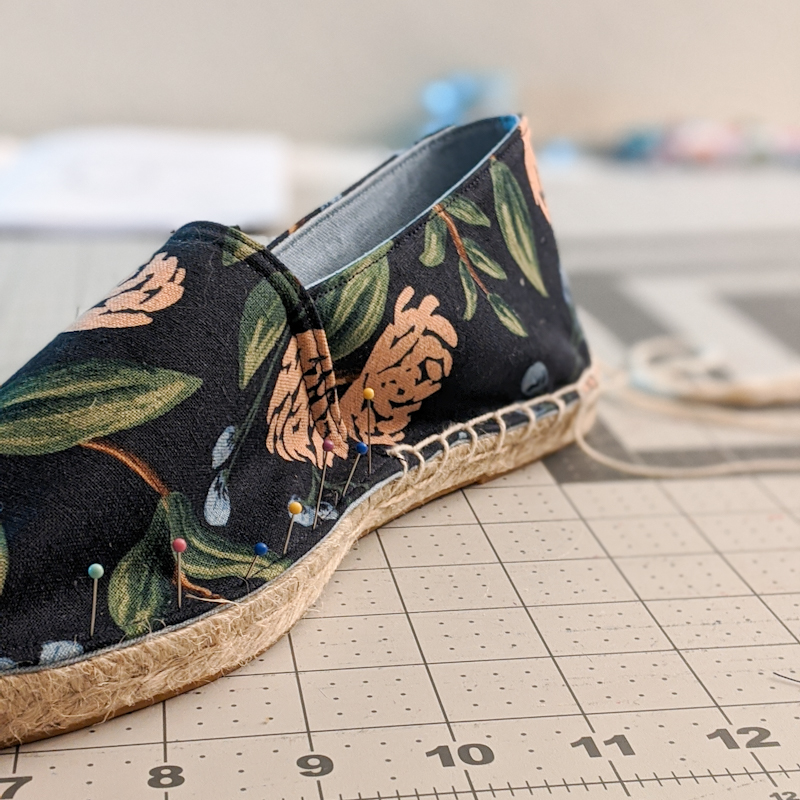
It’s surprisingly easy to get the needle through the roped sole of the Espadrille. It’s much easier to get it through that than the fabric at times, but over all I feel like this was an easy project. I don’t know why I waited so long….. Oh ya, covid hit and I lost all motivation for anything! I’m really glad I snapped out of it though because these were really a fun make. I’ve already started searching for different sole options and patterns I can get to make another pair. My boys have even said they would make some if we found some MANLY soles and fabric for them.
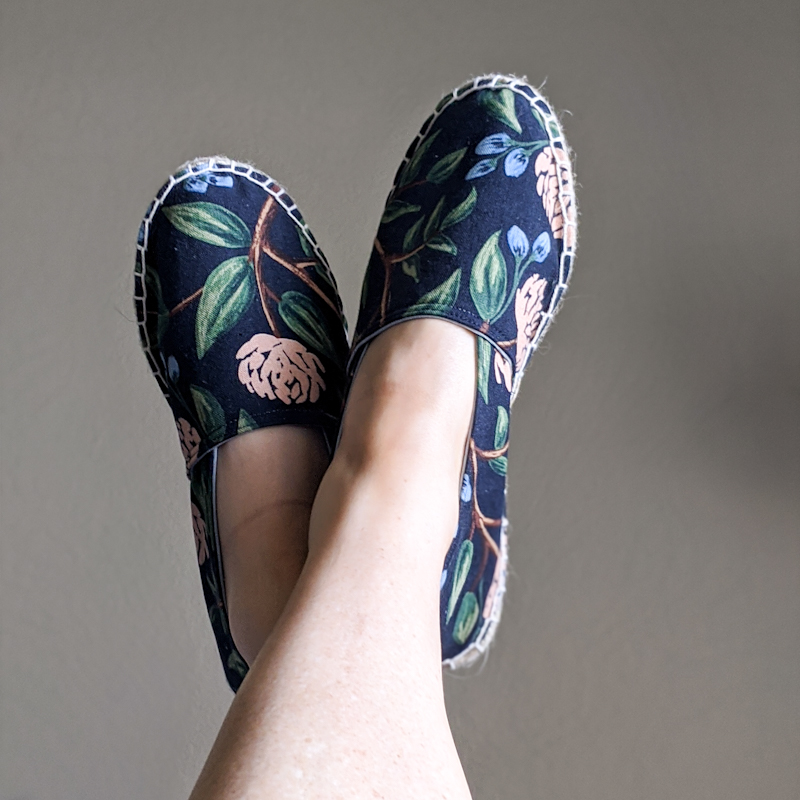
Honestly, I loved this project. I don’t know why we don’t see more people making their own shoes at home. I think once I got out of my head I was able to see the project for what it really was. I will definitely do this again. Hopefully with my kids too.
Happy Shoe Making!
Koe
