Add Puffy Sleeves to Your Plain T-shirt!
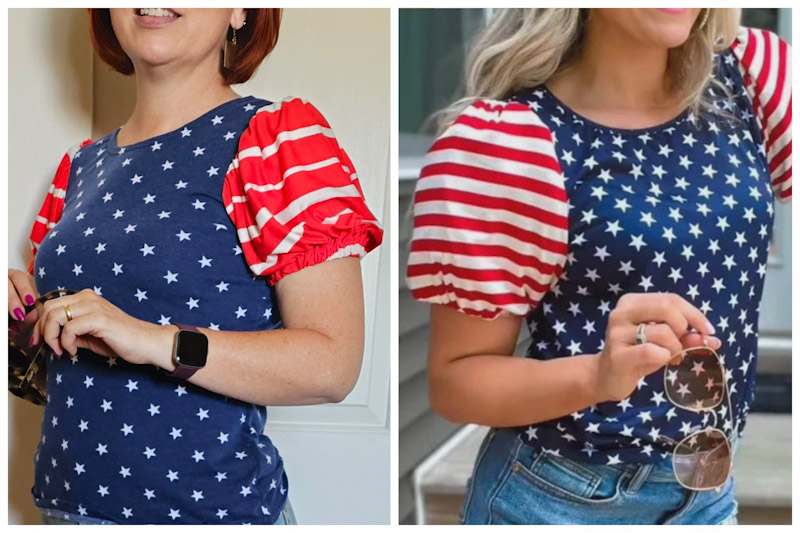
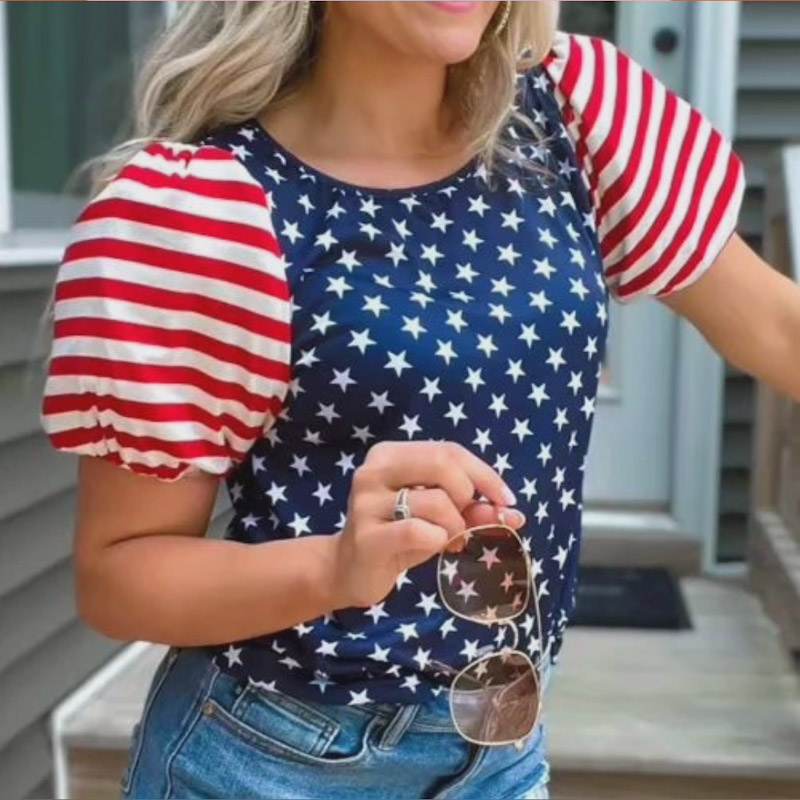
It all started when I saw this cute and very patriotic shirt. I really wanted to wear it on Independence day. But I thought about it too long and then I didn’t trust that it would get here in time if I ordered it. So I decided I could make one instead.
Fabric Shopping…
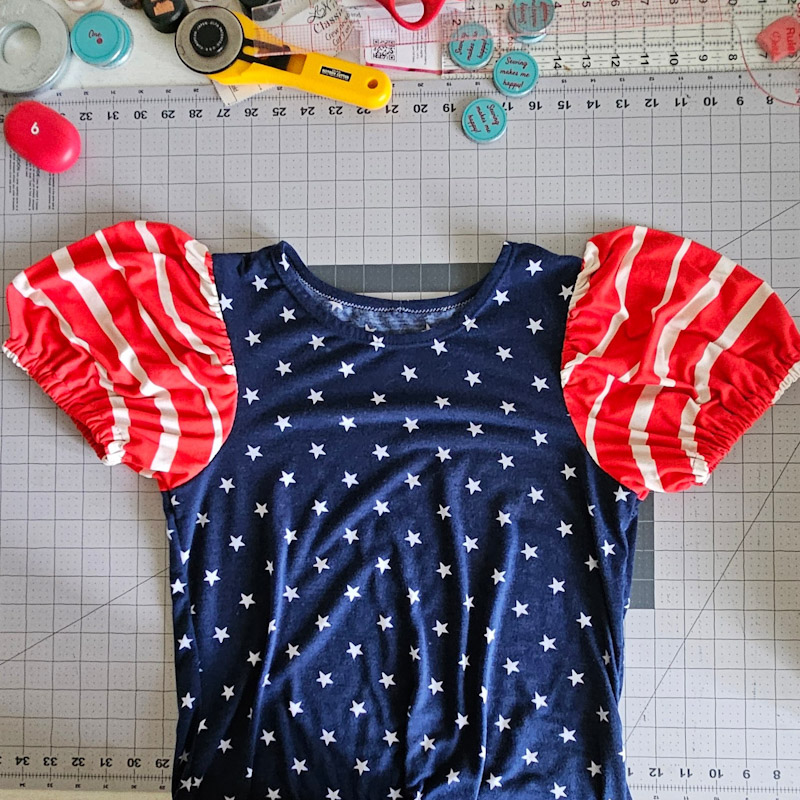
I ran to my local SAS fabrics where my husband quickly found the perfect knit star fabric. Yes, my husband likes to go fabric shopping with me. Then I found some knit stripe fabric. Although they are a little different from the fabric in the above inspo picture, they are better than what I thought I would find. Below is the shirt I made from said fabrics so I will explain how I made it.
What Patterns Should I use?
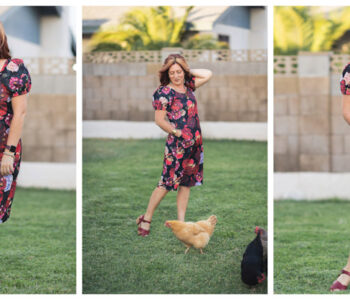
I hadn’t yet decided on what pattern(s) I would use to make my shirt until I had actually found fabric. So I began going through my pattern inventory. Then, I remembered the sleeves from a recent pattern I had just made, the Tempo sundress. It is a flutter sleeve with elastic added to the hem. It’s very similar to the Rhapsody flutter sleeve. I figured I could take that pattern piece and add it to another shirt pattern. I wanted it to have a crew neck though so I went with a tried and true pattern, the Classic tee.
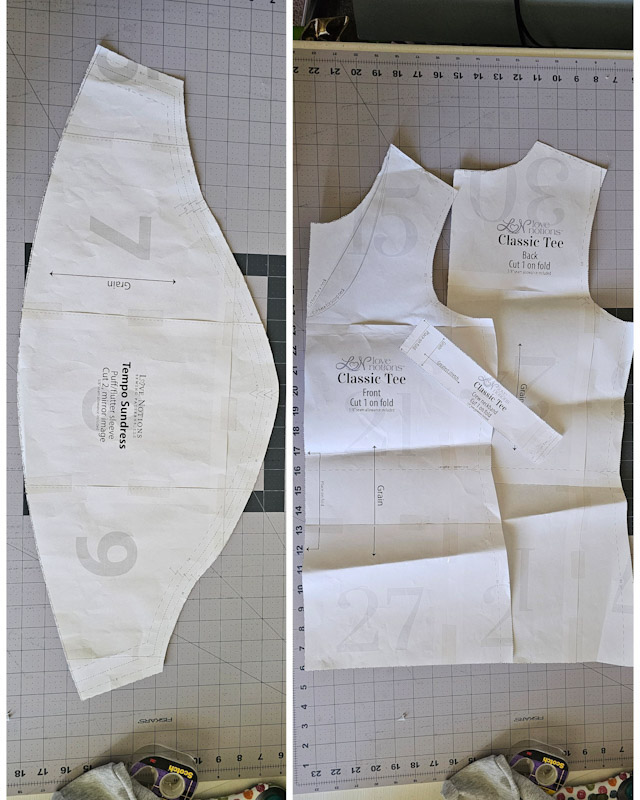
Both patterns I would be using were made by the same company, Love Notions Patterns. So I was very familiar with them and felt that I could use them together without any problems. Especially because the sleeve was meant to have gathers so I could adjust where needed by simply gathering more or less of the sleeve shoulder. It was so fun doing this that I made 3 shirts total. You can get a discount on these or any of Love Notions patterns by using my special discount code LOVEKOE.
Just a Small Adjustment…
Because both patterns are meant for different fabrics I had to adjust things a little. The sleeve pattern is meant for woven fabric so I sized up two sizes from my normal size. The shirt was meant for knit fabric which is what I was using so I used my normal size. So for reference I used a size small for the shirt and a size large for the sleeve.
Sleeves…
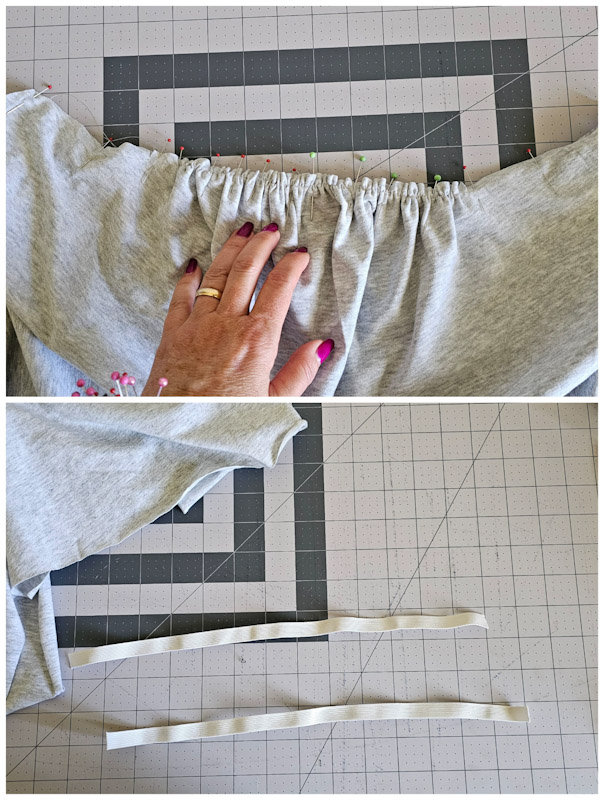
On the 3 shirts I made I tried two different gathering methods. On all 4 I used 14 inches of ½ inch elastic. I also install my sleeves using the flat method, where I install the sleeve right after I’ve sewn the front and back shoulders together and before the sides of the shirt are sewn shut.
Method one…
In the first method I hemmed the sleeve ⅝ inch making a channel for the elastic. Then I ran the ½ inch elastic through that channel. I stitched the elastic on either side of the sleeve to secure it in place. Then i sewed the ides of the shirt
Method two…
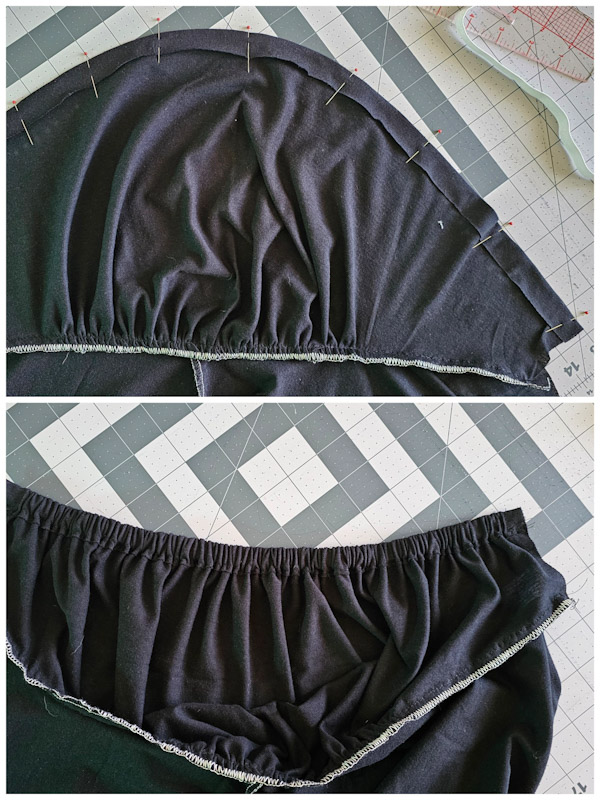
In the second method I marked the quarter points of the shirt sleeve and the ½ inch elastic. Then I matched those up and stretched the elastic to fit the edge of the sleeve and used the multi-stitch zig zag setting on my machine and attached the elastic to the raw edge of the sleeve. Then I folded the elasticated edge one time to the inside of the shirt and stitched it one more time with a multi-stitch zig zag.
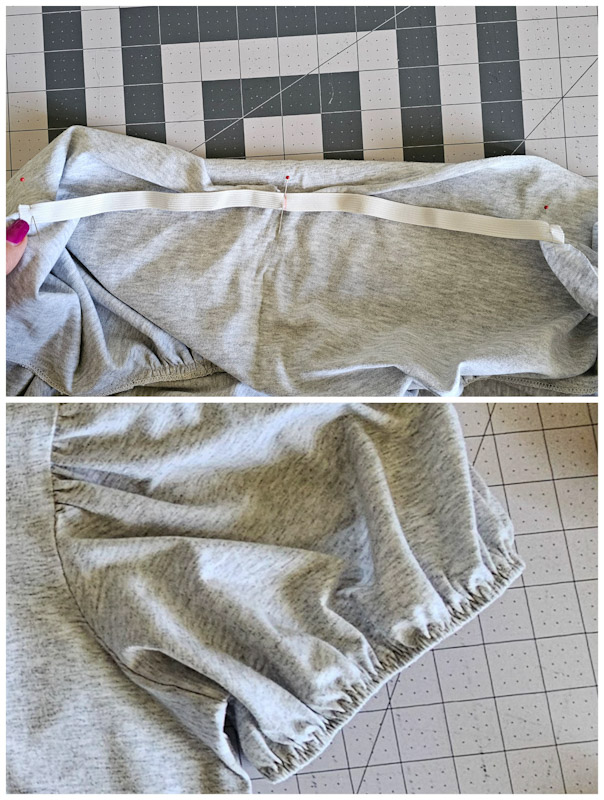
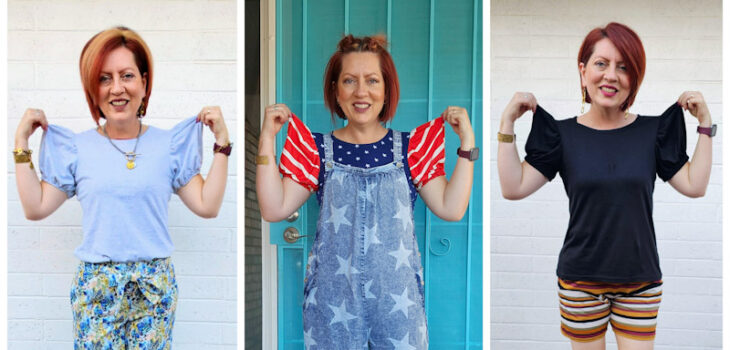
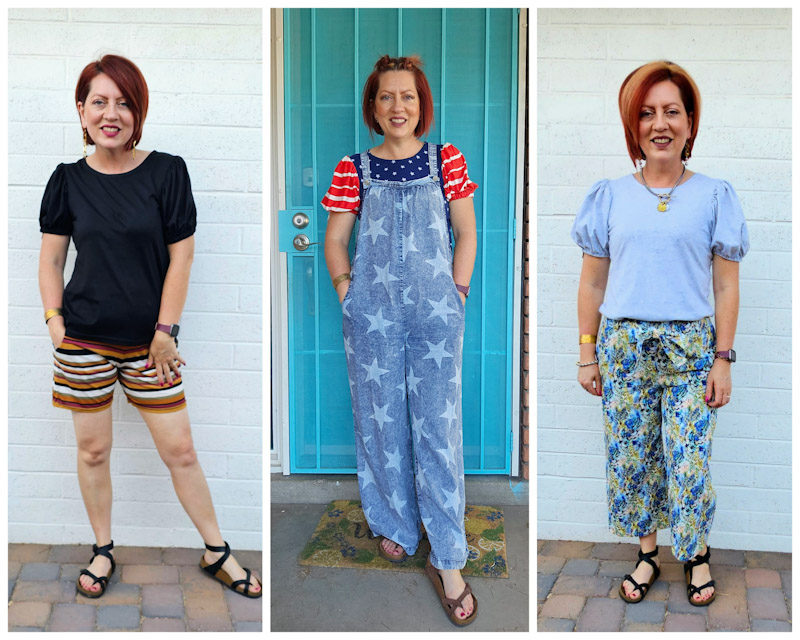
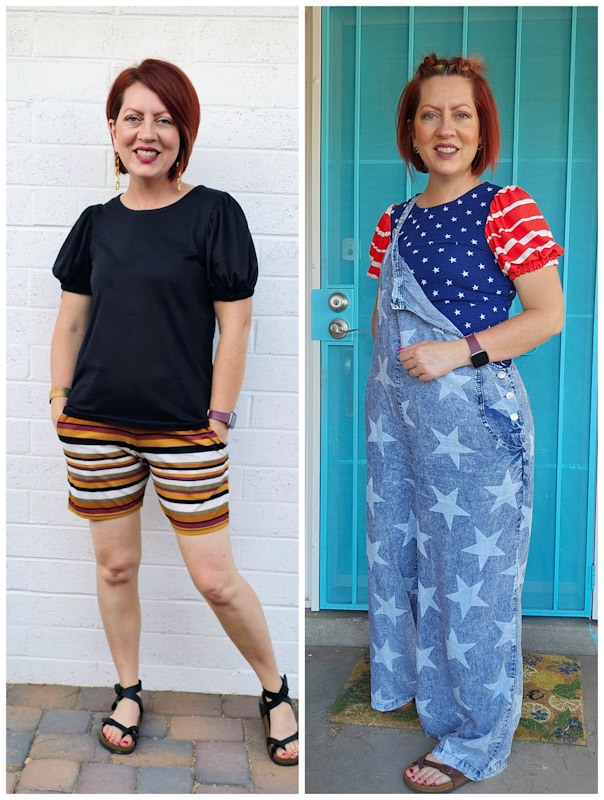
I liked the first method more where I made a channel for the elastic. The other method of attaching the elastic to the hem was kind of tricky and less forgiving if I didn’t stretch the elastic just right. But the second method looks more like the one that was used for the shirt I was copying. Below are the two shirts that I used the elastic channel method for.
Neck facing…
For the neck I did a facing rather than a band. I like bindings for finishing necklines because they go on the inside of the shirt and are unseen. To do the facing I cut the neck band 1 inch longer than the neckband pattern piece. I also made it half as wide. Then I attached it to the neck just like I would any other neck facing and finished it off with a twin needle top stitch. You can check this post or this post for more details on neck facings.
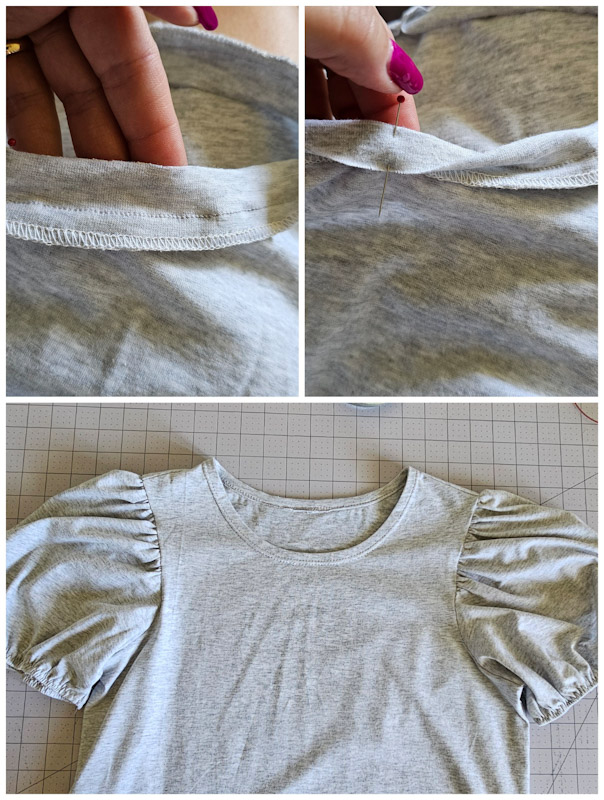
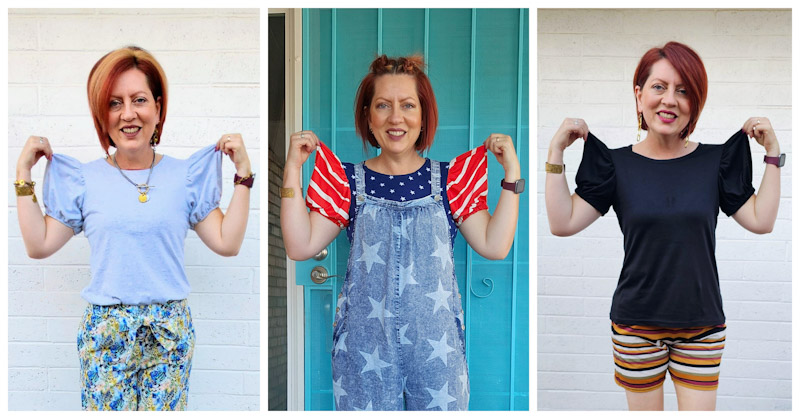
I love how all three shirts turned out. My July 4th shirt was so much better than I even imagined. Now I have a new favorite way to elevate t-shirt patterns.
Let’s be friends!
If you are looking for a fun way to elevate your patterns, hopefully this post helps you figure out what will work best with your wardrobe needs. Let’s be friends on all the socials! Come follow along on Pinterest, Instagram, Facebook and TikTok so we can chat about all our sewing projects!
