Refashion Something Old to Something New!
Worn out sleeves? No need to throw out hubby’s old t-shirts. Just remake them into something cute you can wear.
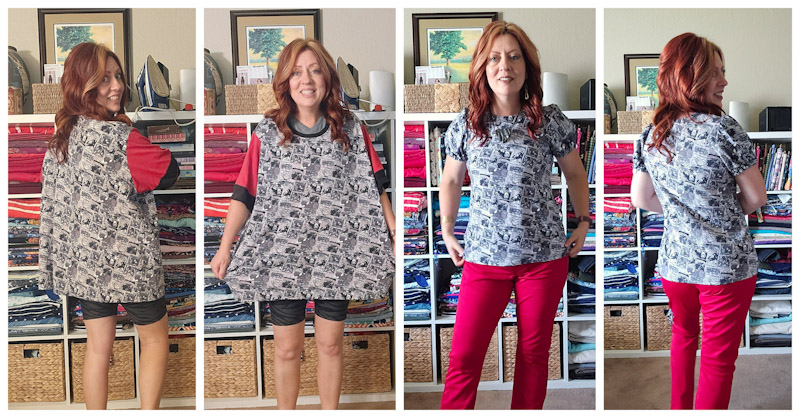
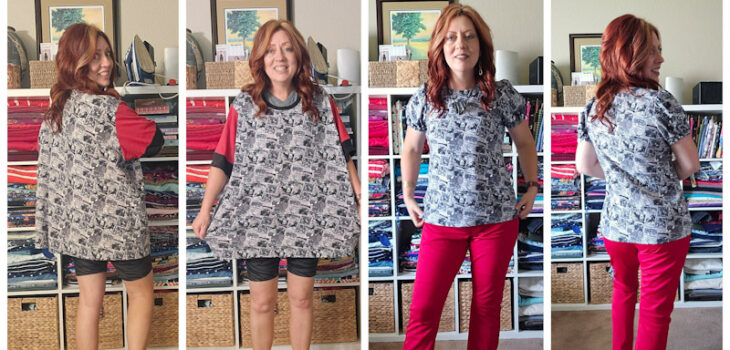
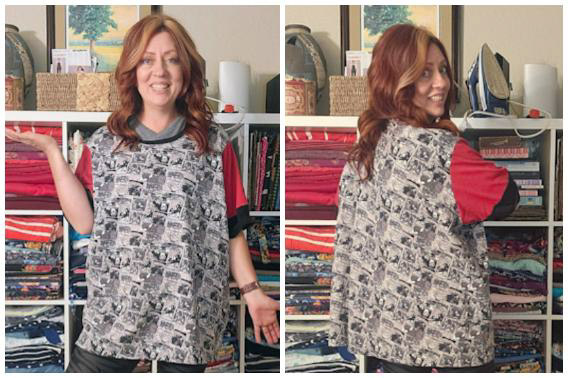
Here’s the Old Comic Shirt…
Several years ago I made my husband this marvel comic shirt out of some cotton jersey fabric I found at Joann. He loved it and wore it frequently but the length shrunk a bit over the years and made it hard for my husband to wear. The red sleeve fabric started wearing out and pilling too. So my husband handed it off to me to remake it. Here’s what I did.
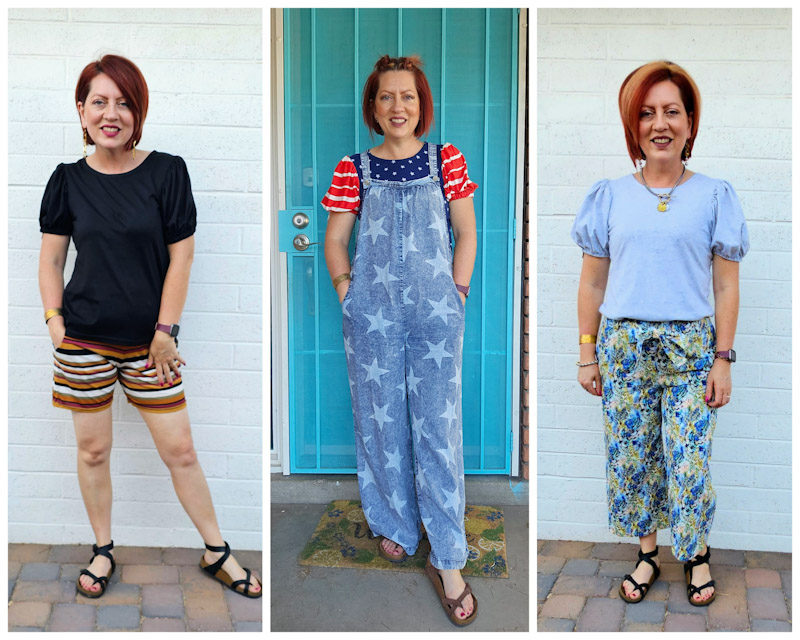
My Previous Shirts…
I made 3 cute puff sleeve shirts in July and I wanted to make another one with this shirt too. The problem was the sleeve pattern I used for the other shirts was a bit large and I didn’t have much fabric to work with. So I needed a differnt sleeve pattern.
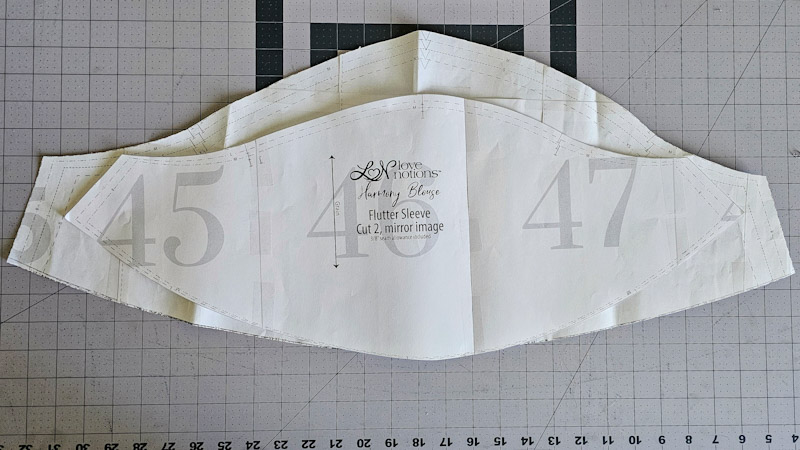
The Patterns Used…
So I went with another pattern I had with a similar sleeve that was much smaller. That pattern is a pattern for woven fabrics called the Harmony Blouse. You can us knit fabric with woven pattern but you can’t use woven fabric on knit pattern without a lot of adjuments. Below you can see the size difference in the two sleeve pieces and see why I used a differnt pattern. Both sleeves are size XL because I wanted a lot of puff in my sleeves. I used the same pattern in a size small for this shirt that I did with my other shirts: the Classic tee. All patterns in this post are from Love Notions Patterns.
Cut the Shirt…
I cut the worn out red sleeves off and then cut down the sides of the shirt. That way I could cut the shirt front and back out easily.
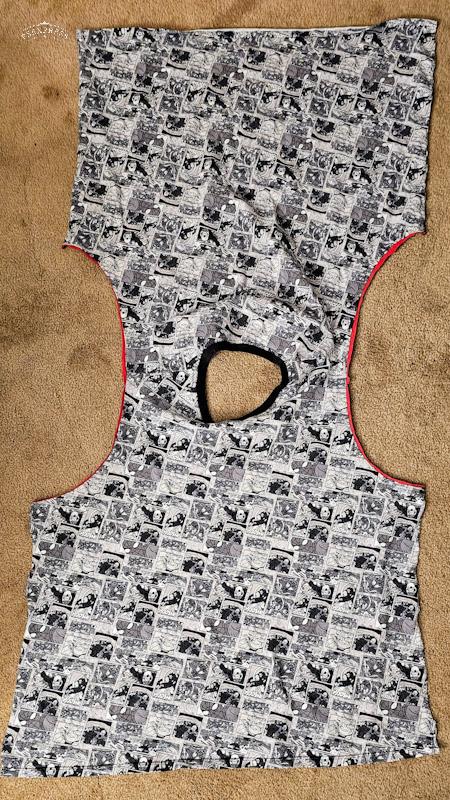
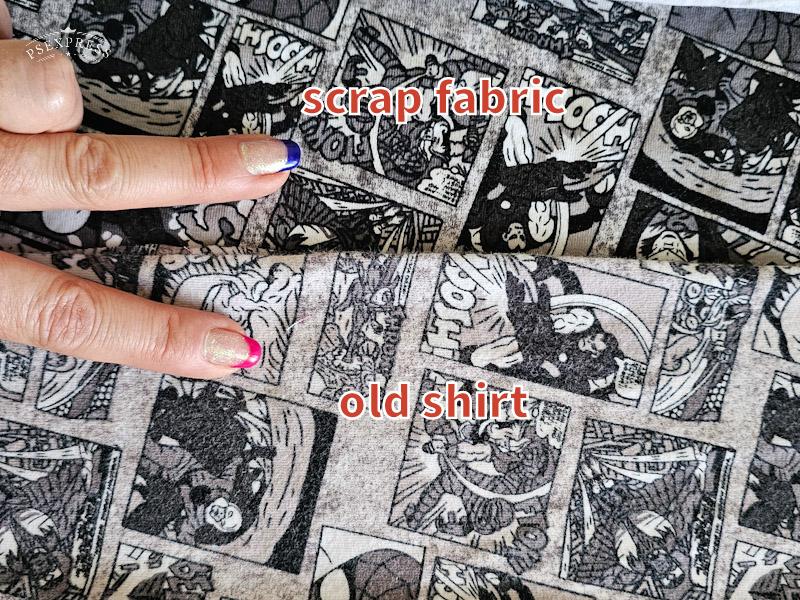
Making Fabric Scraps Match…
I needed more fabric for the sleeves. I could have used contrasting fabric like I did for this shirt. But I really wanted it to be all comic fabric. Luckily, I found two small scraps of this comic jersey fabric deep in my stash. I washed and dried the scraps on hot with towels to make them look more worn like the shirt. The shirt really hadn’t faded much to be noticeable from afar.
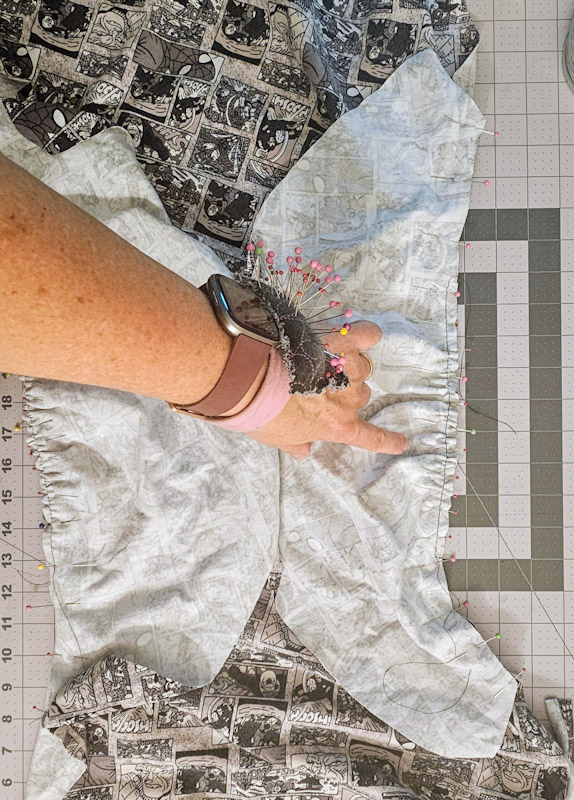
A Little Puff…
Then I just cut the sleeves out and attached them to the shirt once the shoulders were sewn. Because this sleeve pattern is so much smaller than the other sleeve pattern used on my other shirts, I knew that the sleeves would be less puffy. You can see I only needed to gather the middle 6-7 inches of the sleeve.
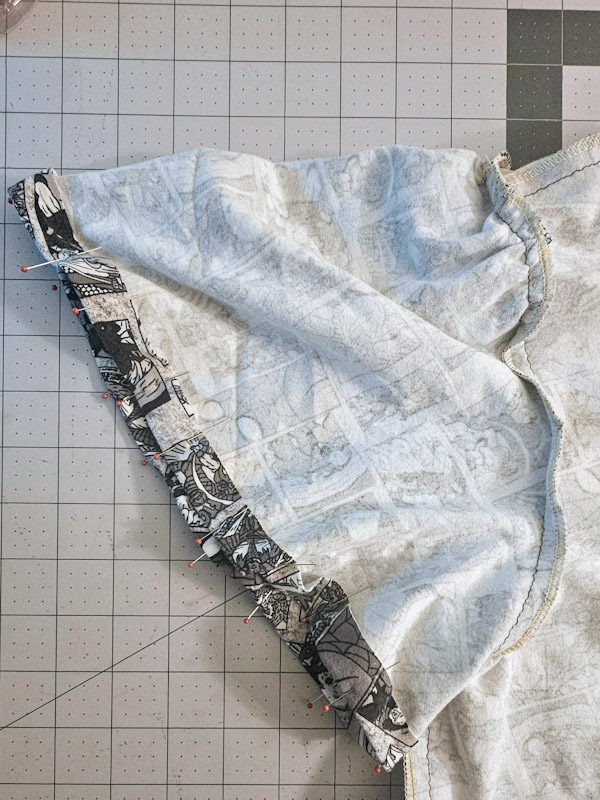
Final Touches…
After the sleeves were attached I sewed down the sides and hemmed the sleeves ¾ inch but left a 1 inch opening to run some ½ inch elastic through. I made my elastic 14 inches long.
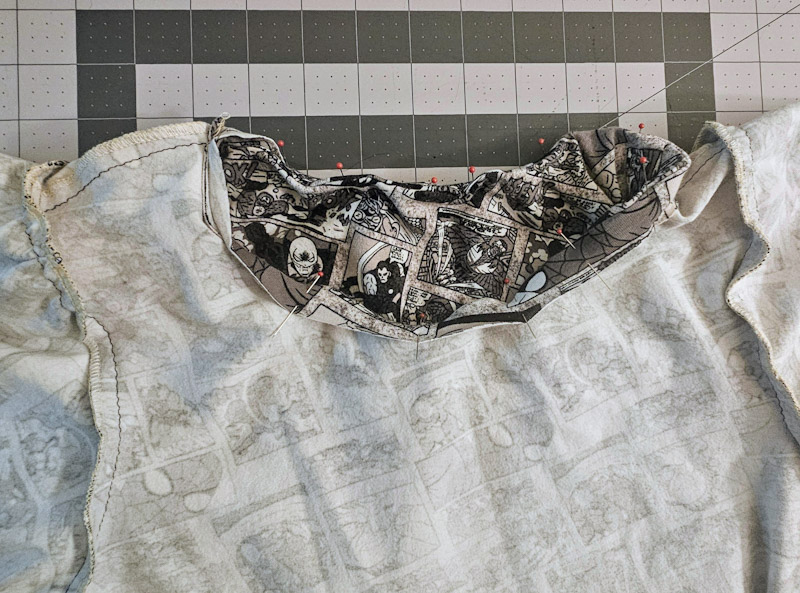
I also did a facing rather than a band around the neck. I think it looks nicer.
Super Fun and Versatile!
This took me a little over 1 hour to complete and was worht every minute. I like using cotton jersey on puff sleeve t-shirts like this because it’s more stiff and gives the sleeve better structure. This shirt goes with nearly everything too; my Resolutions bottoms and these cute overalls I added front pockets too.

Let’s Be Friends!
If you are looking for a fun way refashion your old clothes, hopefully this post helps you figure out what will work best with your wardrobe needs. Let’s be friends on all the socials! Come follow along on Pinterest, Instagram, Facebook and TikTok so we can chat about all our sewing projects!